
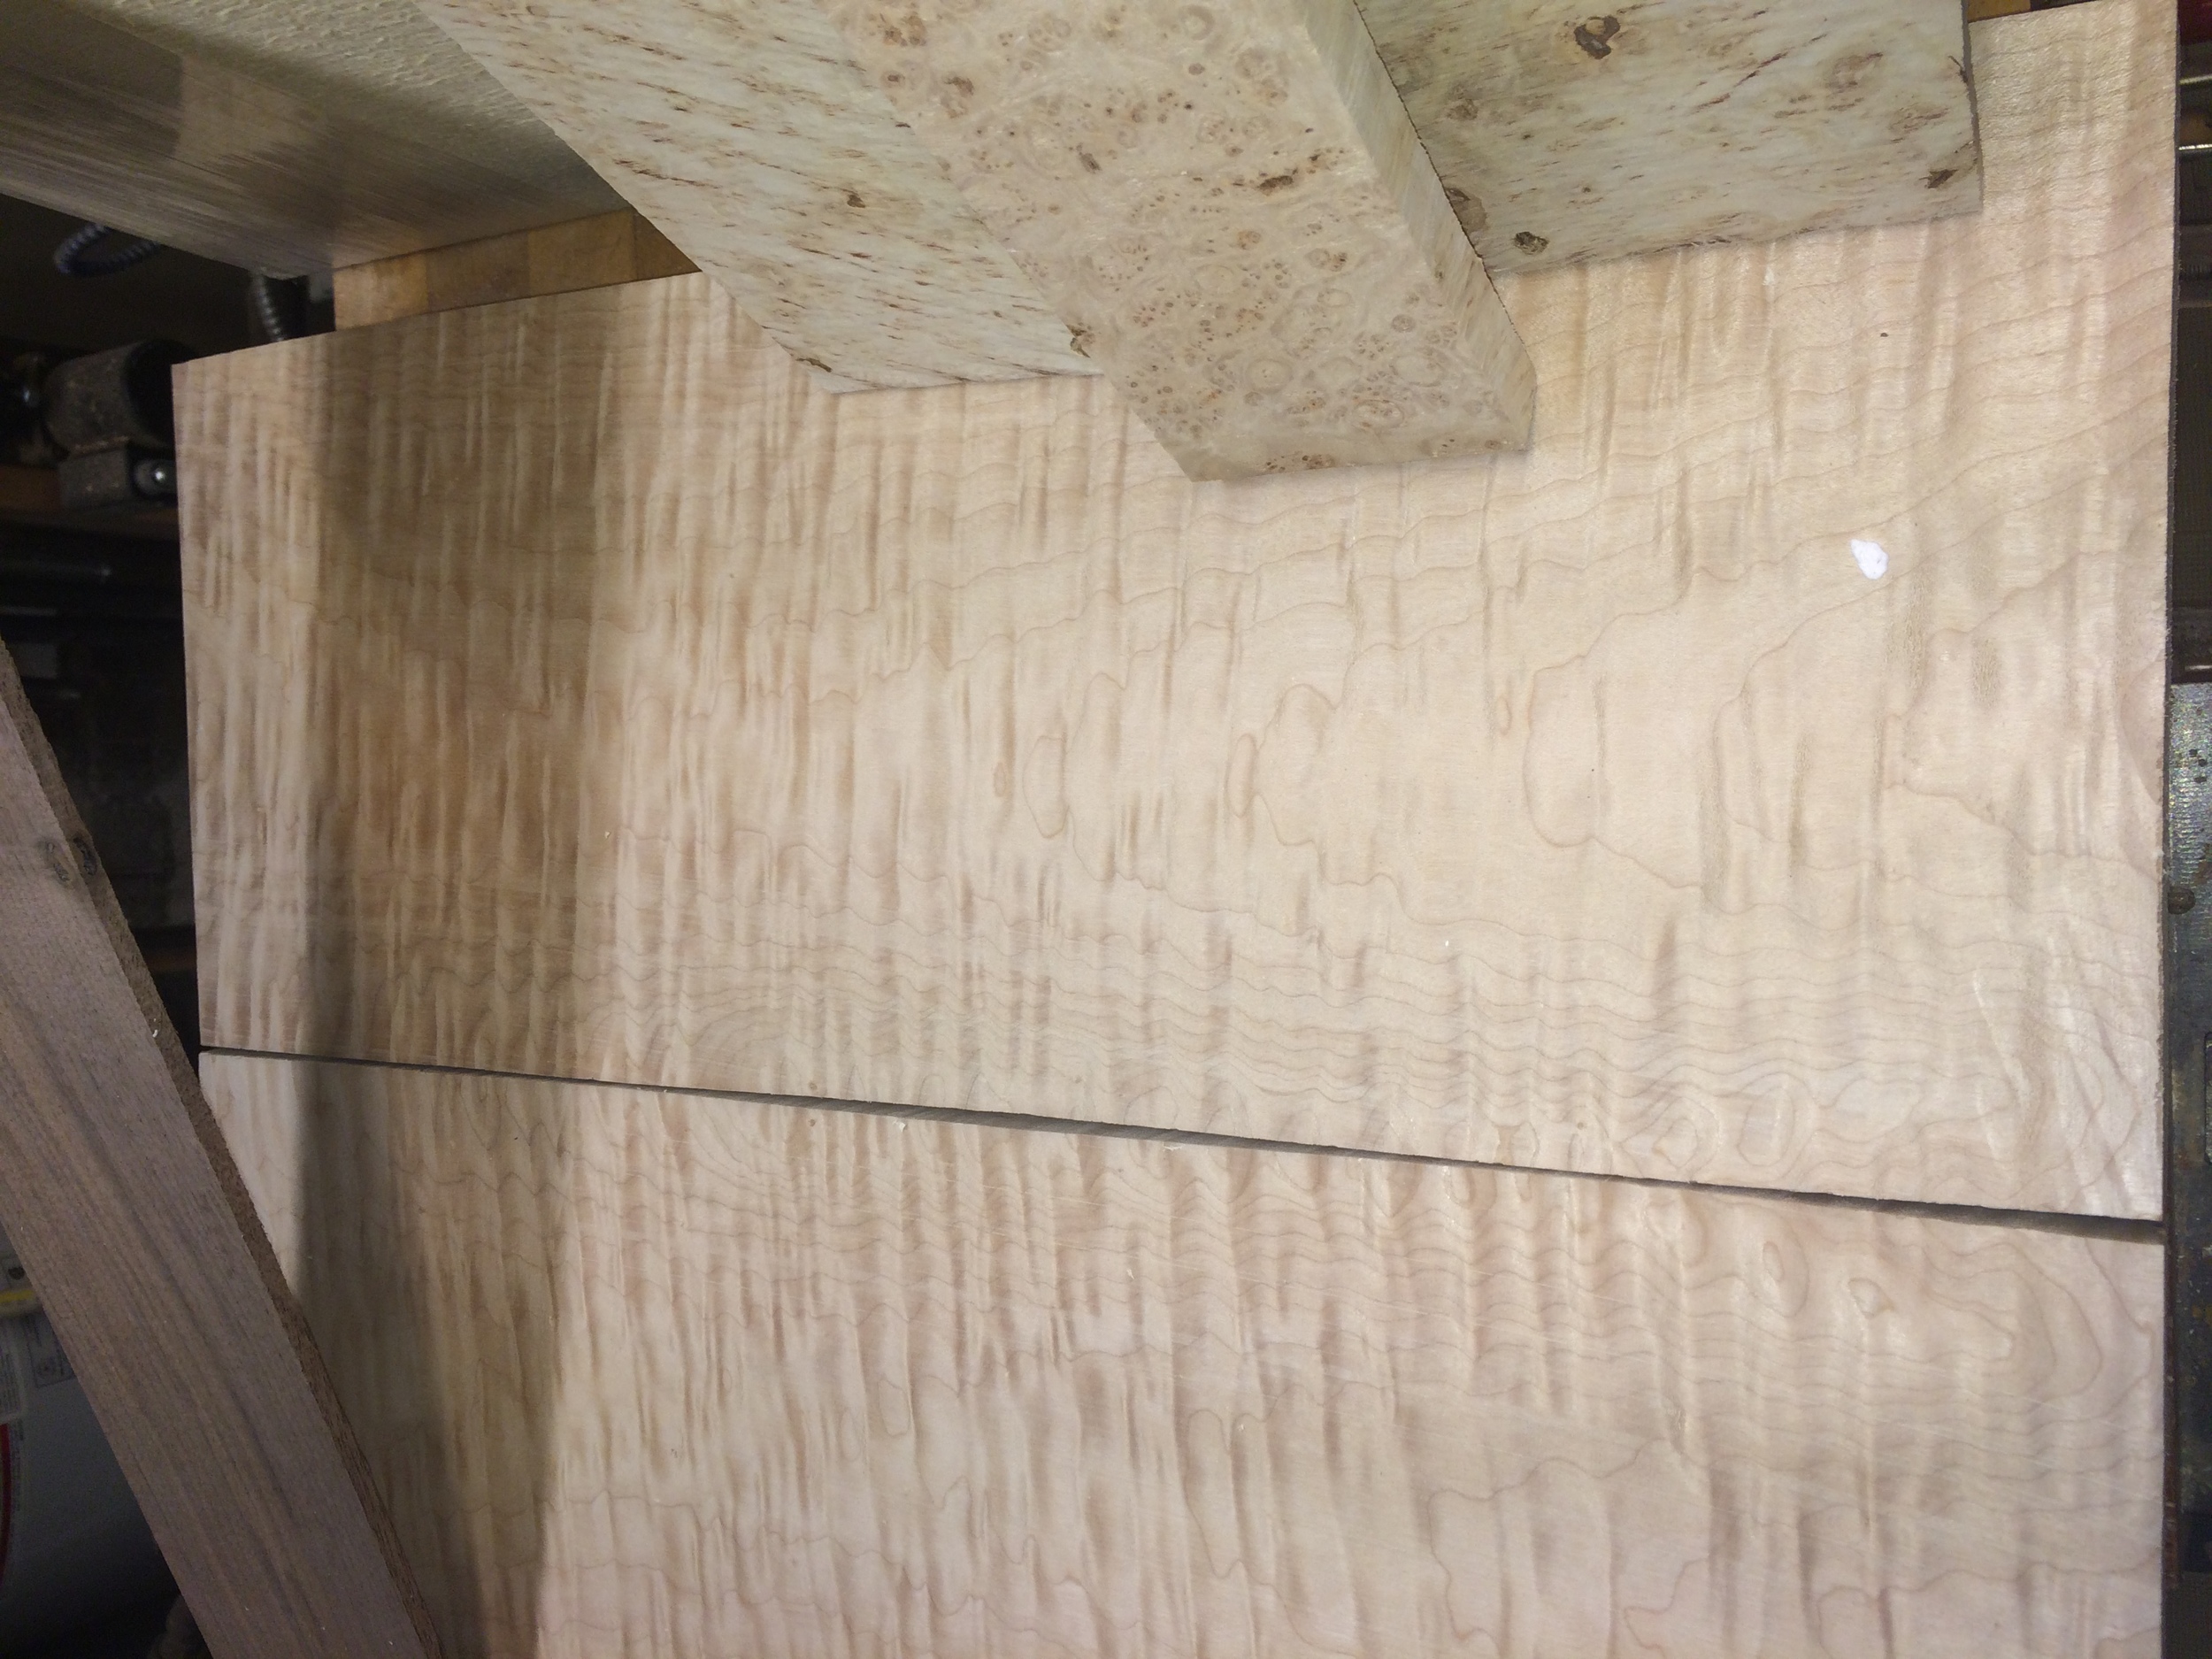
Here is the future seven string archtop guitar in a pile on my dad's work bench. The back and sides are quilted maple, top is Engelmann spruce, the neck will be a maple and walnut lamination and the finger rest, headstock and tailpiece will be burled maple. We bought the wood from Bow River Specialty Woods and it looks beautiful. The plywood form is in the background.

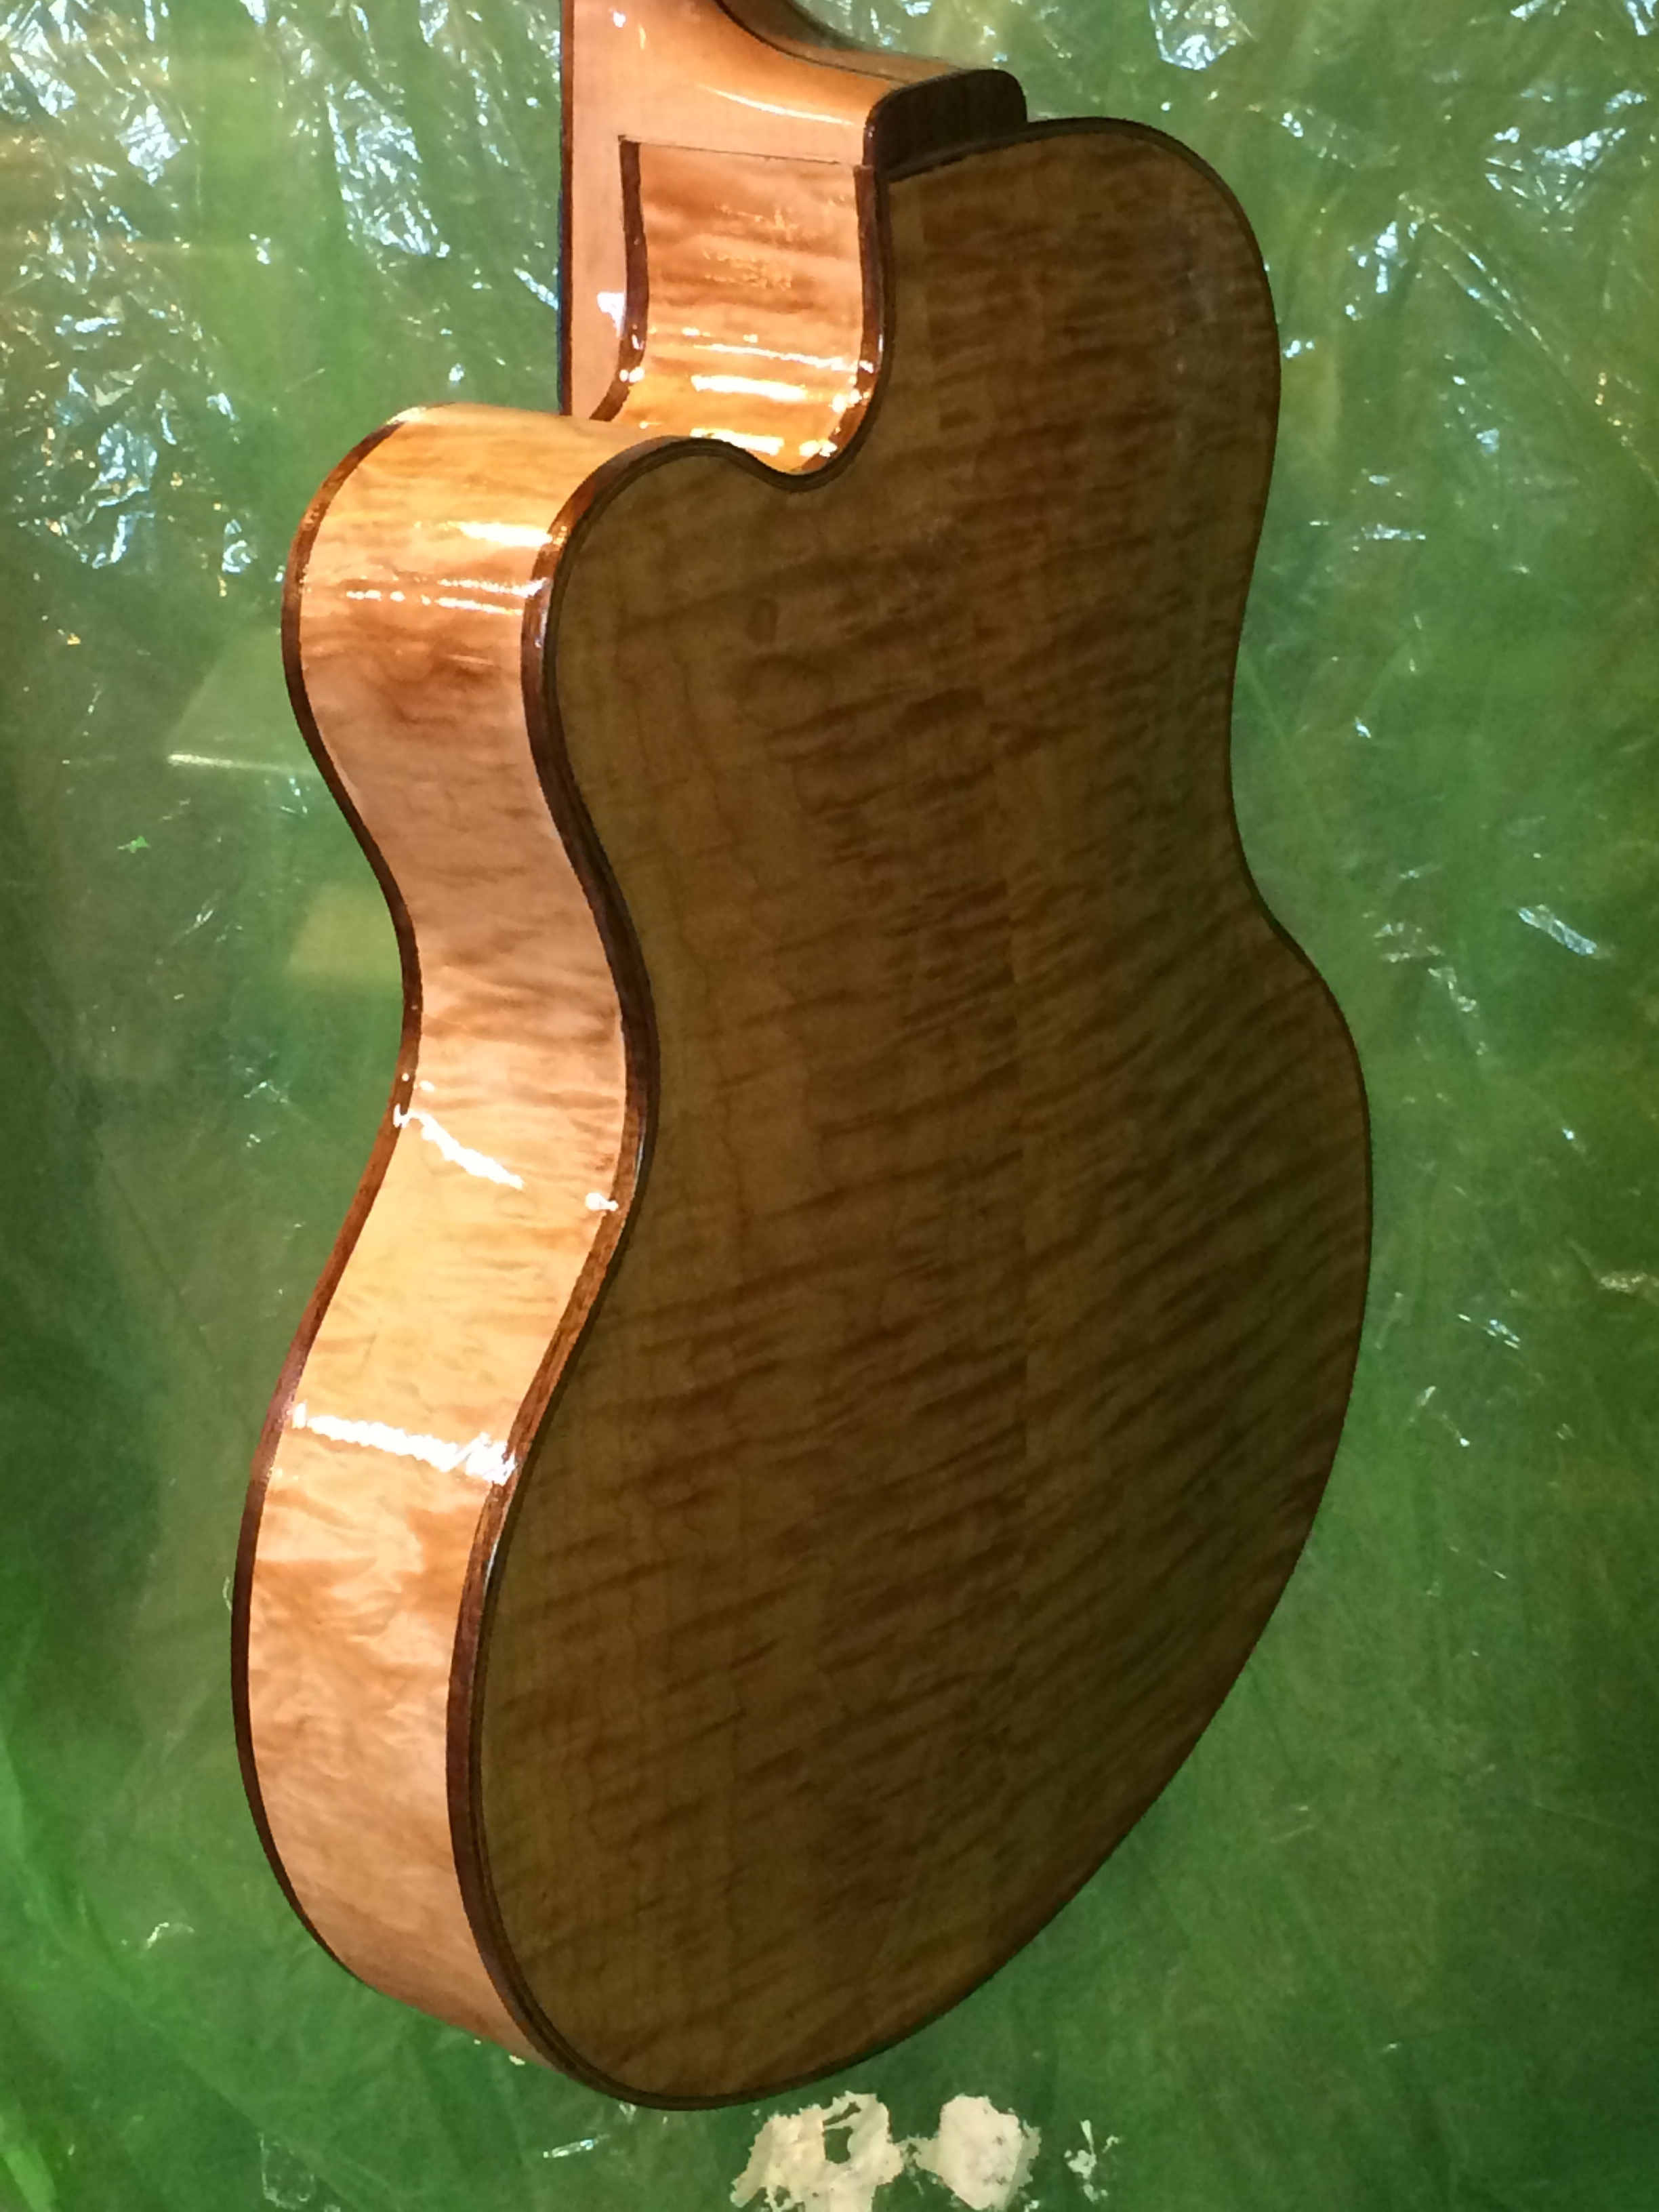
Below is a close up of the quilted maple back and the burled maple.
Here is a video of my dad scraping the sides with a scraper. The goal is to get them thinned down to 1.7 to 2 mm depending on where the bends of the sides are.
Bending the quilted maple sides on an electric bending iron. The sides were scraped down to 1.5-2 mm, the thinner parts where the bends are tight. To avoid cracking and split outs dad used filament packing tape and a steel backing strap to support the back when working with this highly figured wood on the bending iron.
Gluing in the spruce neck block.
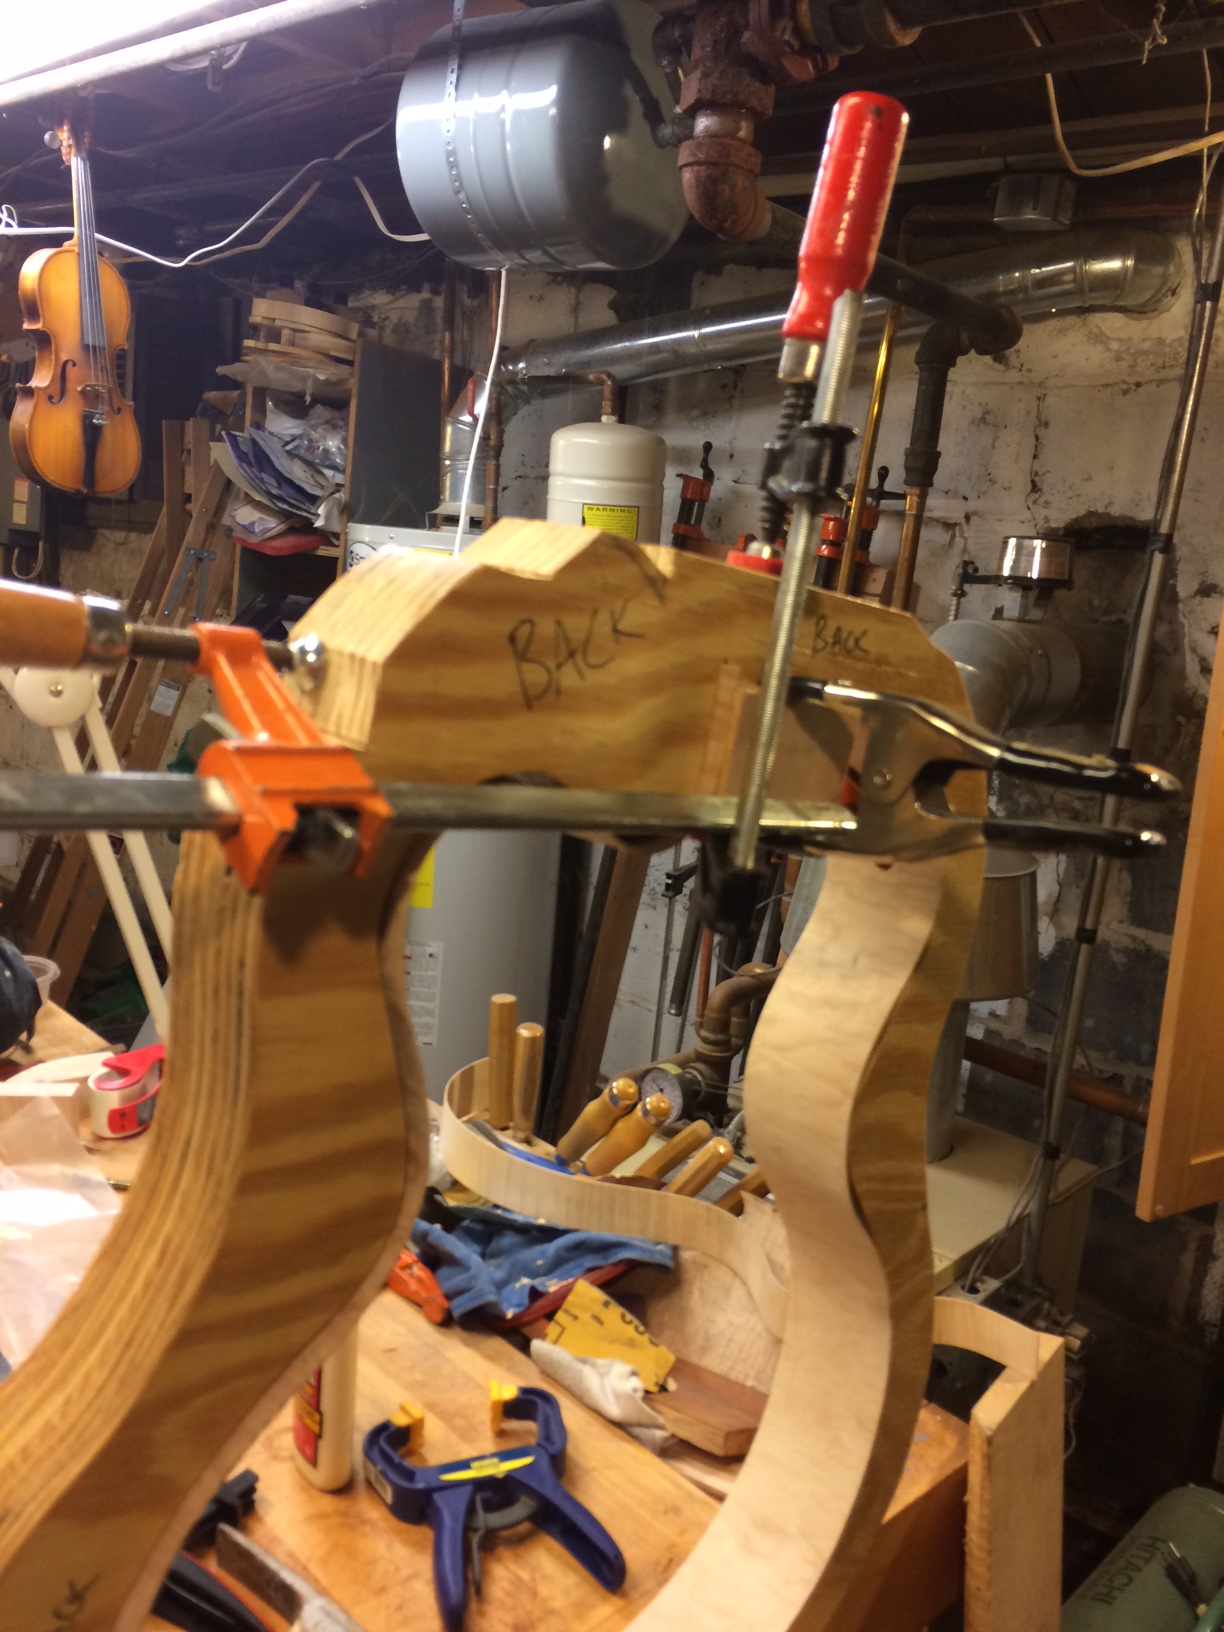
Gluing in kerfed mahogany linings and spruce side braces.
Trimming the kerfed mahogany lining.
The quilted maple back has been glued up and cut to shape on the bandsaw. Because the wood was not a wedge shaped billet, a topographical map was drawn on the back and then roughed out with a router. Once the arch on the back is roughed out it will be refined with gouges, planes, scrapers and sander. Thus far the quilted maple has been very prone to tear out (as expected) so going after it with edge tools may be a challenge compared to the flamed european maple of previous instruments.

Here is the router in action. Enjoy the roar of the shop vac dust collector as it tries to minimize the spray of chips and sawdust.
After the arch is smoothed out with planes, scrapers, gouges, and sander, the plate is drilled out using a graduated drill press set to an initial thickness of about 5.5 mm.

Above is the plate ready to be hollowed out with router, gouges, planes and scrapers.
After removing most of the waste with router and gouge, Dad uses assorted planes to smooth out the contours before adjusting the final graduation with scrapers.
Here are a few planes used for carving the plates. Lee Valley palm plane and three Ibex instrument planes.
After the back has been planed down to around 5mm, it is scraped with a variety of scrapers. Special thanks to Bill Gaile's violin shop in College Park, MD and violin maker David McDermott who gave patient instruction in scraper preparation and sharpening.
The back is scraped down to around 4.7mm. Bob Benedetto says 3/16 of an inch for the back but a slightly thinner back will help the sound of the lower string for a seven string instrument. This will end up minutely thinner once the outside surface is rescraped and sanded to remove slight dents caused by the peg of the graduation drill set up. The recurve on the outside will also significantly thin the back perimeter.
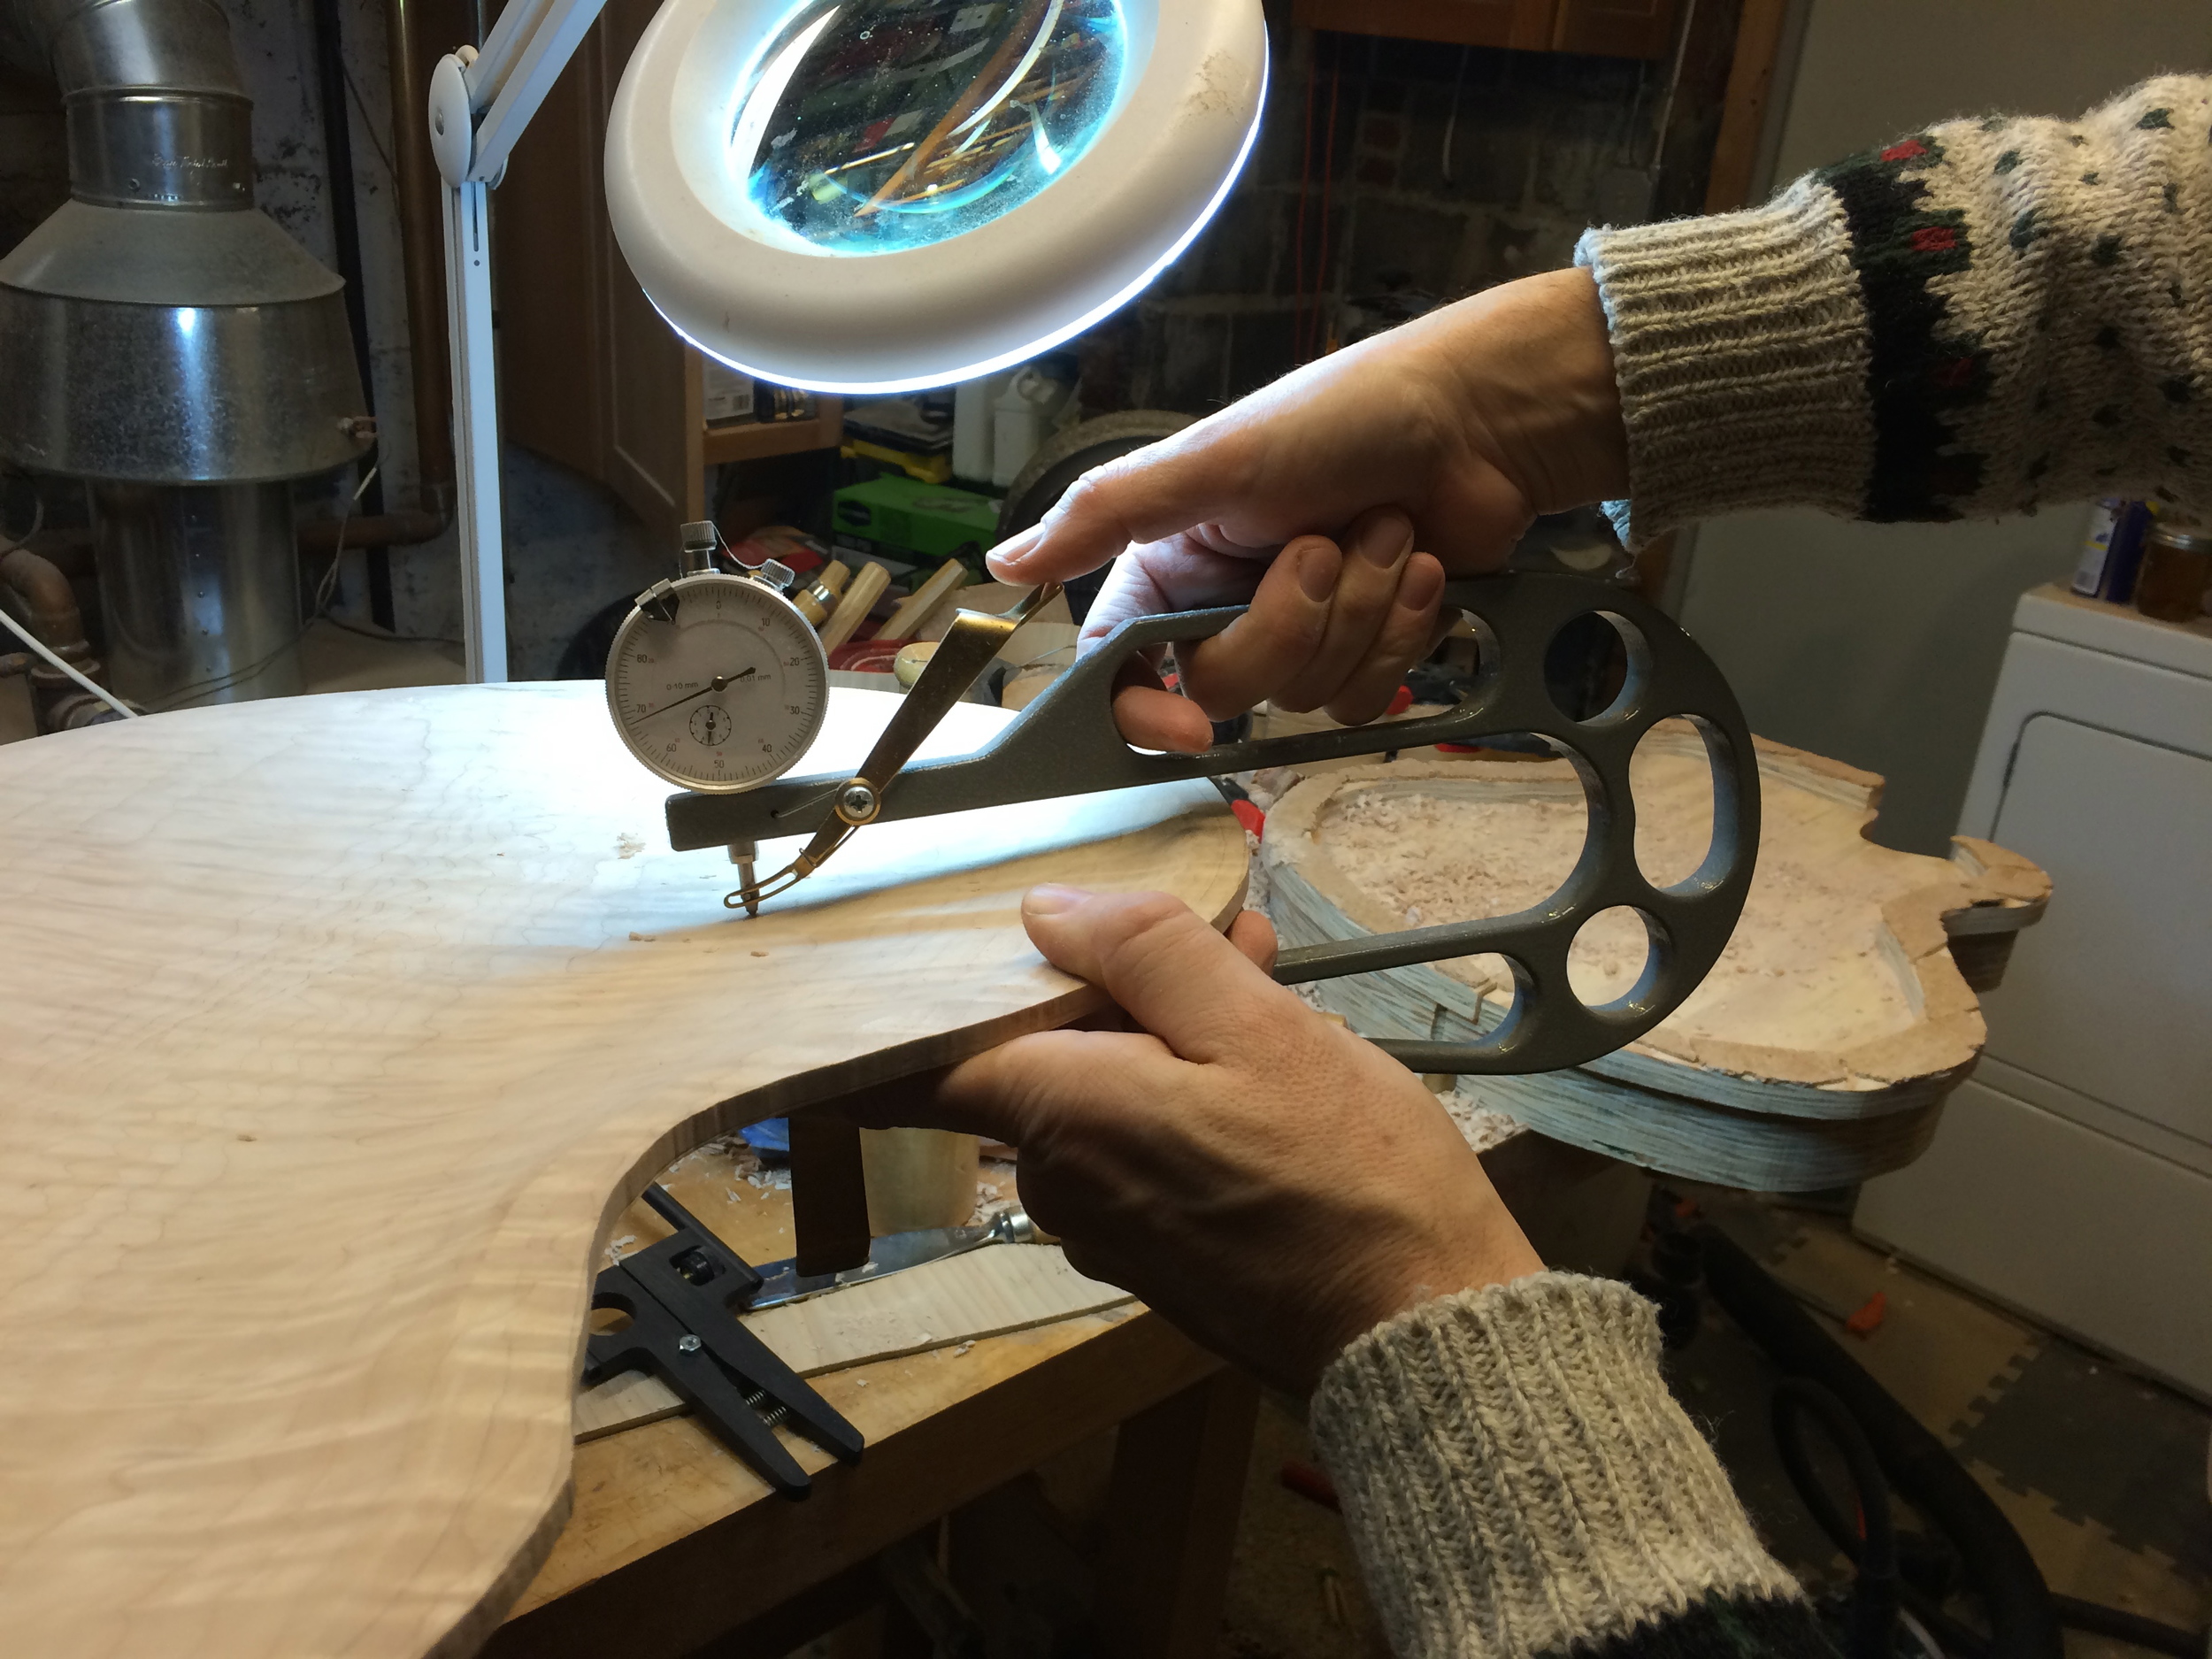
Checking the thickness with a caliper.
Began the glue-up of the Engelmann Spruce top while finishing up the graduation of the back. The spruce from Bow River Specialty Woods has a super creamy look and texture and very even grain. Looks like it will be a pleasure to work with. Plane the joint with an extremely slight concavity in the middle (just enough of a gap for a little light to shine through) to ensure the ends of the joint don't open up during the glue up.

Here is the creamy white Englemann Spruce top cut to shape with the bandsaw.

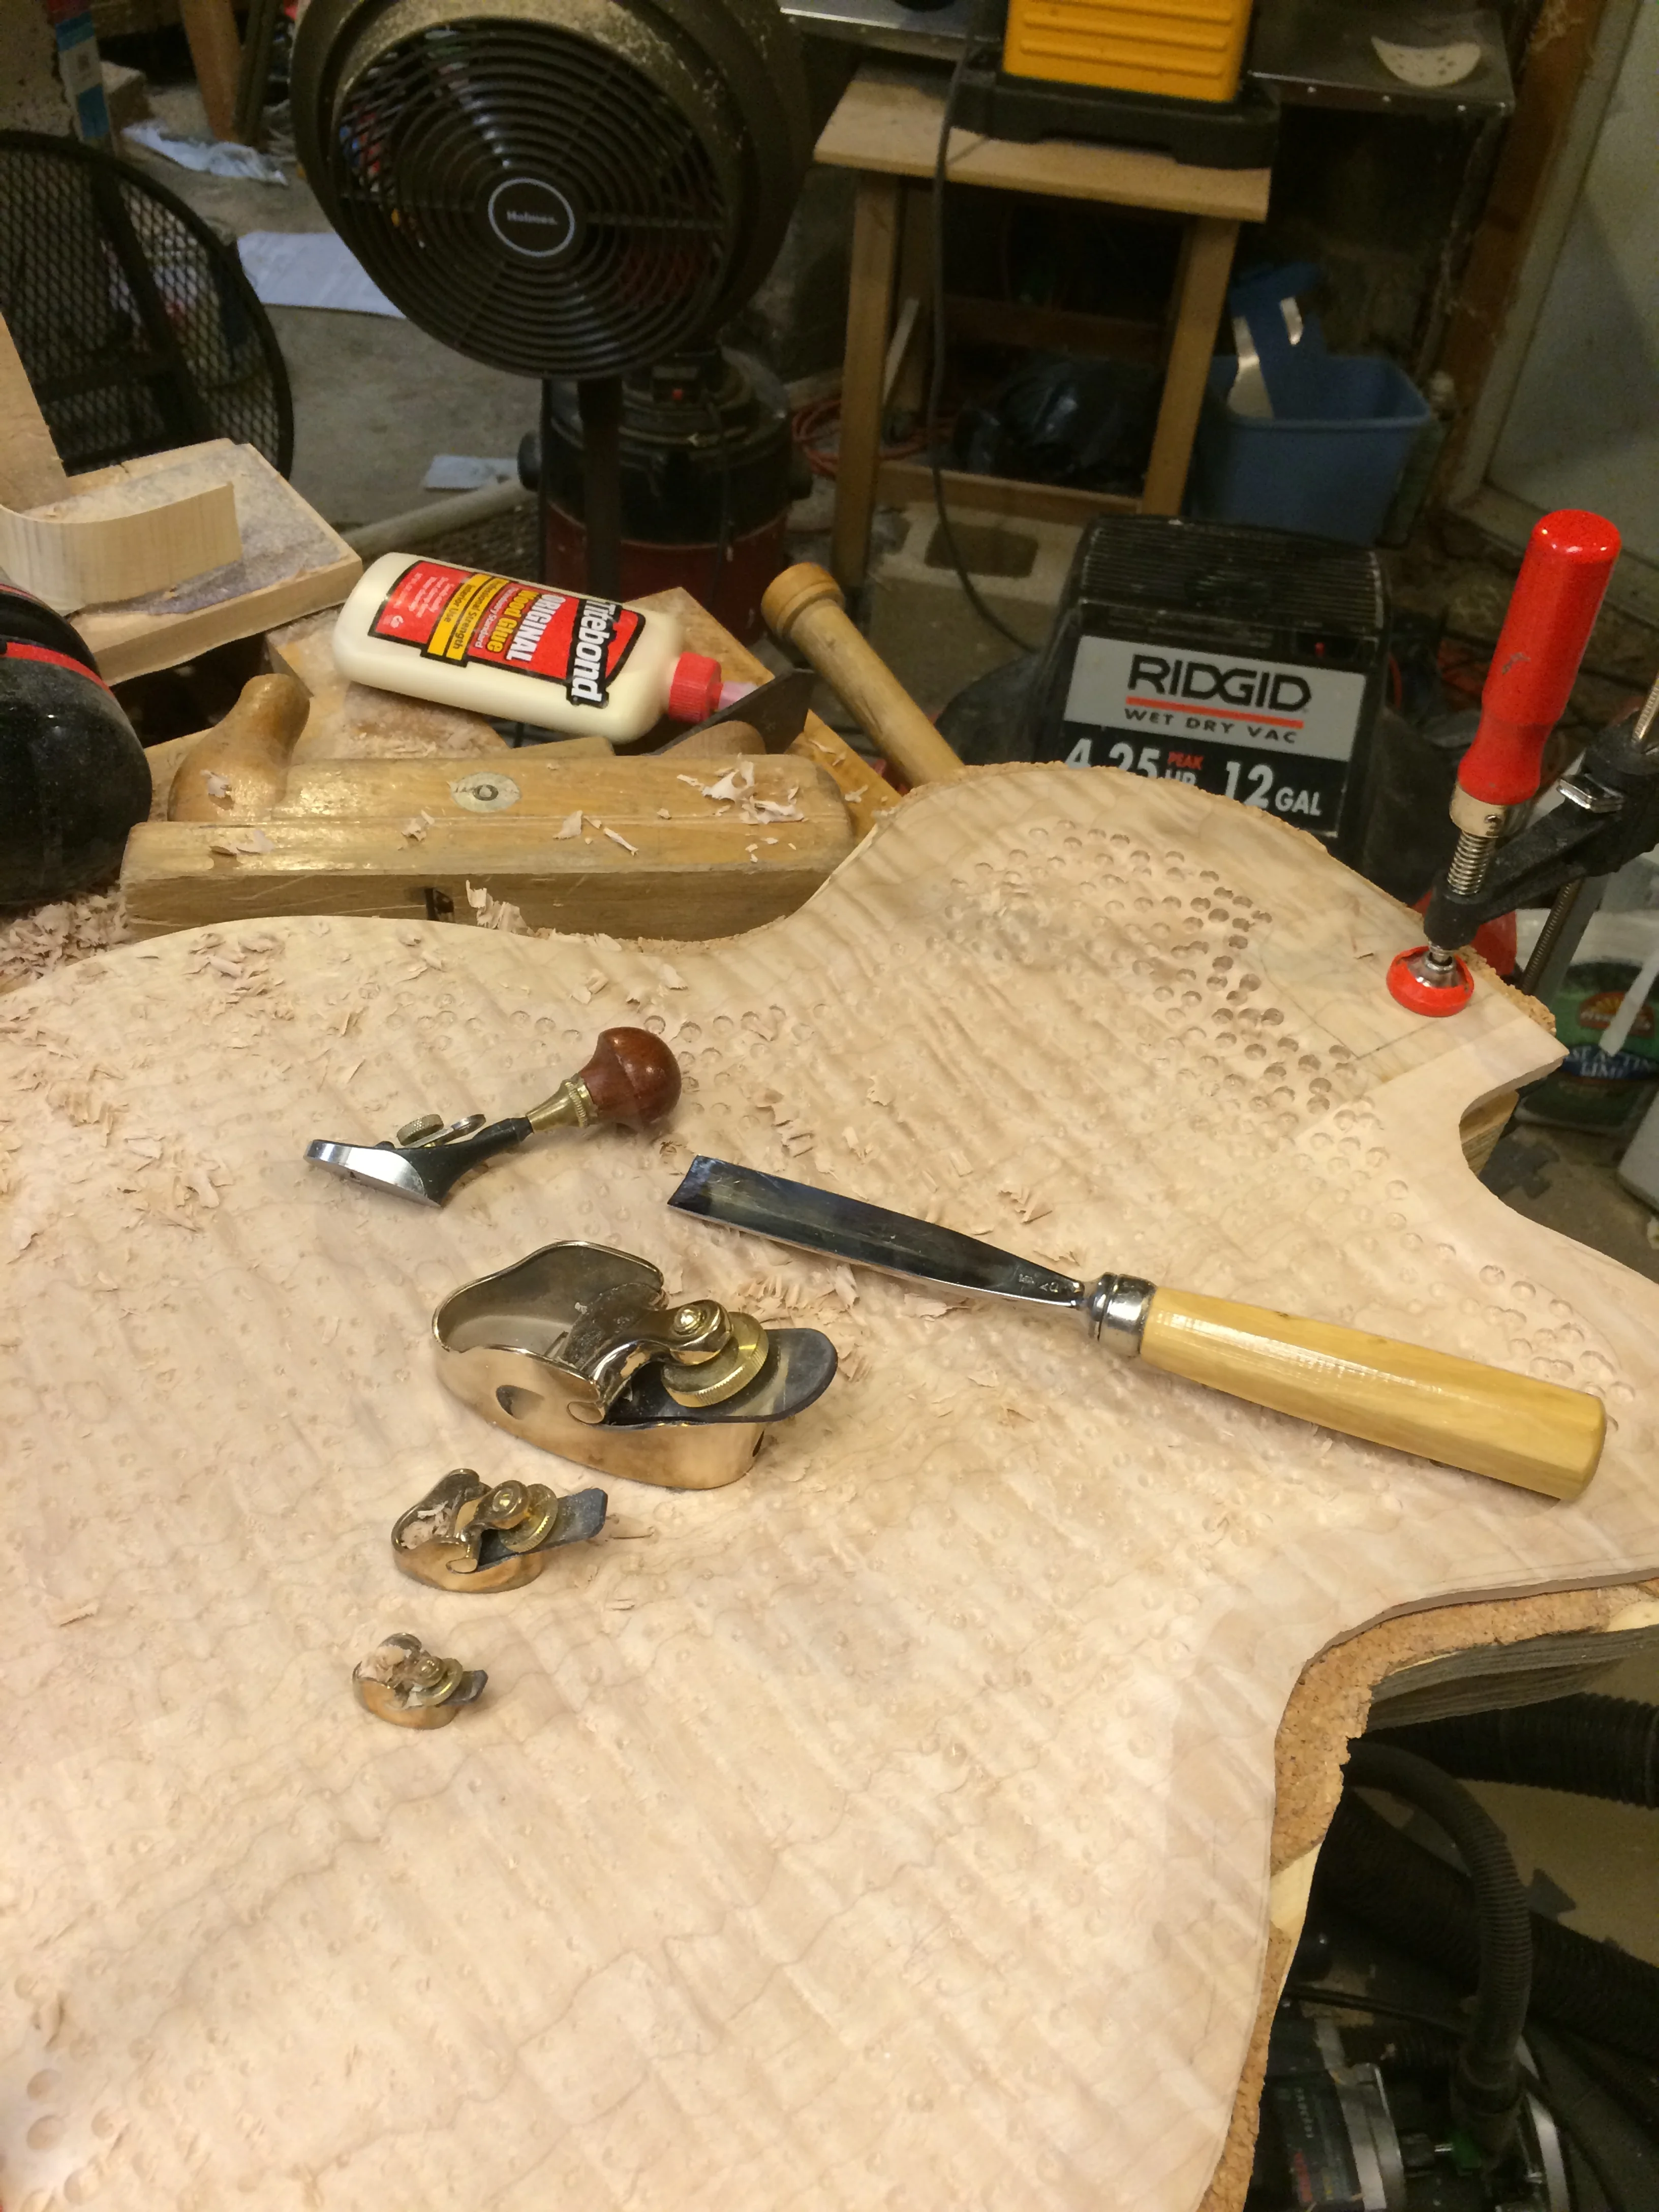
After roughing out the arch with a scrub plane, it is further refined with a gouge.
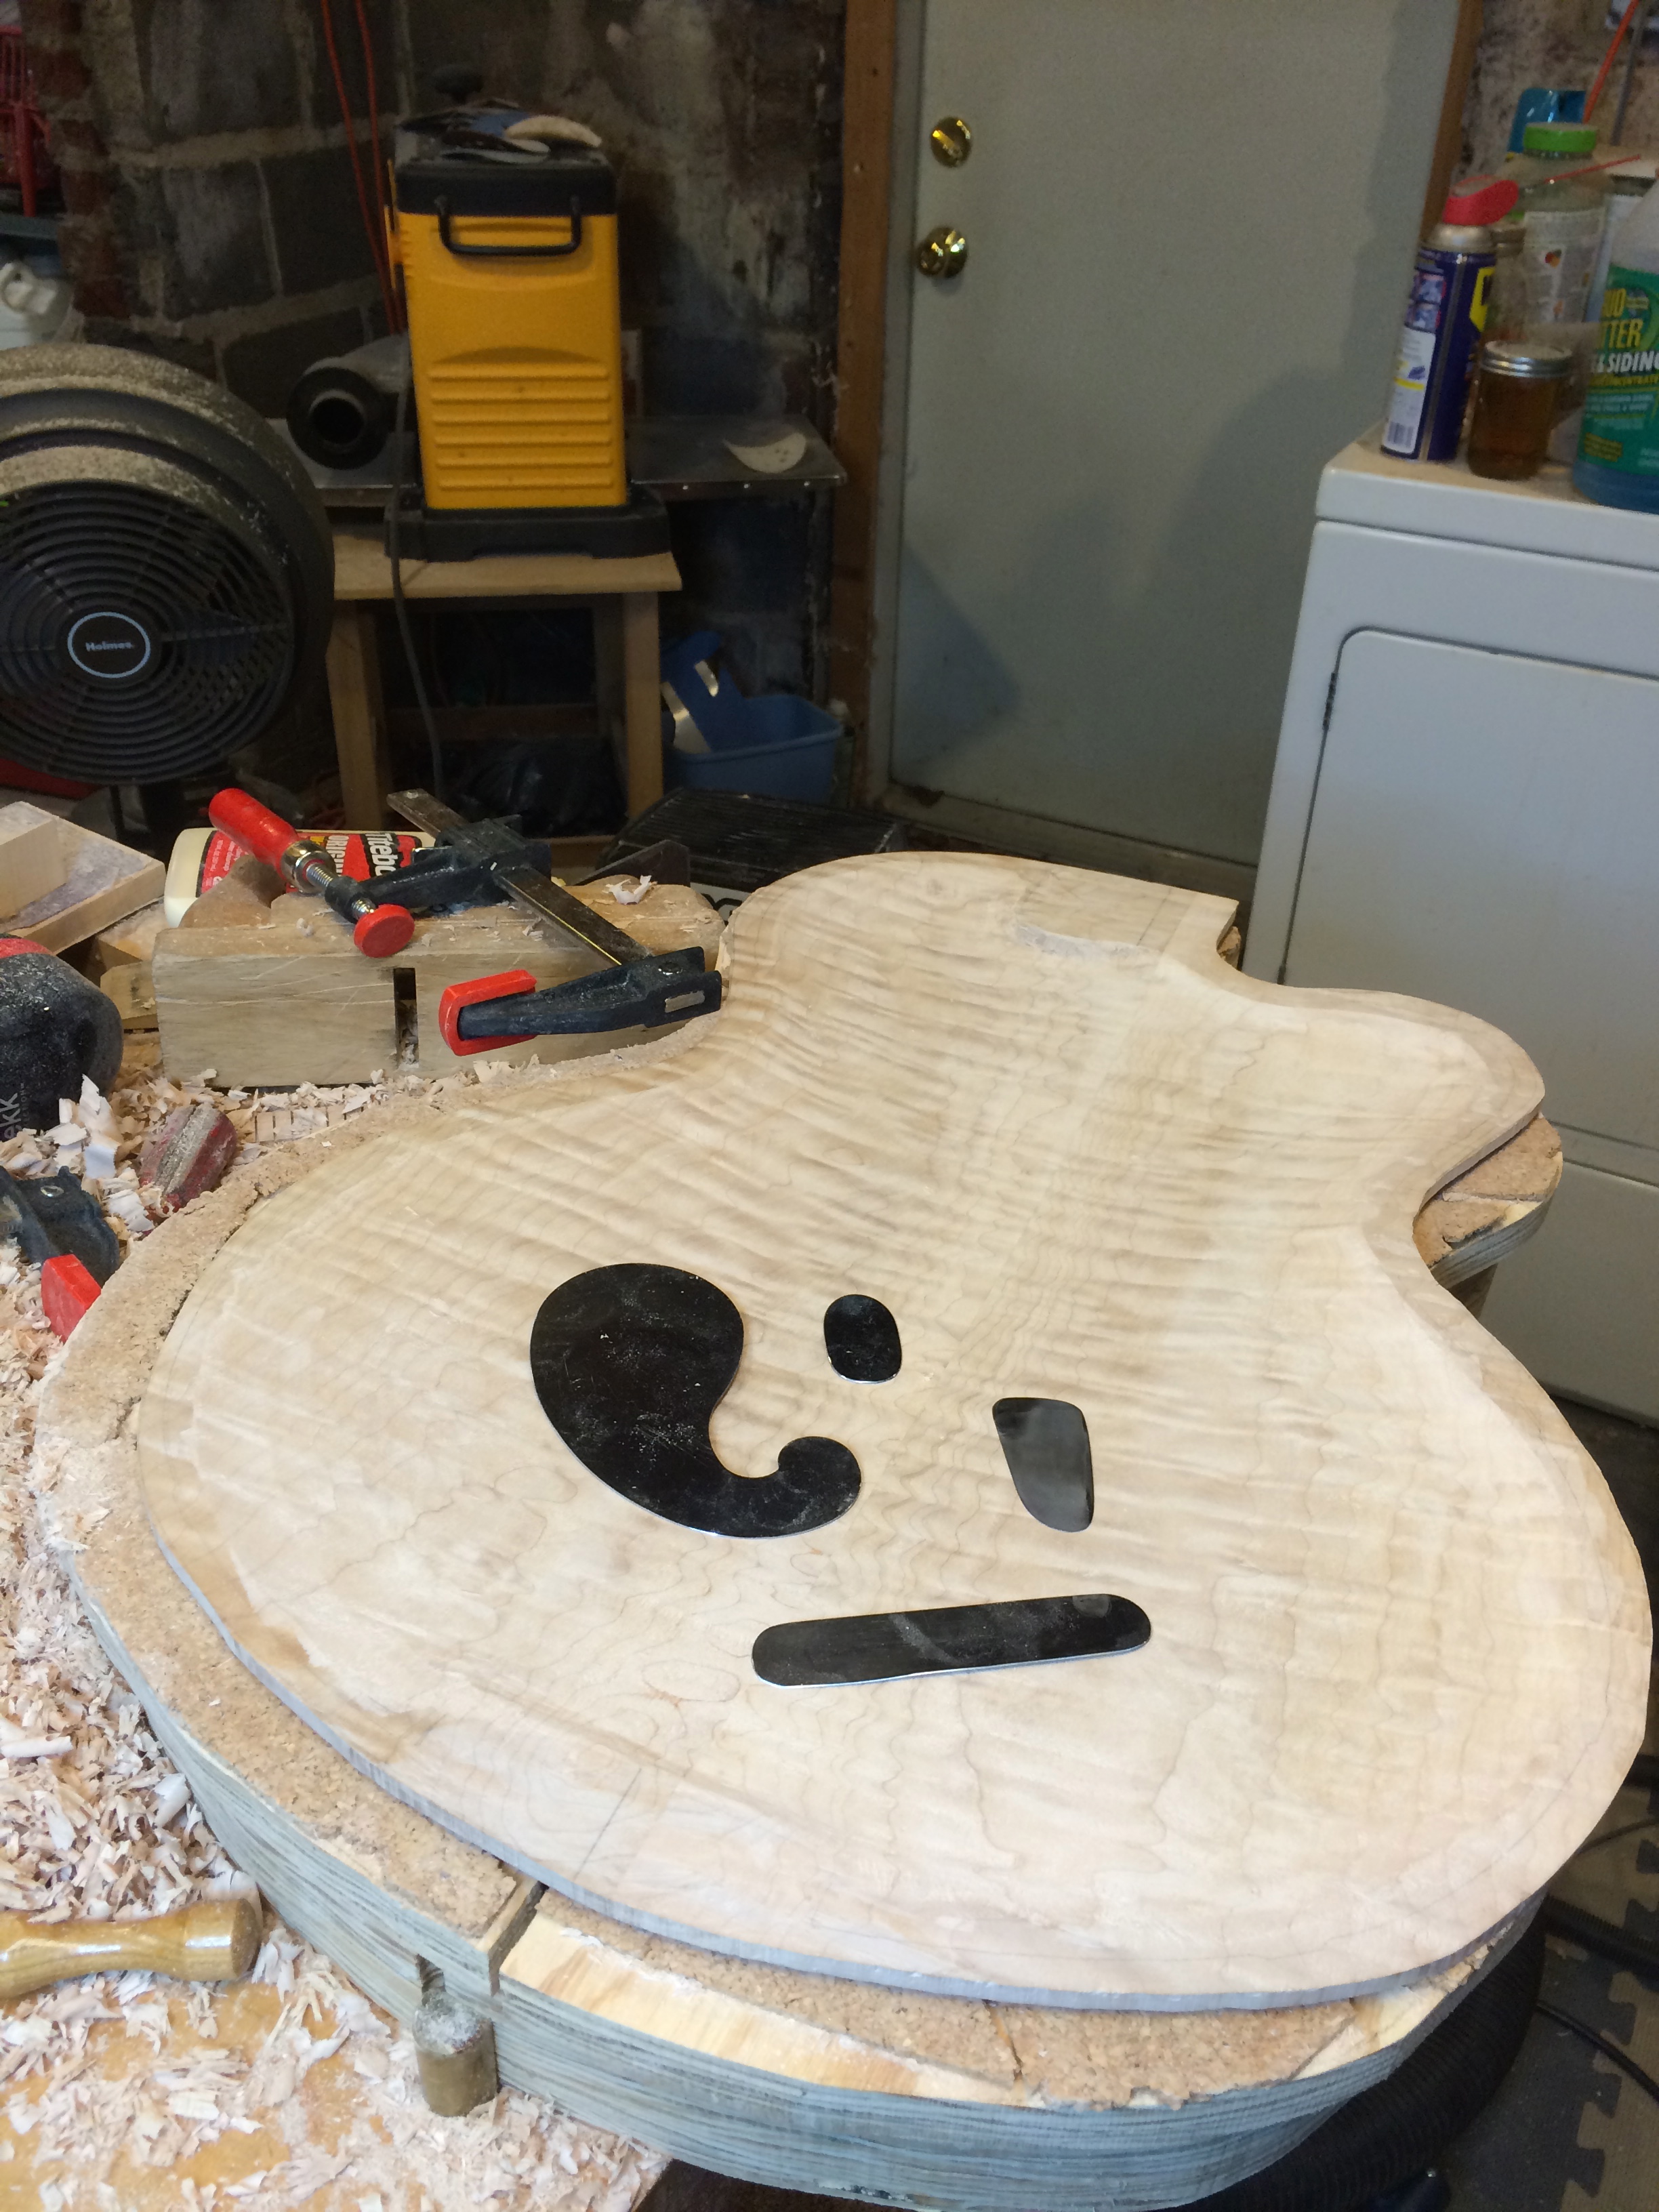
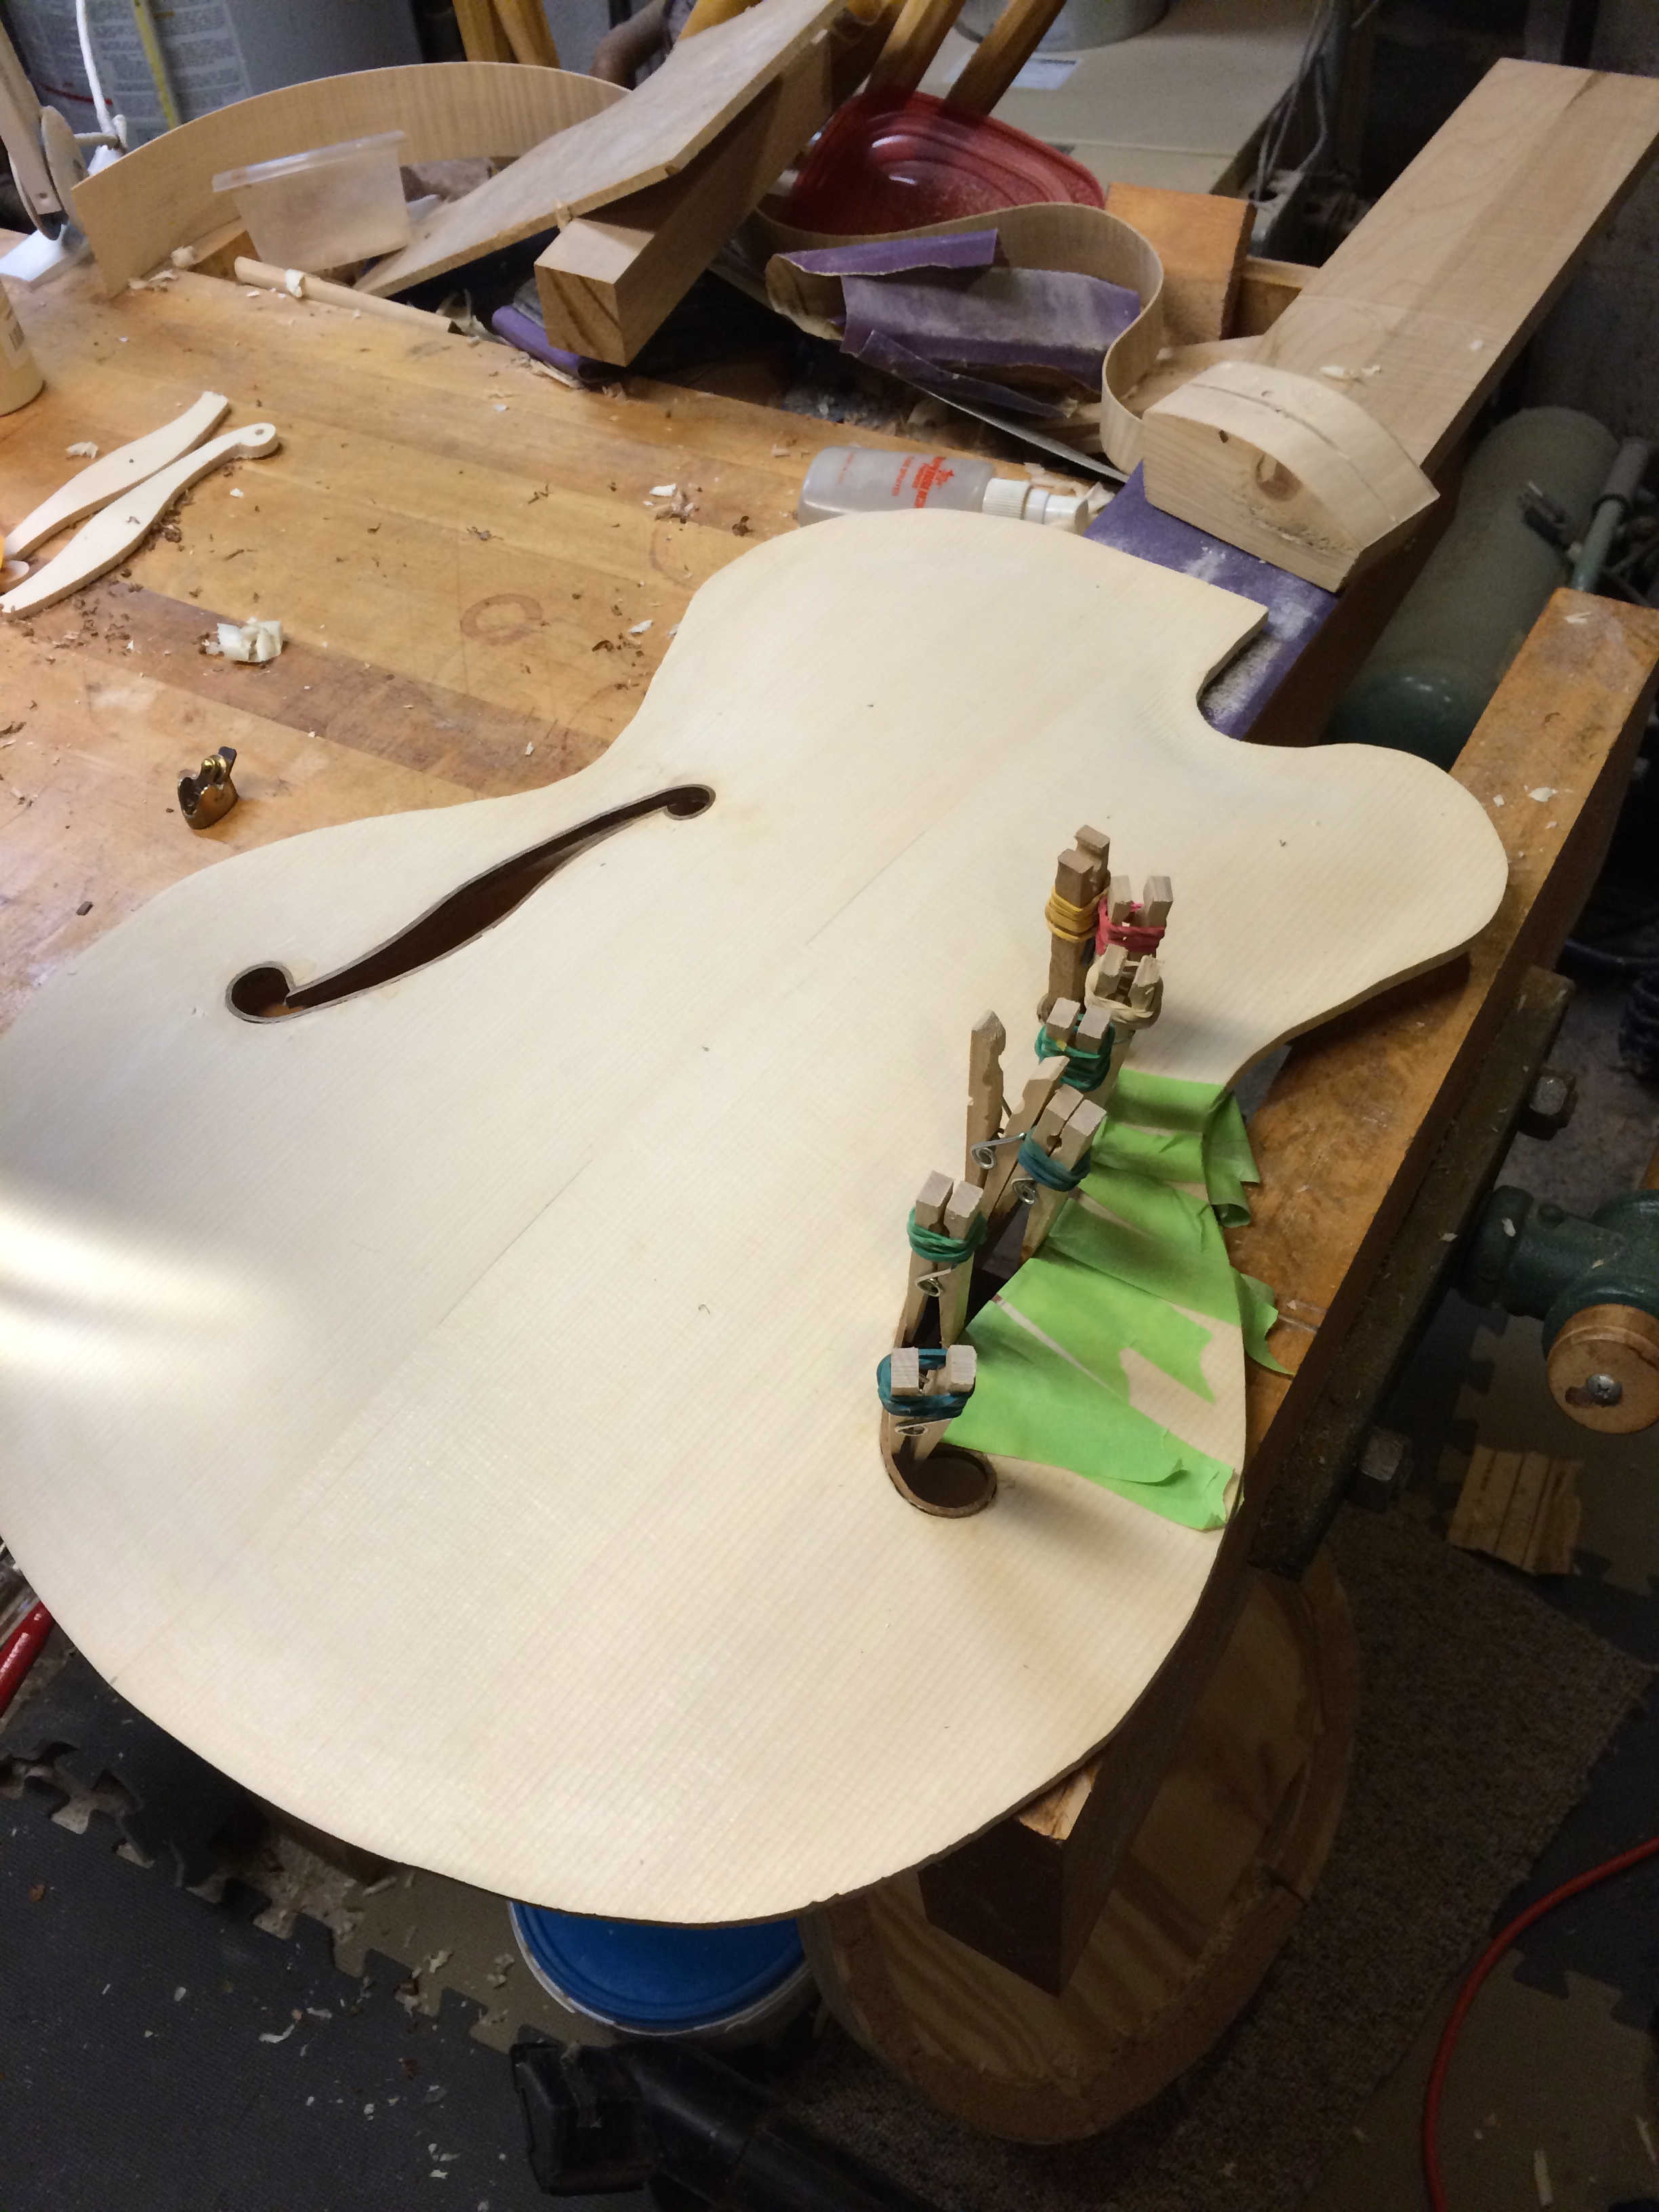
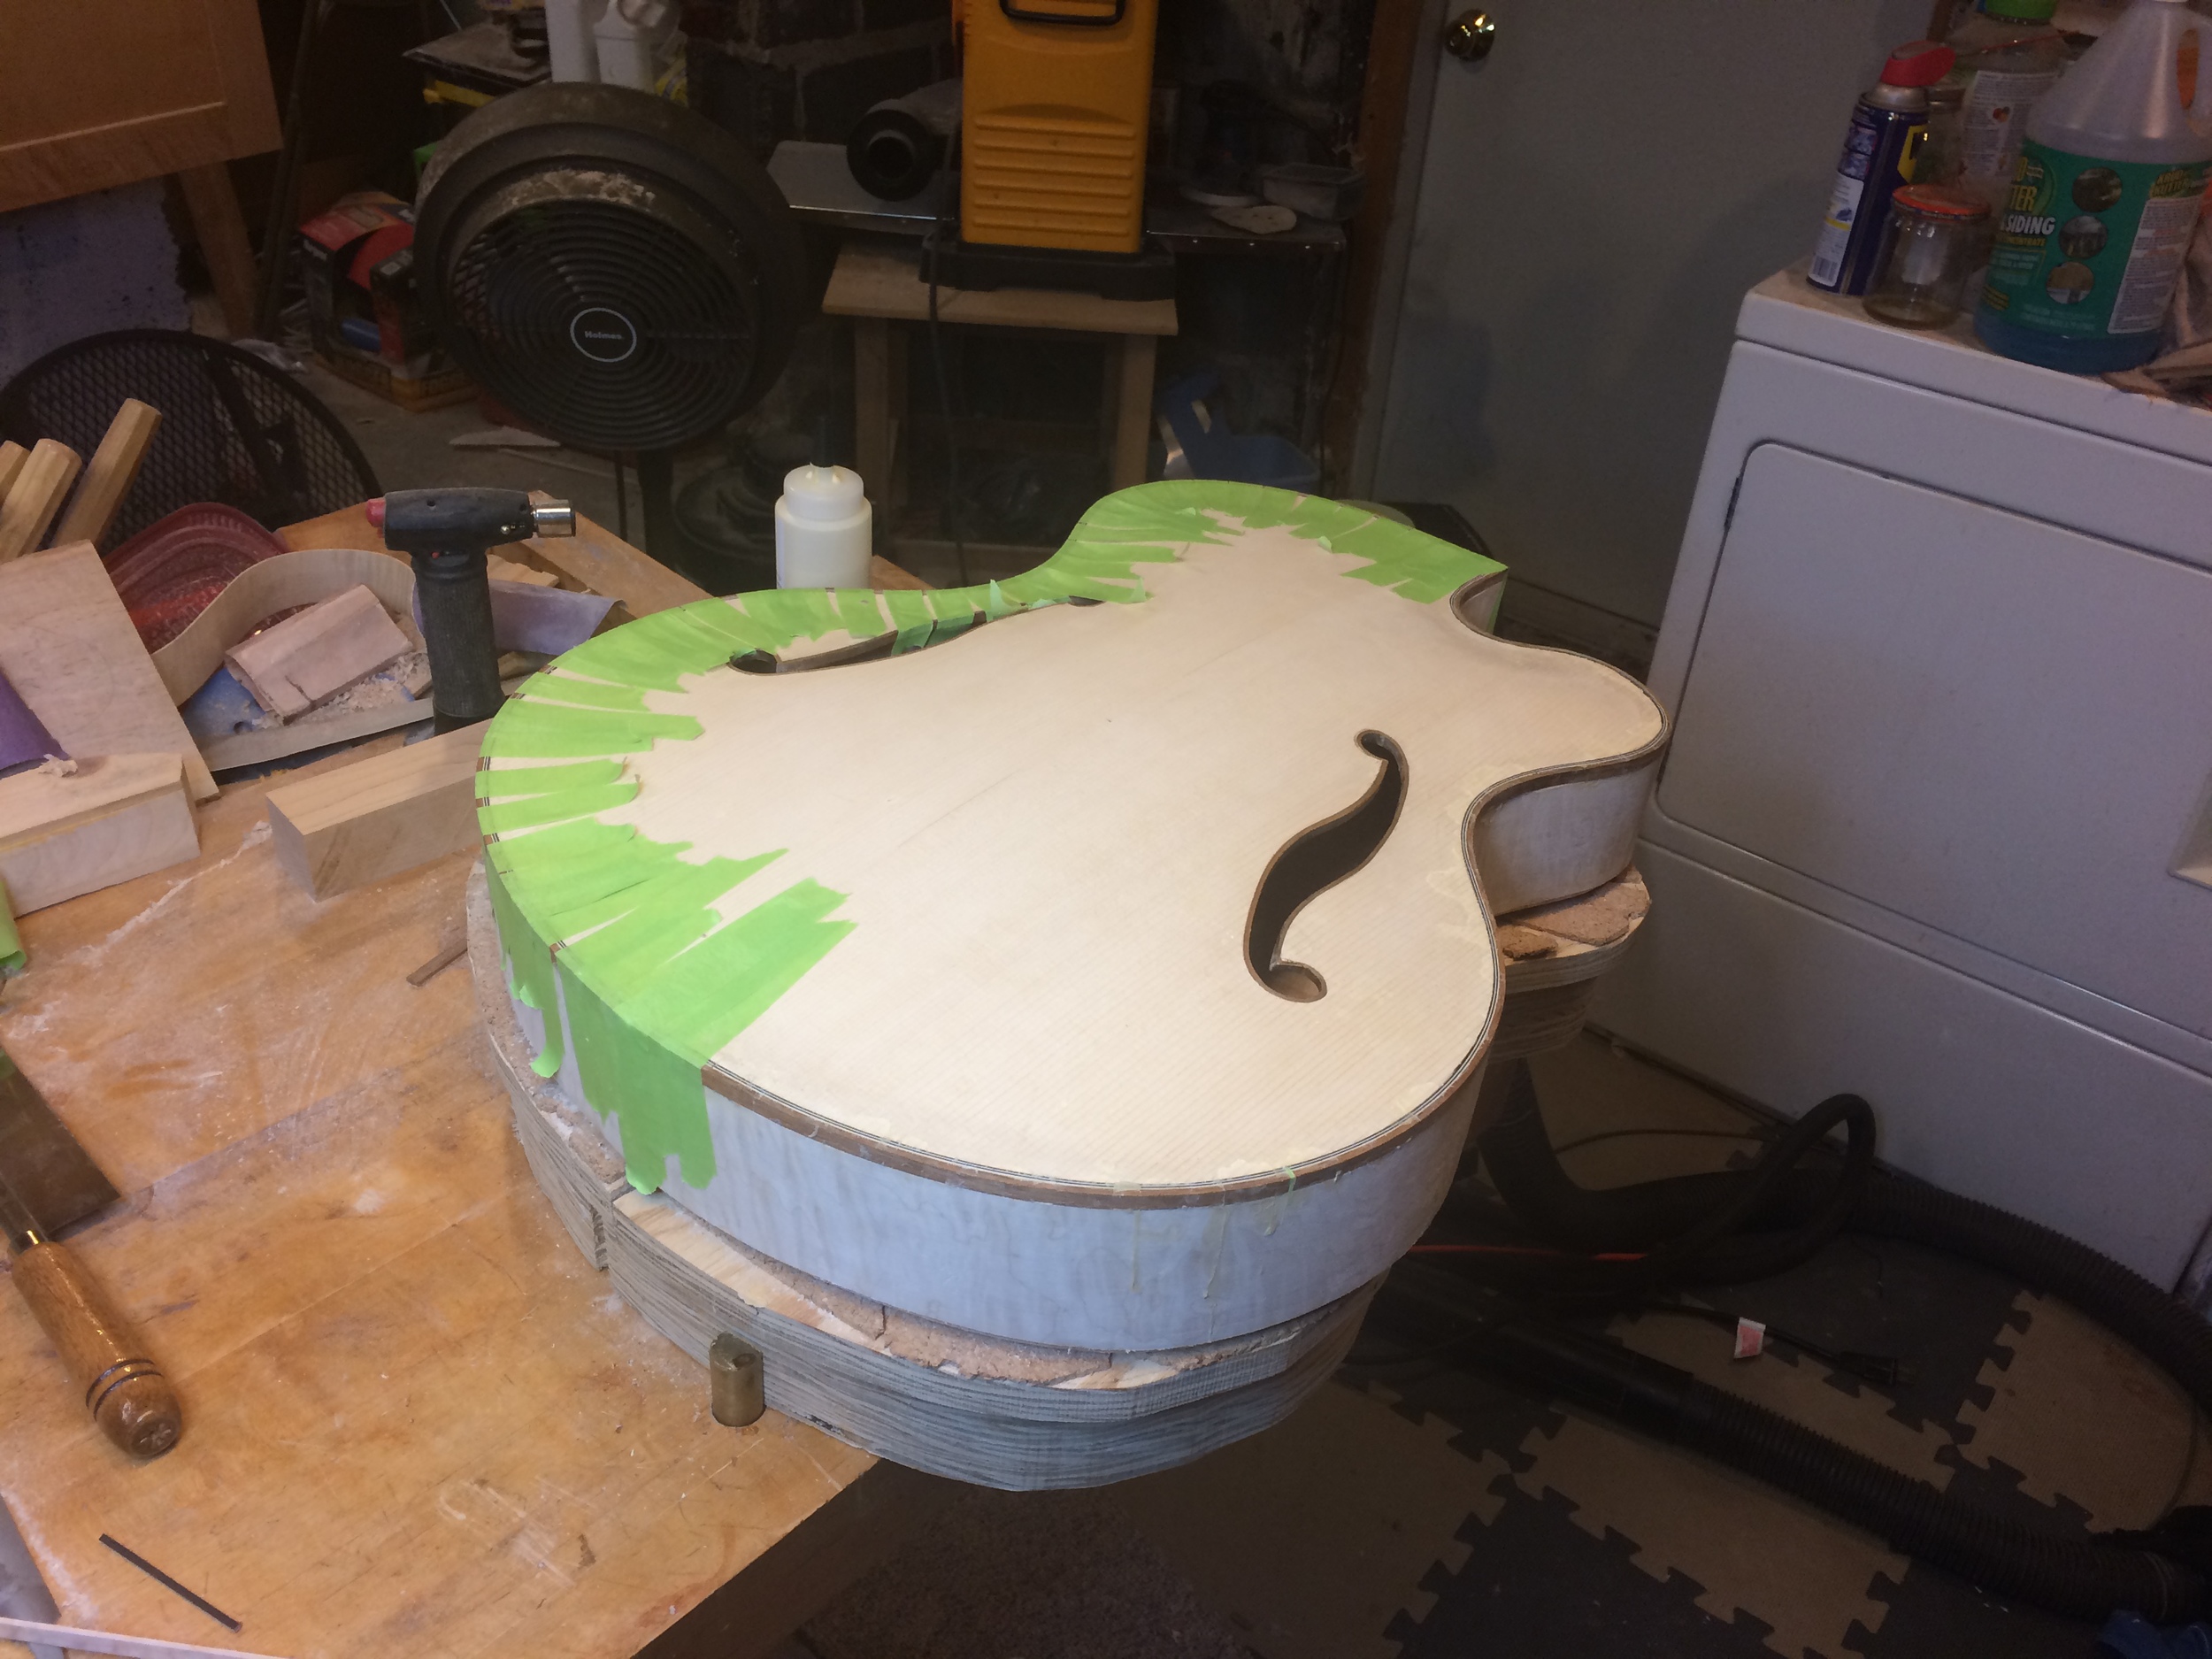
Once the top is planed scraped and sanded, the f holes are laid out with a compass and rulers and template. On this guitar we decided to go with an f hole design more reminiscent of a violin f hole without the nicks. The smooth flowing side of the f hole will allow using one long piece of binding instead of a miter joint midway at the point of the notch on a traditional arch top f hole. Here is a video of sawing out the f holes using a coping saw and fine tooth blade. Cutting across the grain isn't early as pleasant as cutting with the grain in this case.
After cutting the f holes out, Koa binding is applied to the f-holes. Bending the Koa was tricky but it was much easier to bend than the curly maple we used on our first archtop. The koa we used was not figured. Binding tape and clothespins were very useful in getting a good fit. We still had a few voids that we filled with matching spruce from the cut out's themselves laying there on the bench.

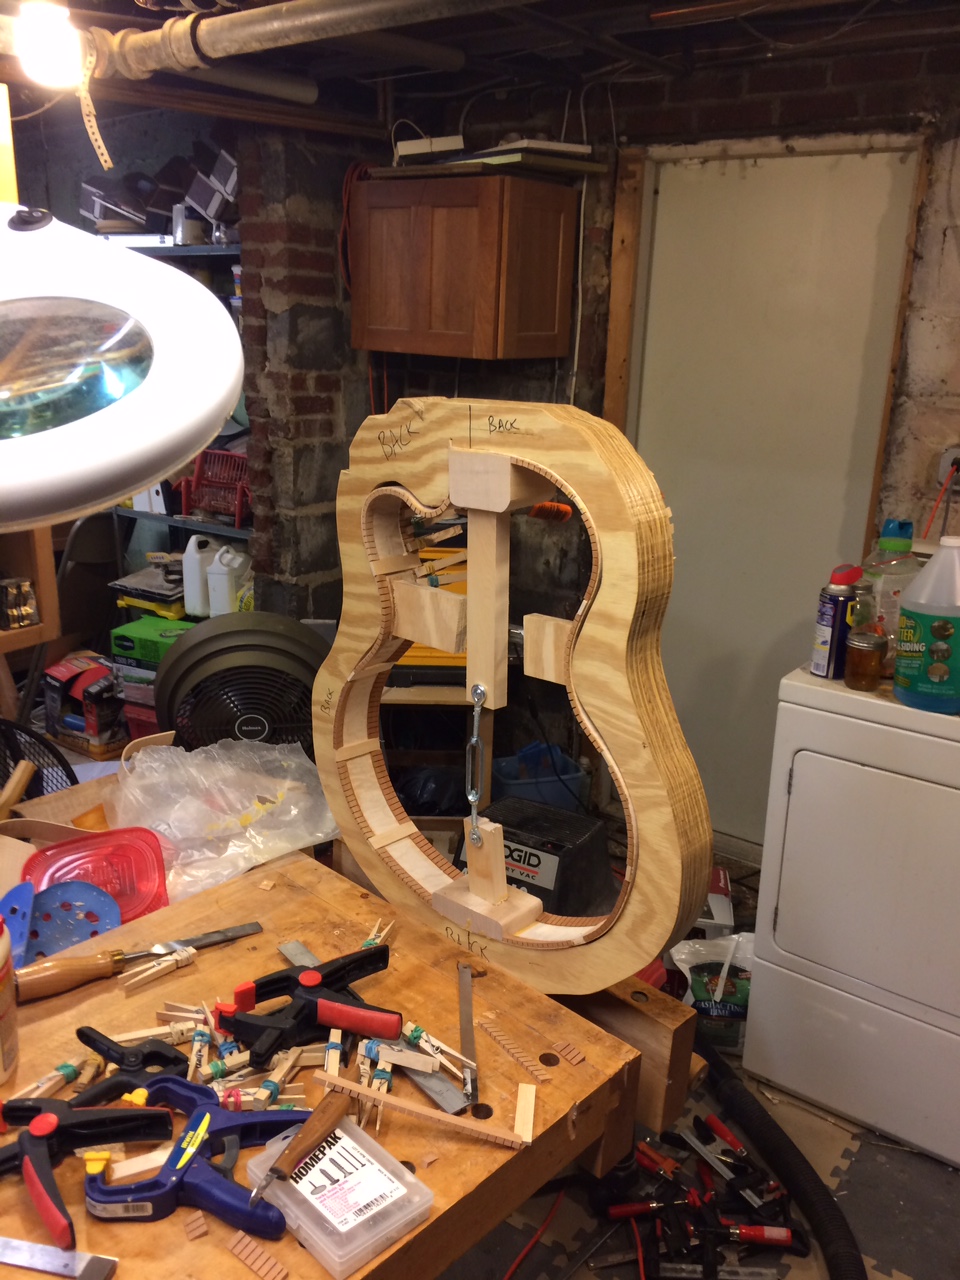
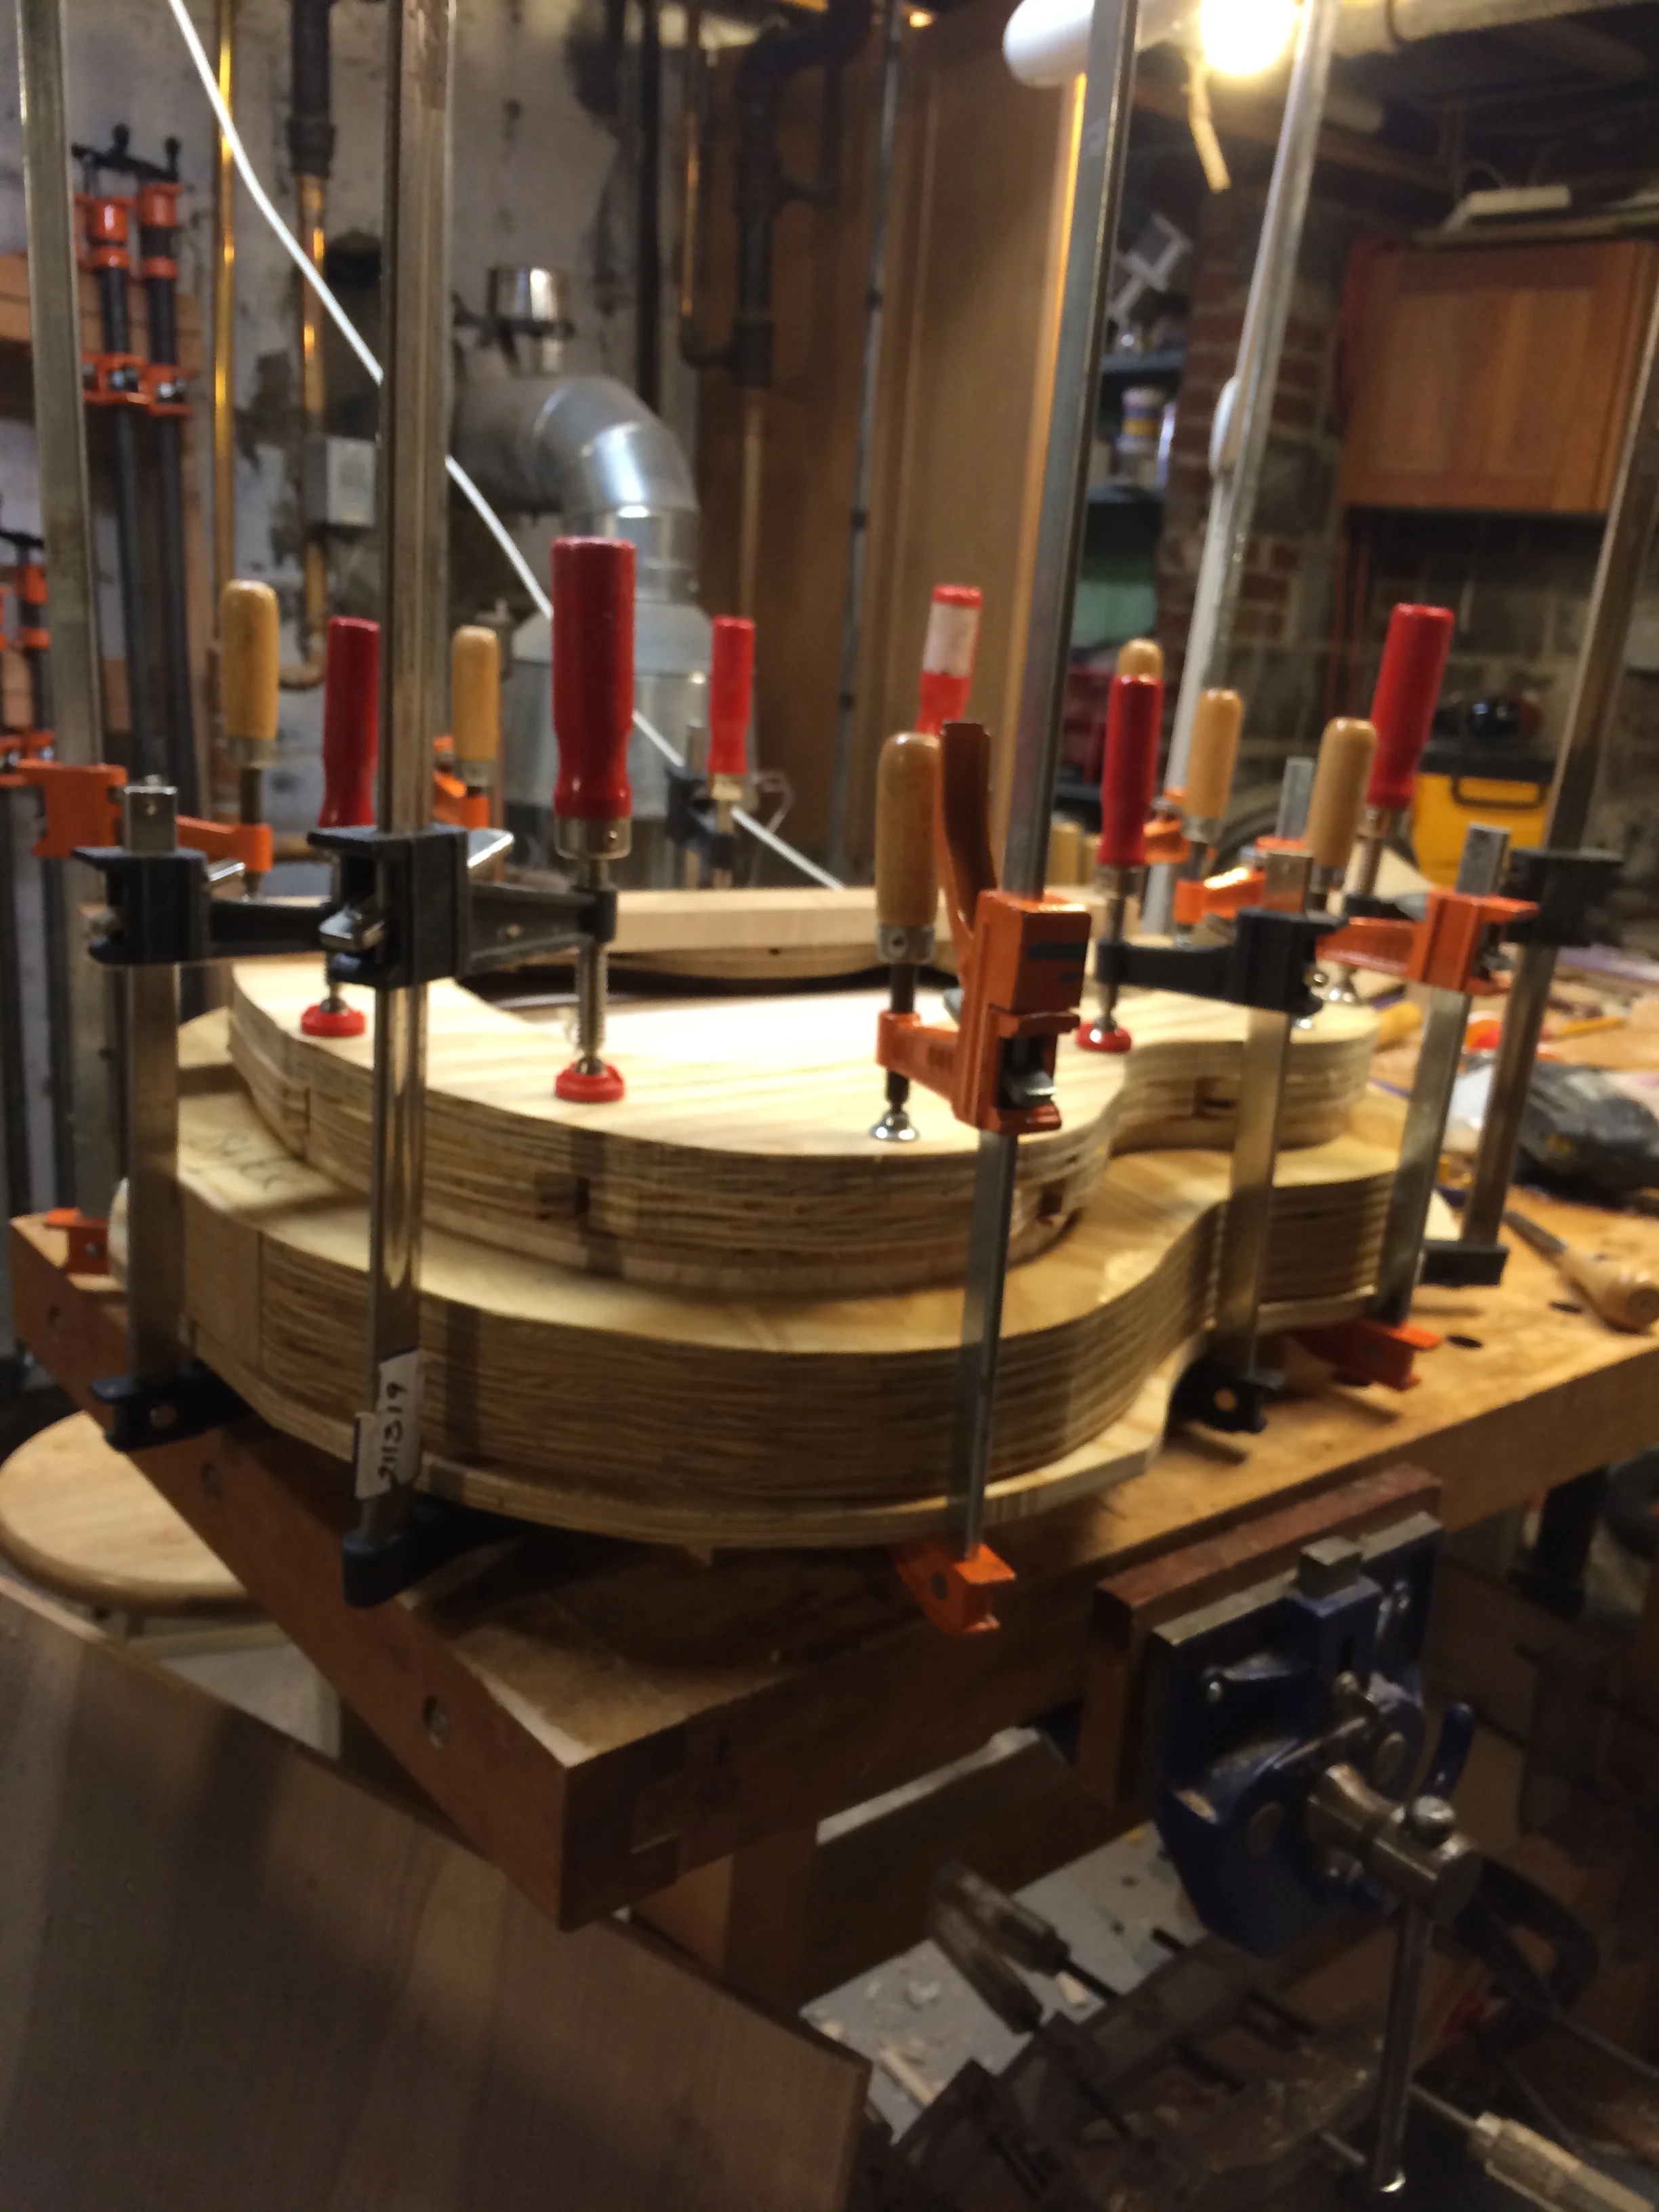
After fitting the x braces with scraper, plane and sandpaper, they are glued in and trimmed once the glue is dry.

Before the box is glued up, a coating or two of very thin shellac is applied to the interior. We hope this will help stabilize the wood by controlling uneven moisture absorption. Now is the time to add notes, signatures, and label.
This is actually the back being glued on using a caul and table.

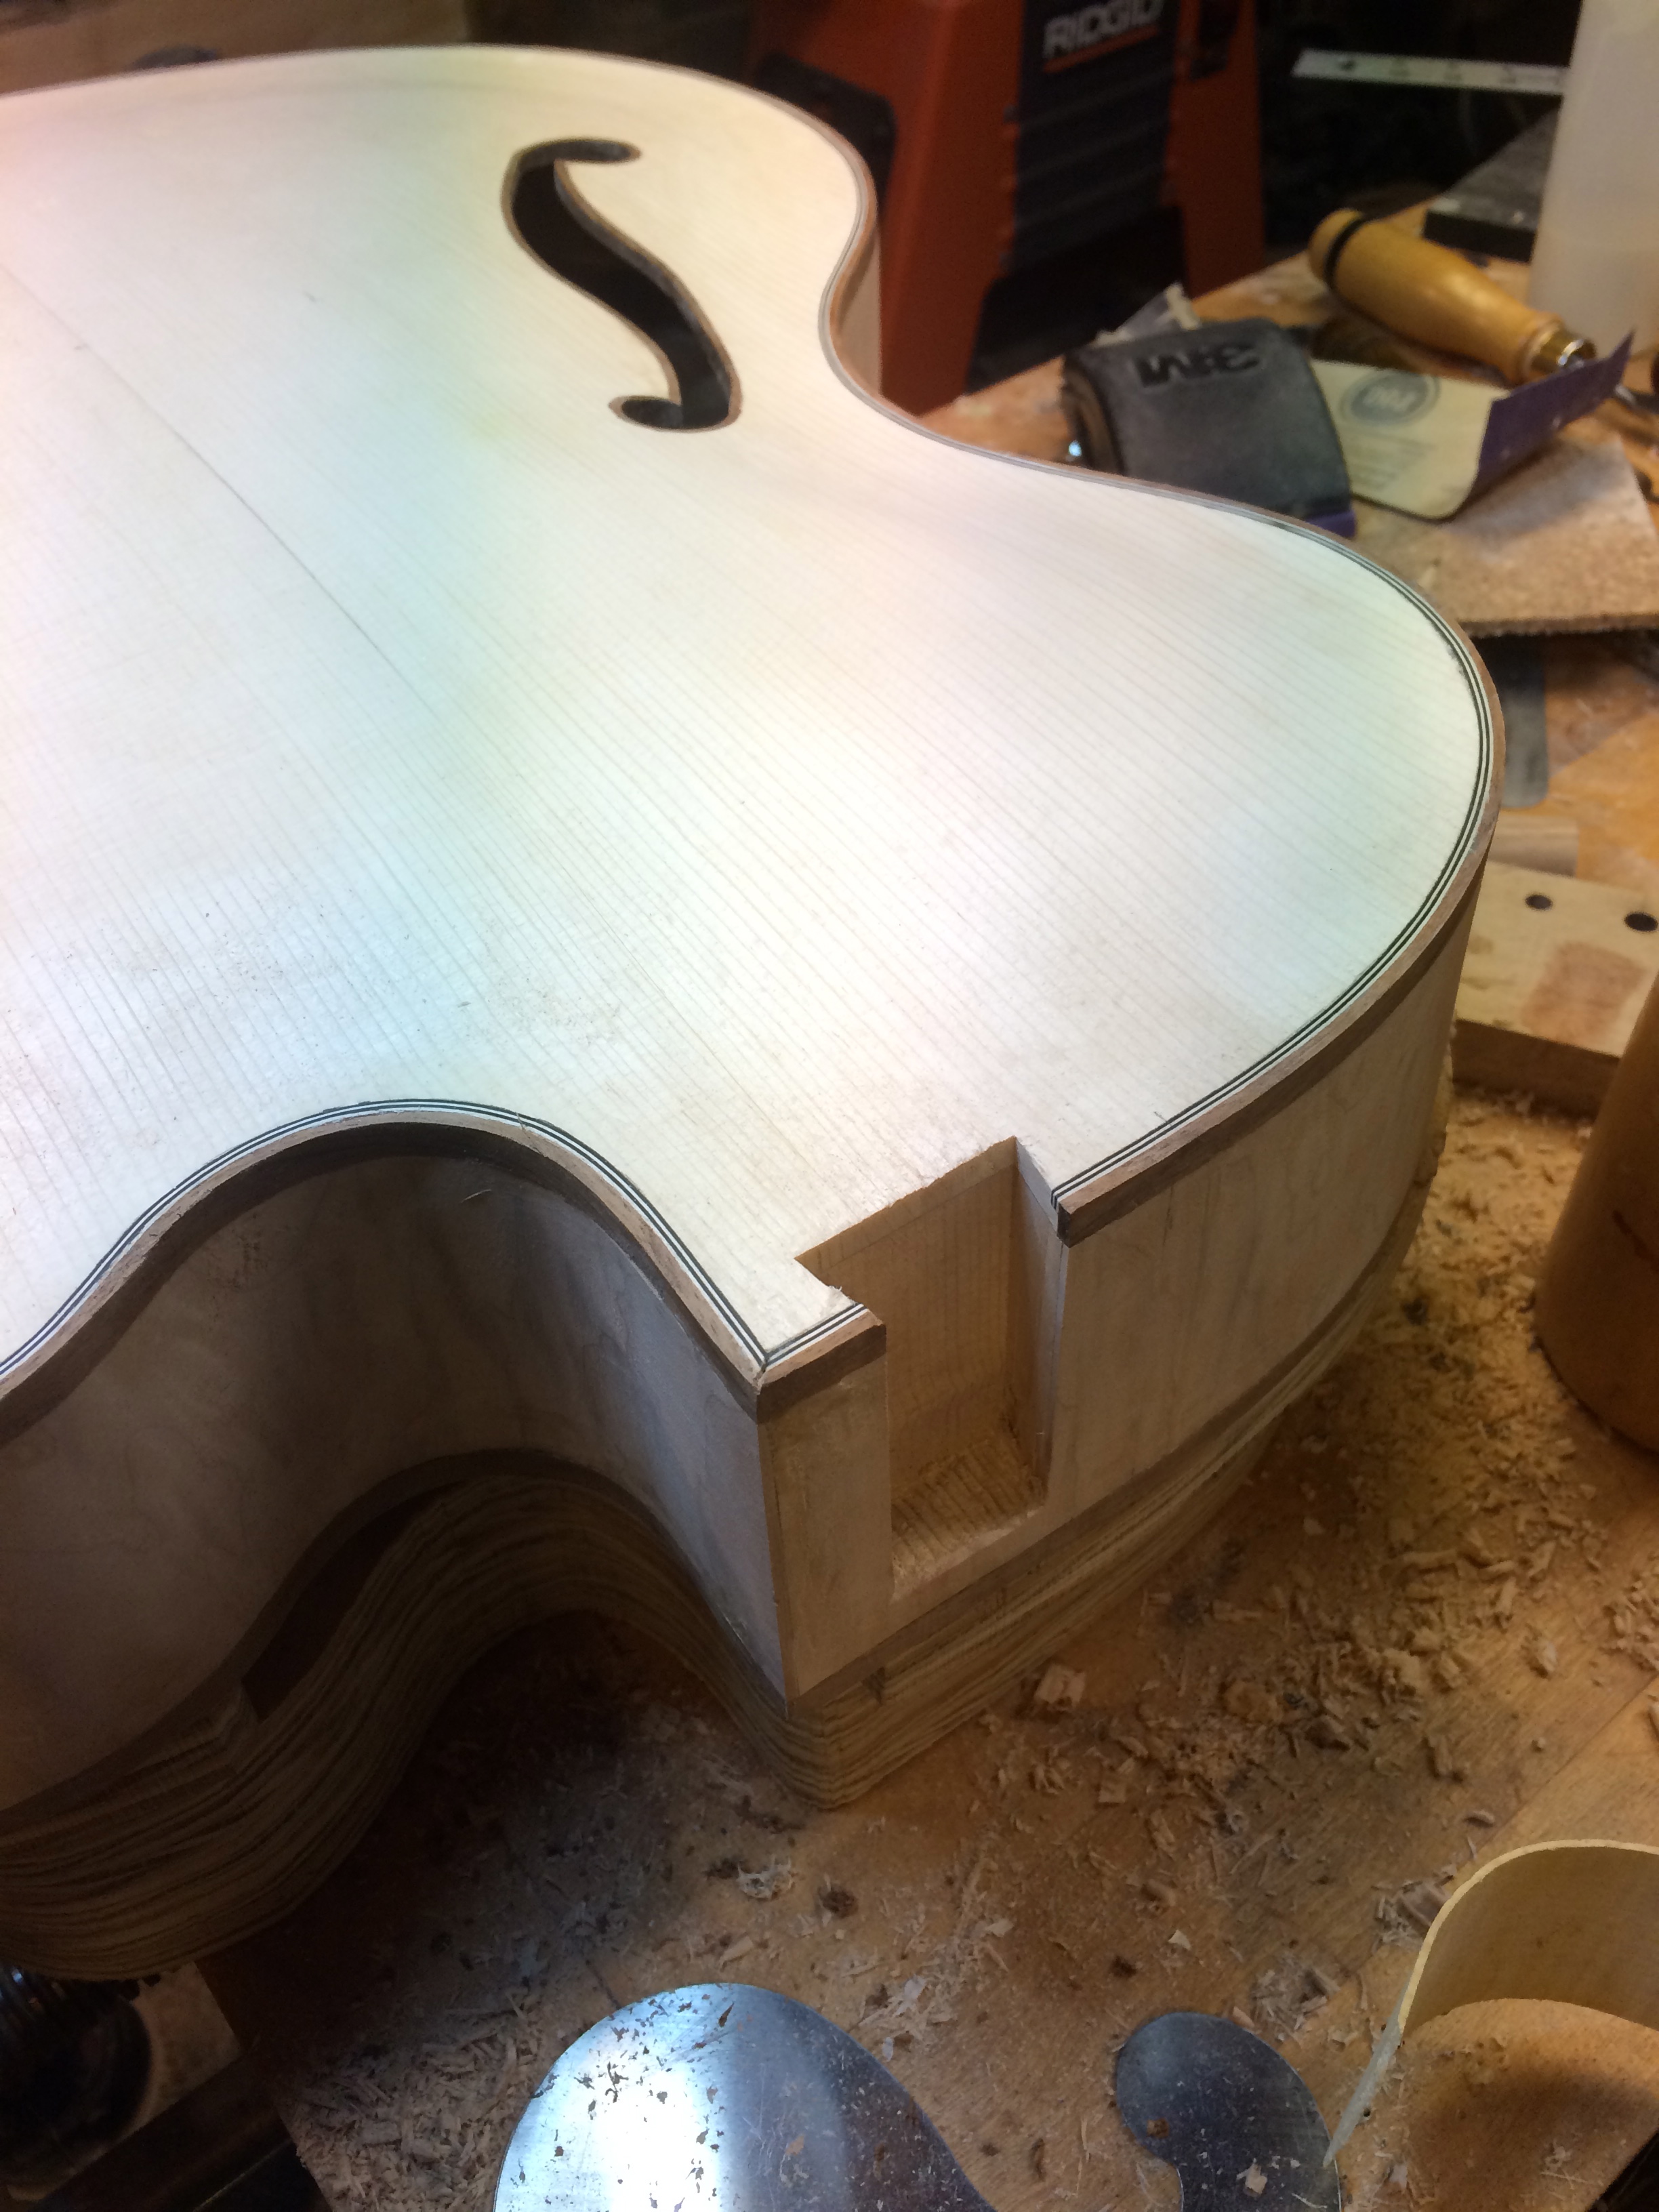
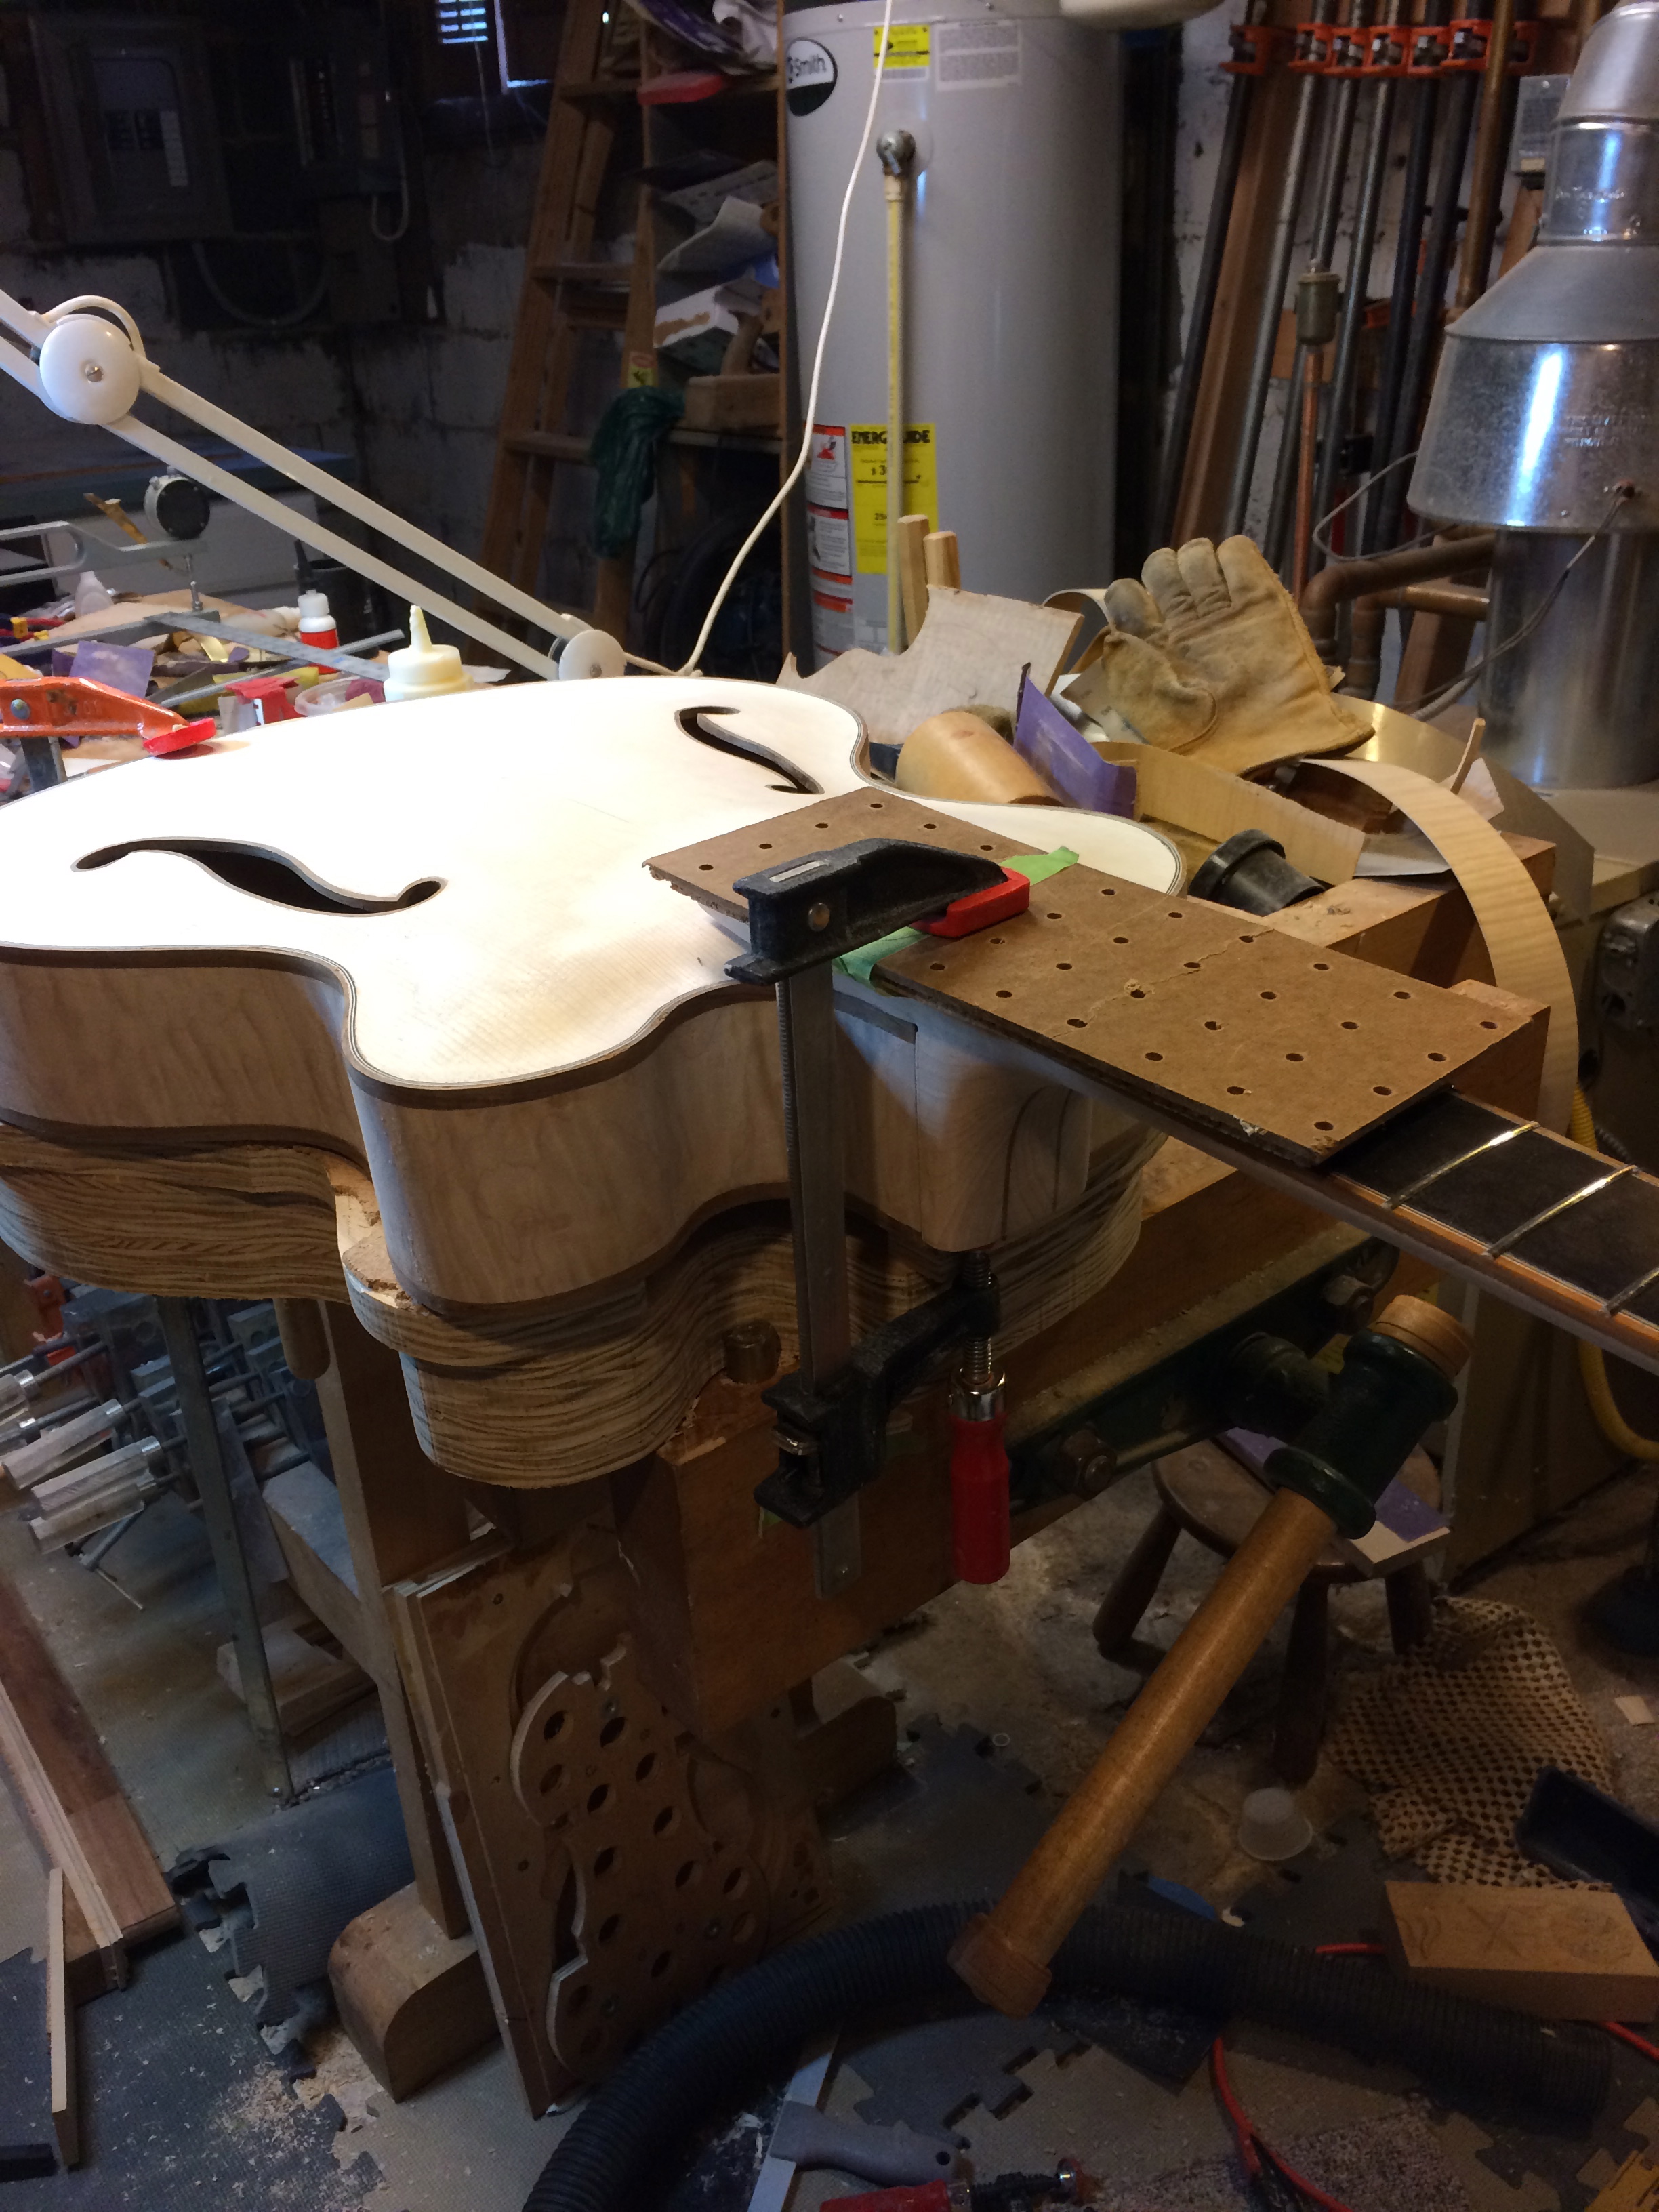
Here is the box after glue up. The extremely frightening exercise of cutting binding ledge follows. The idea of taking a hand held router to many hours of work is disturbing. I am using a Foredom power carver with a Stewmac attachment to cut the ledges. On the first arch top, I used a Dremel which seemed to cut smoother due to the faster rpm but was unwieldy at best. The Foredom hand piece and foot control were much more pleasant to use.
After the ledge was cut, the koa binding and b/w purfling were bound together with strapping tape and bent on the bending iron to the shape of the instrument. Glue was applied and the bindings were tightly taped to the ledge using 3M binding tape. We alternated tape application direction from one piece to the next so that the clamping effect was applied both downward in the direction of the sides and inward towards the edge of the top. I think this helped minimize gaps between the binding and the ledge. It is important to bend the binding accurately to the shape of the instrument because it does not conform easily to the meager force applied by the tape. That being said, I love that binding tape. It works really well!
Now we start the neck. The neck is a lamination of maple and walnut and is roughly 3 inches in width. The laminations are cut shaped with a template before gluing up.
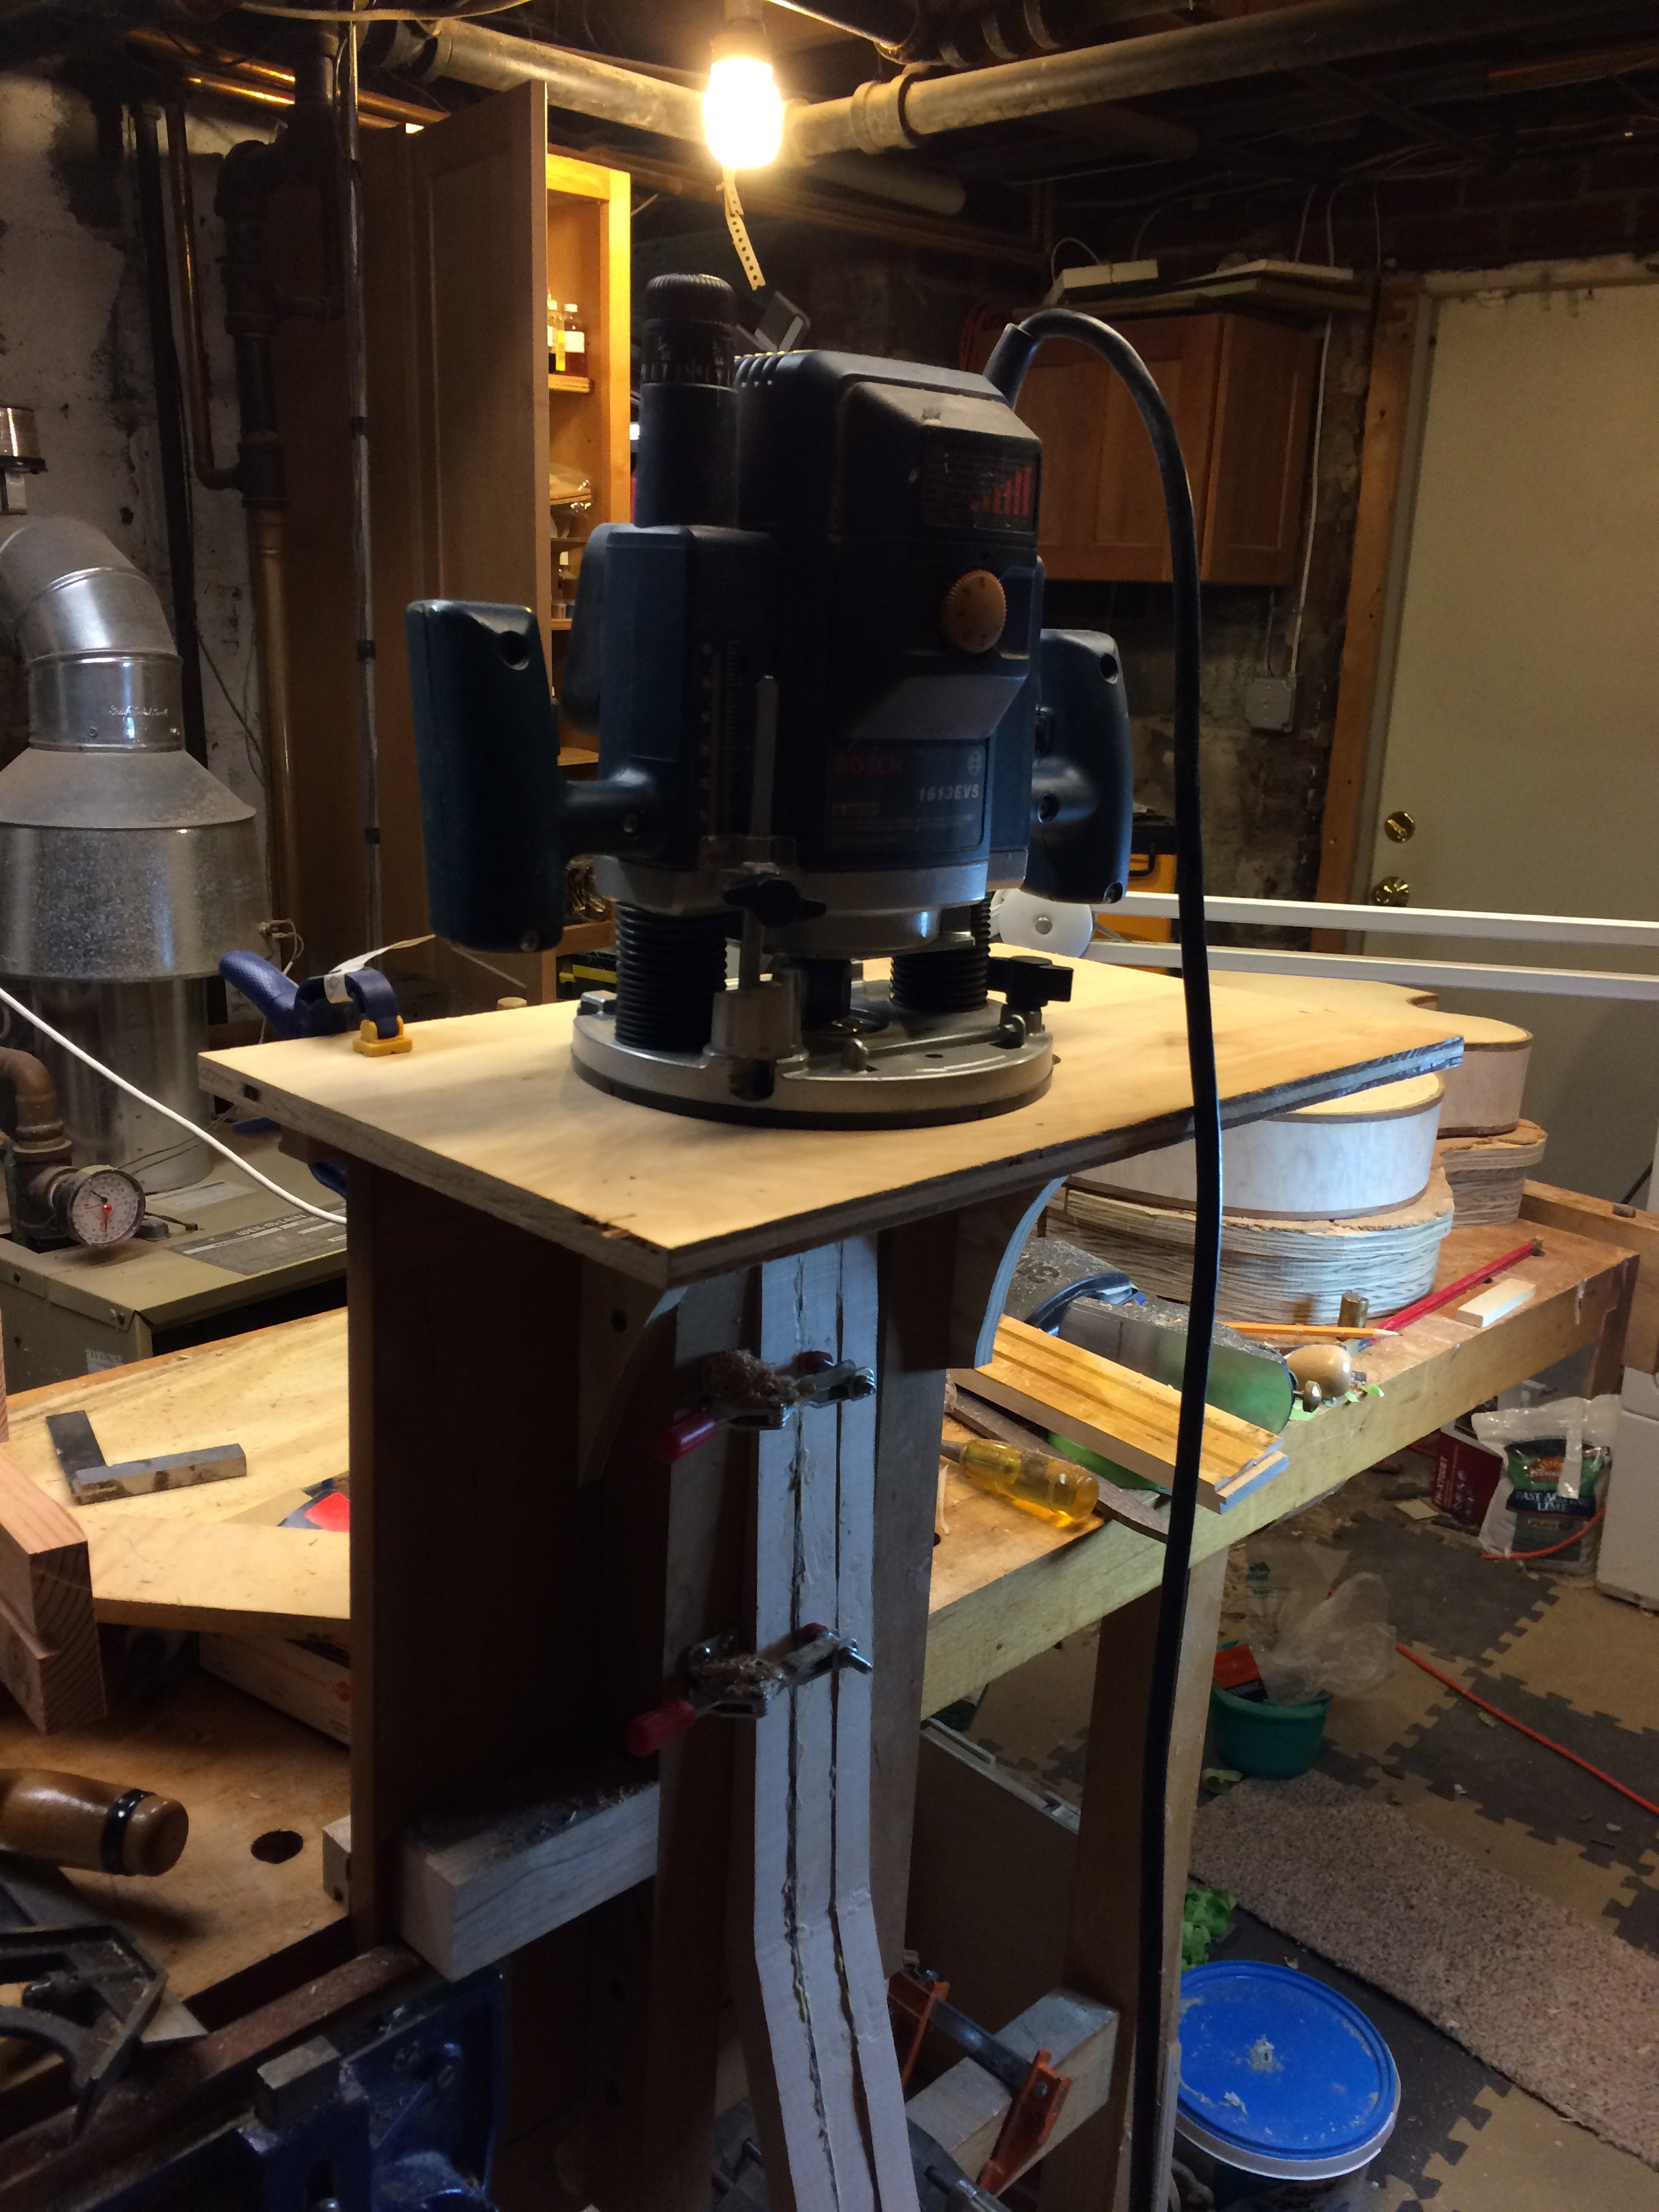
Below is a router jig I made to cut the neck dovetail. The jig is based on Mr. Benedetto's book, of course, and worked really well once it was set up correctly. Ordinarily I cut joints like this the old fashioned way but with the possibility of making more of these things, might as well streamline a bit...
Veneering the headstock with maple burl veneer was more stressful than it should have been. After slicing the veneer and planing it with the safe-T- planer, the thin veneer curled up like a scroll once the glue hit it and was scalloped along the edges where the cauls didn't contact the veneer directly. Below is a picture of the rig of clamps I had to use to control the veneer. As it turns out, the edges were cut off once the headstock shape was determined so it was much ado about nothing. Feel free to laugh.

After cutting out the headstock, we had to determine where to put the tuners and mother of pearl inlay. I had stained the headstock with an aniline dye tinted shellac prior to inserting the inlay but most of the color was sanded away as expected once I began leveling the CA glue used for the inlay. I used a boredom hand piece and Stewmac precision router base for routing the inlay cavities. I highly recommend the Stewmac precision router base. The transparent hose is for a dust blower (I'm told it is just an aquarium pump) which is very useful for this and for blowing the dust off of the mother of pearl pieces while cutting them.
I've never been a big fan of jigs but this time I gave it a try. Since I routed the neck dovetail, I pretty much had to rout the mortise as well. It took forever to get the jig template exactly the right dimensions for a tight fitting mortice. Trusting this jig that I built to safely guide a bit spinning at 25000 rpm into the guitar body that I had invested so much time and money in gave me the fantods but it did work astonishingly well once the jig was finished. Now I just need to figure out where to store the jig...

Just a note to anyone who is visiting the site between February 16 and March 13, 2015. Production is at a standstill while I am on tour in the southeast United States with the Navy Band. I will resume work once I get back. Thank you for checking out the site! If you are interested to see where the Navy Band is playing, you can visit www.navyband.navy.mil.
And now….back to work….
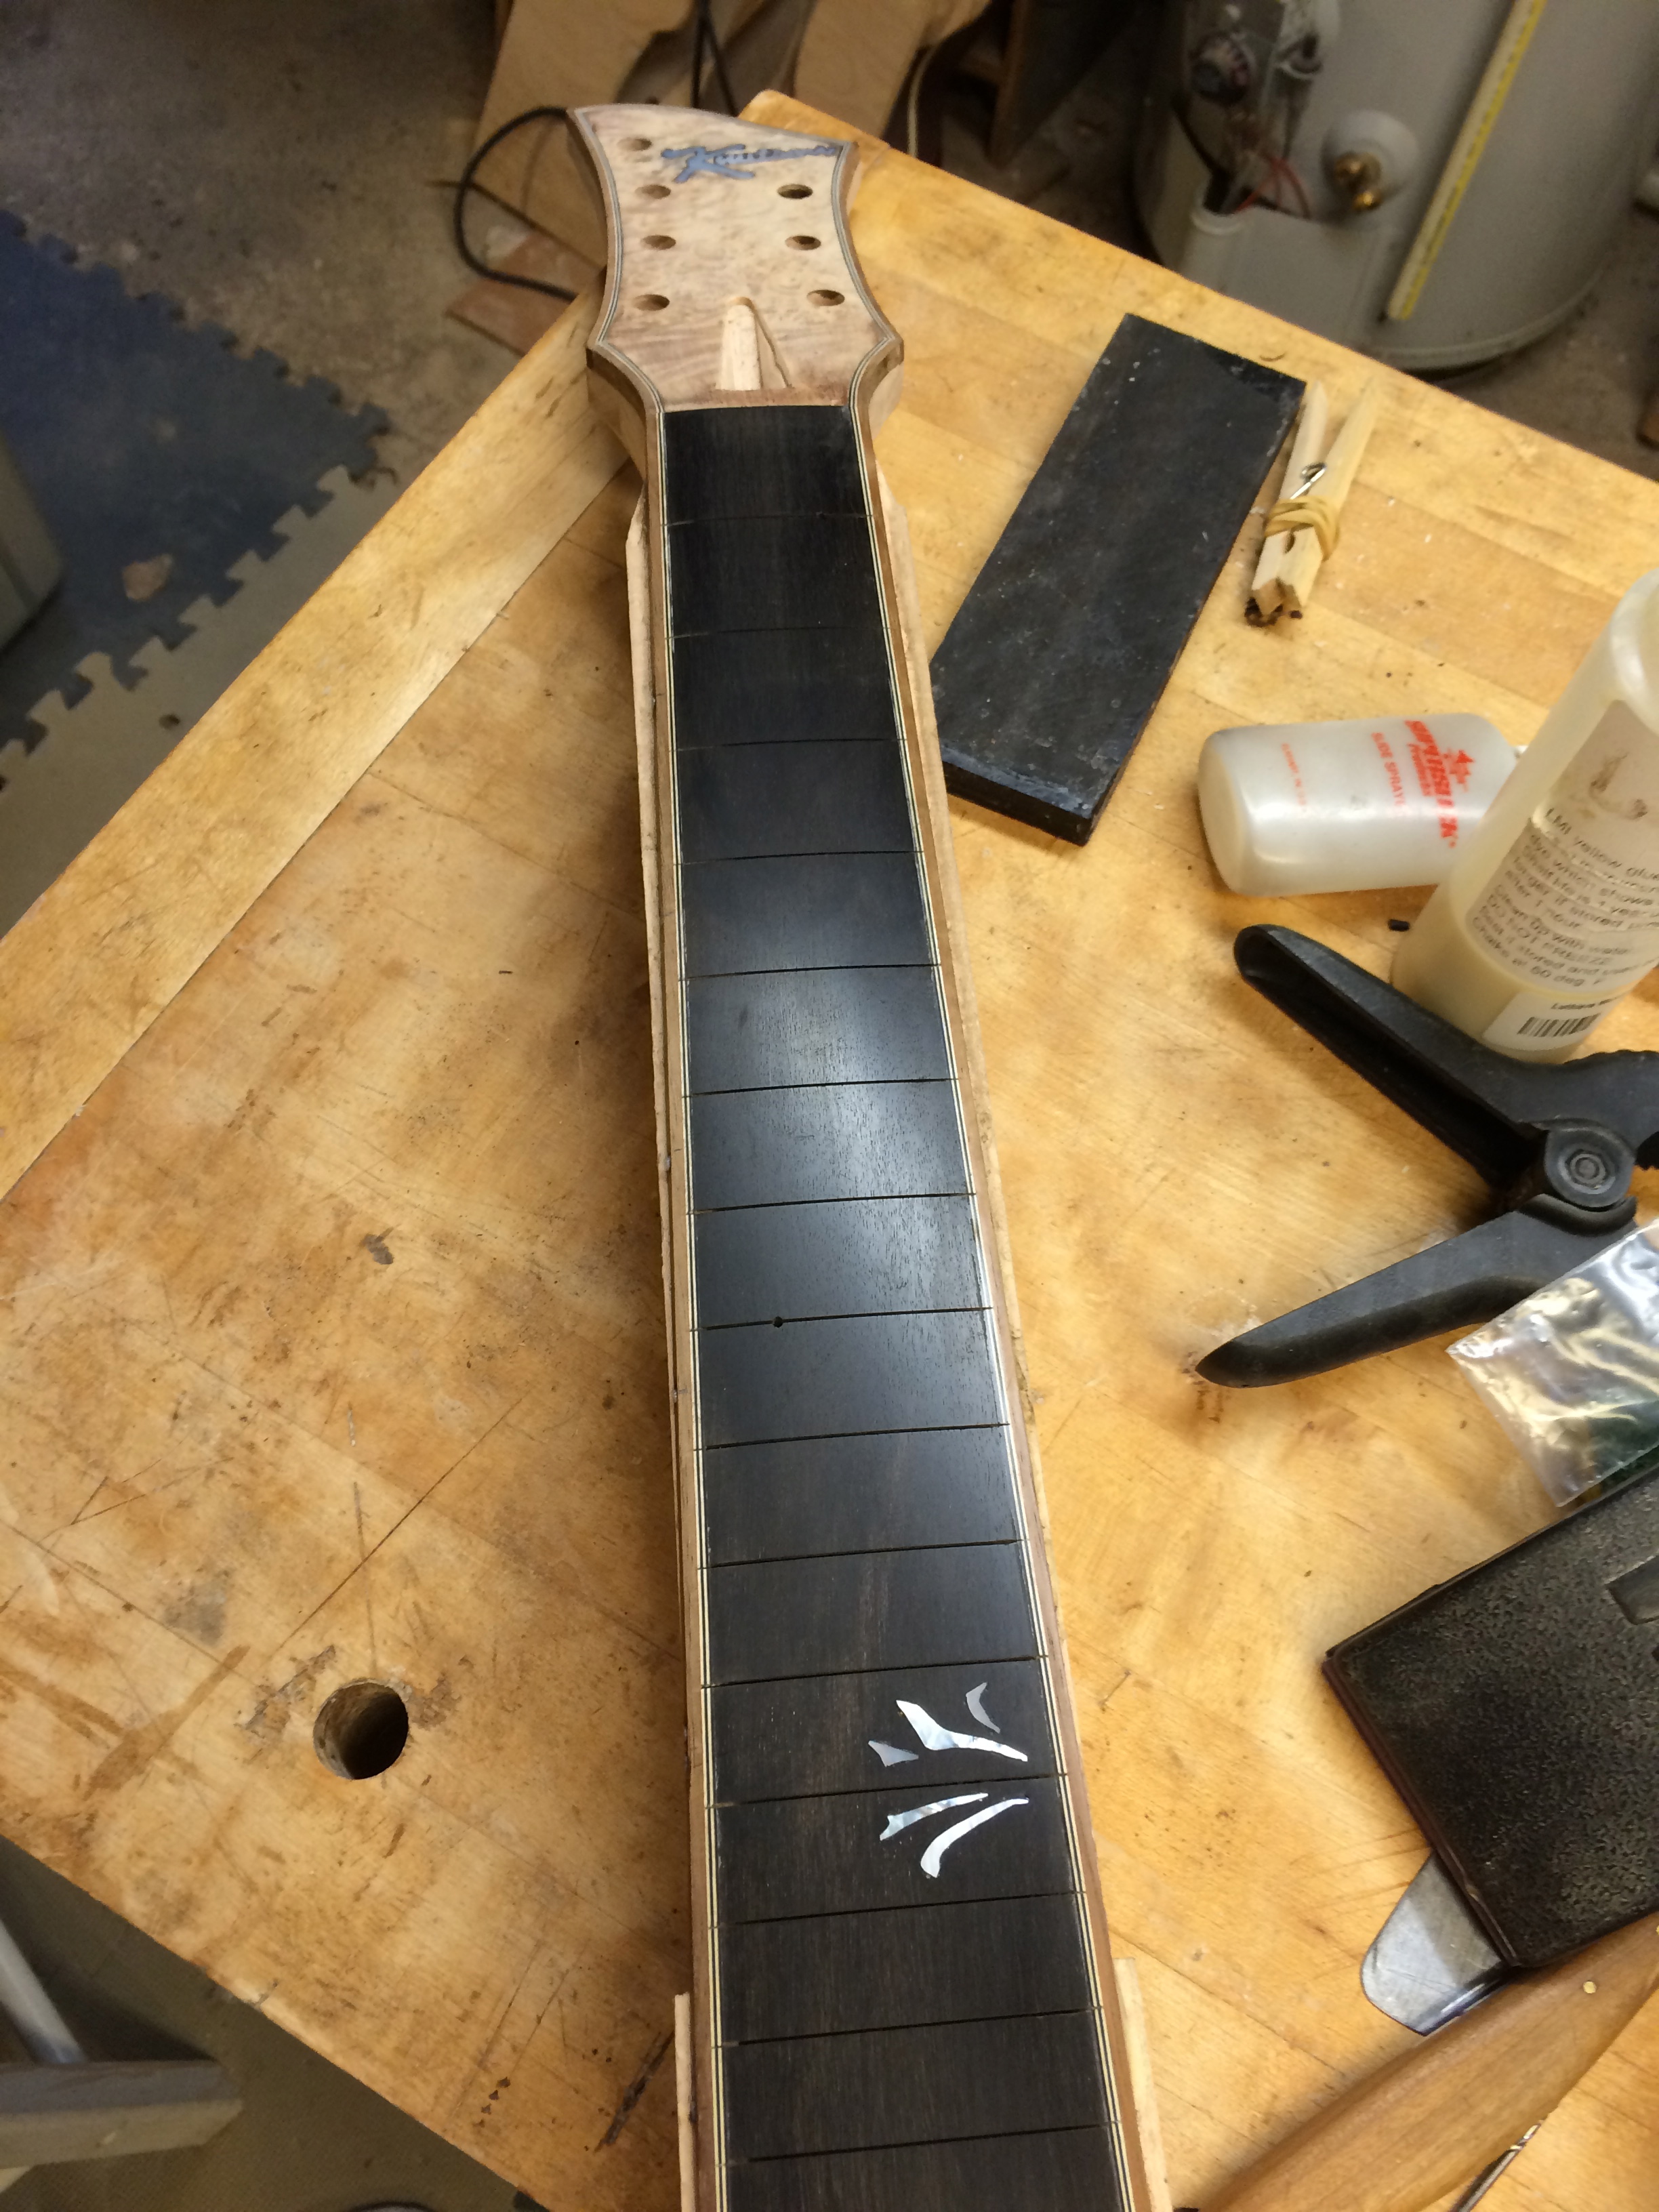
Back from tour and slowly easing back into the project. Just glued in the mother of pearl side dots and hammered the frets in. I filed the fret slots with a very small triangular file before applying some thin super glue and then hammering in the frets. One should wear hearing protection when hammering in the frets because it can become loud over time. The problem I have found with hearing protection is that it makes it more difficult to discern the sound of the fret as it firmly seats in the slot.

The excess wood near the heel has now been cut off with a bandsaw and I shaped the the neck profile with one of those cheap chinese rasps, various scrapers and files. I cannot recommend that rasp highly enough. It cuts incredibly fast and is very easy to control. I didn't take any video of the process. After shaping the neck I sanded it with sanding block and random orbit sander, raising the grain with water once or twice and knocking it back down again. I also raised the grain with my own blood in one spot. The crime scene splatter pictures indicated that I cut myself with a very sharp scraper.
Scraping the binding and maple sides with a scraper. This is tedious but it keeps the edges of the instrument square and is less nasty than sanding. Unfortunately I'll still have to sand the thing but the scraper removes glue and bumps a lot faster. I also spent the day scraping the recurve on the top and back. The maple really takes a toll on the scraper and I had to refurnish the scraper many, many times. The scraper I'm using below is one I made from an old Japanese saw blade. The steel is super hard and is a lot harder to sharpen than the traditional steel scraper but it seems to holds an edge for a long time.
I have fallen really behind in documenting this project including failing to take pictures or video of many of the steps. Here is a photo of the neck mortice before glue up.
And here is the neck tenon:

Fitting the neck to the body was a chore for a couple of reasons. I didn't take into account the wider seven string neck and consequently had to tweak the neck/body angle in order to line the center line up with the hole for the endpin. I also had a few issues with a neck projection that was a little higher than the recommended 1 inch height at the bridge. This required some adjustments to the heel and to the mortice but with a lot of fussing it eventually turned out ok. With a few shims, the neck joint was perfectly tight and aimed exactly the right way!! Here is the neck as it is being glued up. The joint was so tight it probably didn't need to be clamped.
I said I skipped a few steps. I skipped showing the saddle installation and also there curve tweaking and tapping. The tapping seemed resonant with vibrations occurring pretty evenly across the back. Who really knows until it is strung up? Below is the guitar after the first coat of epoxy filler. More on that later….

From what I've read and experienced, maple does not need pore filler. I went back and forth on whether to use it because of the Koa binding (which is supposed to be filled). I did a few tests and thought that the amber-toned zpoxy did a nice job highlighting the wild grain of the quilted maple back and sides by filling in the open pores of the oscillating end grain. The color of the epoxy is the only color added to the instrument other than 1 drop of honey amber aniline dye in the KTM-9 lacquer applied after a couple of thin coats of shellac.
First sprayed coat of KTM-9. Here is what I think of KTM-9 so far:
Pro:
1. Doesn't seem to cause brain damage. I sprayed guitar #1 with nitro in my basement and the fumes were unbelievable once I took the respirator off. It was the month of November and we had to open all the windows and leave the house for hours before the smell dissipated. When we moved out, several birds moved in and we all had to try and drive them back out into the cold mid-atlantic. No birds this time and the respirator seemed superfluous as well. For a small shop, KTM-9 blows nitro away as far as toxicity in my opinion.
2.Easy to apply/sand and repair.
3. Nice feel and hardness so far.
4. Color is super clear-Add a drop of honey amber dye to make it a little warmer.
Con:
1. Spraying did not work well at all for me. Despite claims to the fact that it resists drips and sags, that was not my experience at all. I have only sprayed lacquer once and only with a low end "Critter" siphon sprayer but that went pretty well. The "Critter" and its operator didn't do so well with KTM-9. I couldn't get find the sweet spot between orange peel and sags. This was frustrating but honestly it was probably operator error more than anything. After 4 tries each followed with sanding, I went to the brush and it went much better. I'd much rather sand a few brush marks than orange peel and drips.

After applying the finish to the guitar, I had to go away for a few weeks which gave the KTM-9 ample time to cure before I began sanding out the many many imperfections. I added some more time by making the ebony fittings since there seemed to be few off the shelf options for seven string guitars. The photo above is the beginning stage of the bridge. I though about ways to rig up power tools to cut a clean bridge and ultimately decided to do it the old fashion way with chisels, scrapers, and files. In order to ensure proper alignment for the posts, I drilled the holes before separating the saddle and bridge feet. Sharp scrapers are a fast and pretty efficient tool for shaping and getting a smooth finish on ebony. A sharp knife blade is an excellent scraper for tight curves and corners. Filing and sanding ebony is really messy and I think I'll be vacuuming, dusting and breathing ebony for years to come.
I went back and forth on tail piece design for a while trying to consider the structural and functional impacts of the various designs. We opted for ease of use this time choosing a top loading design rather than the traditional cello/violin slot loading type. I am sure that the final product is way beefier than it needed to be but I really didn't want the ebony to fail under load. I drilled the holes first on the drill press and then shaped the tailpiece with bandsaw, rasps, chisels, and gouges. The belt sander came in really handy for smoothing and polishing but made a hellish mess.
Below is a photo of the raw finished guitar with ebony accessories and unfinished maple burl laminate finger guard with ebony binding.

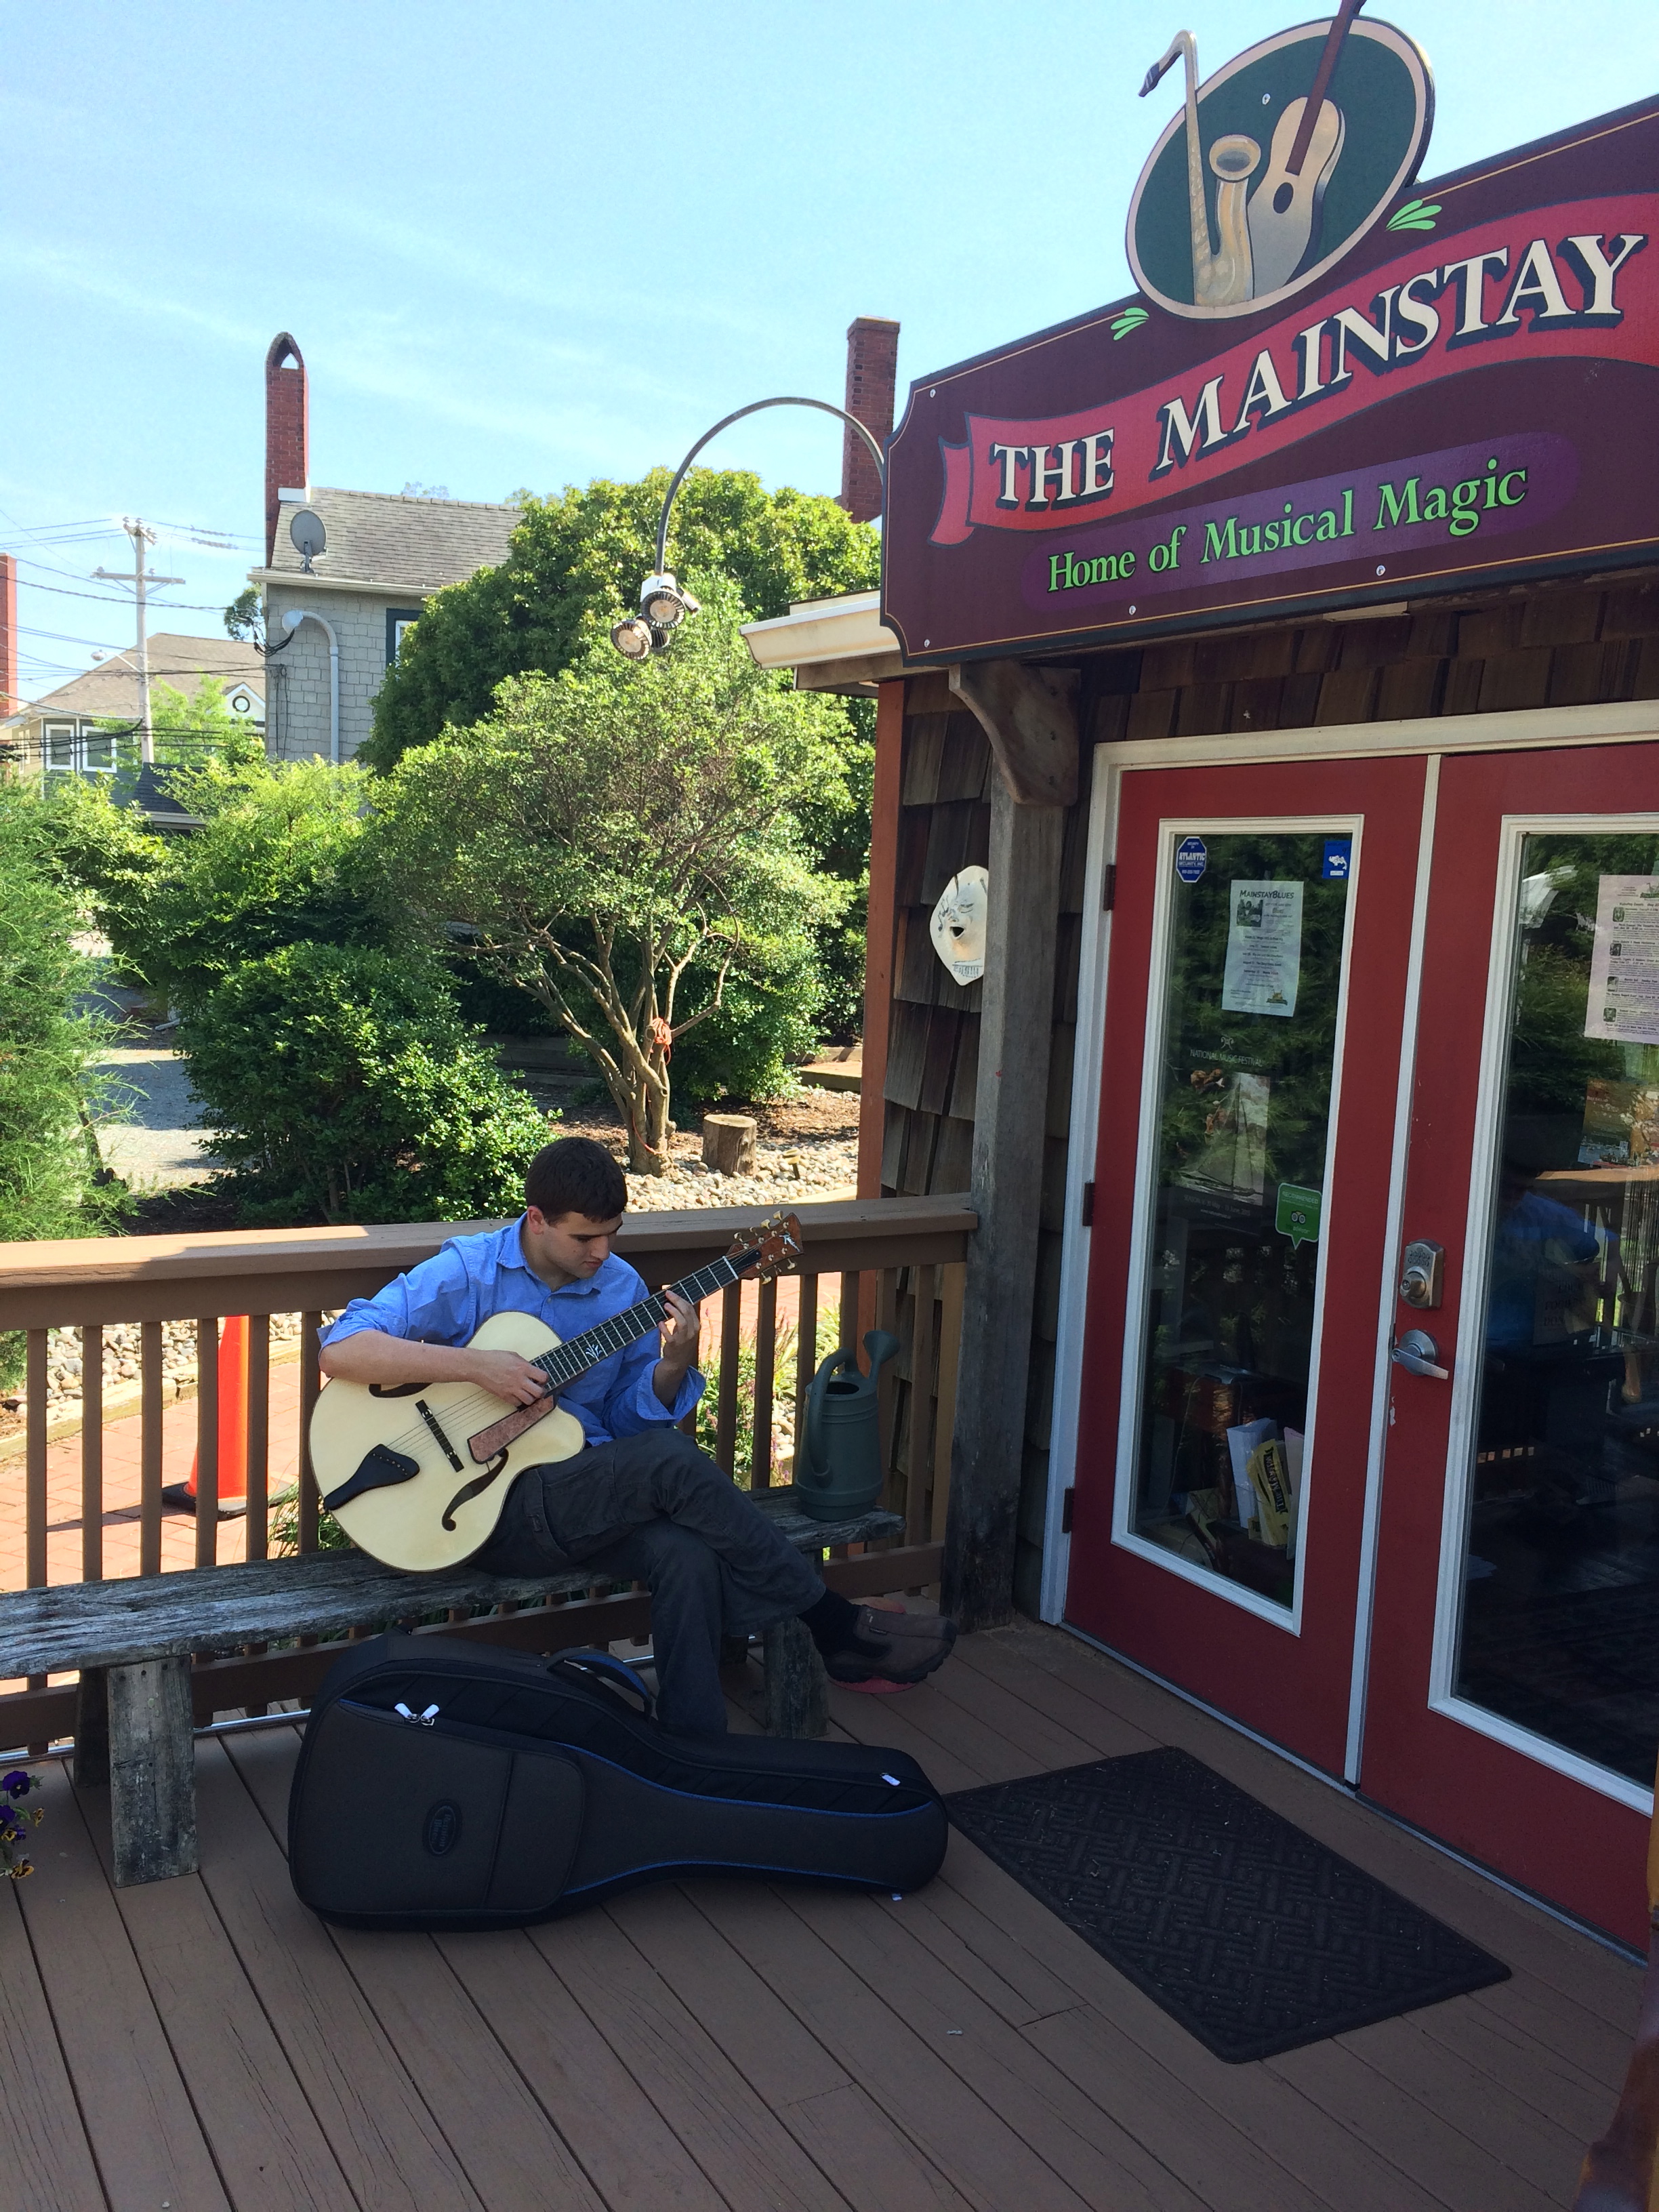
Here's the Seven String outside the home of musical magic.
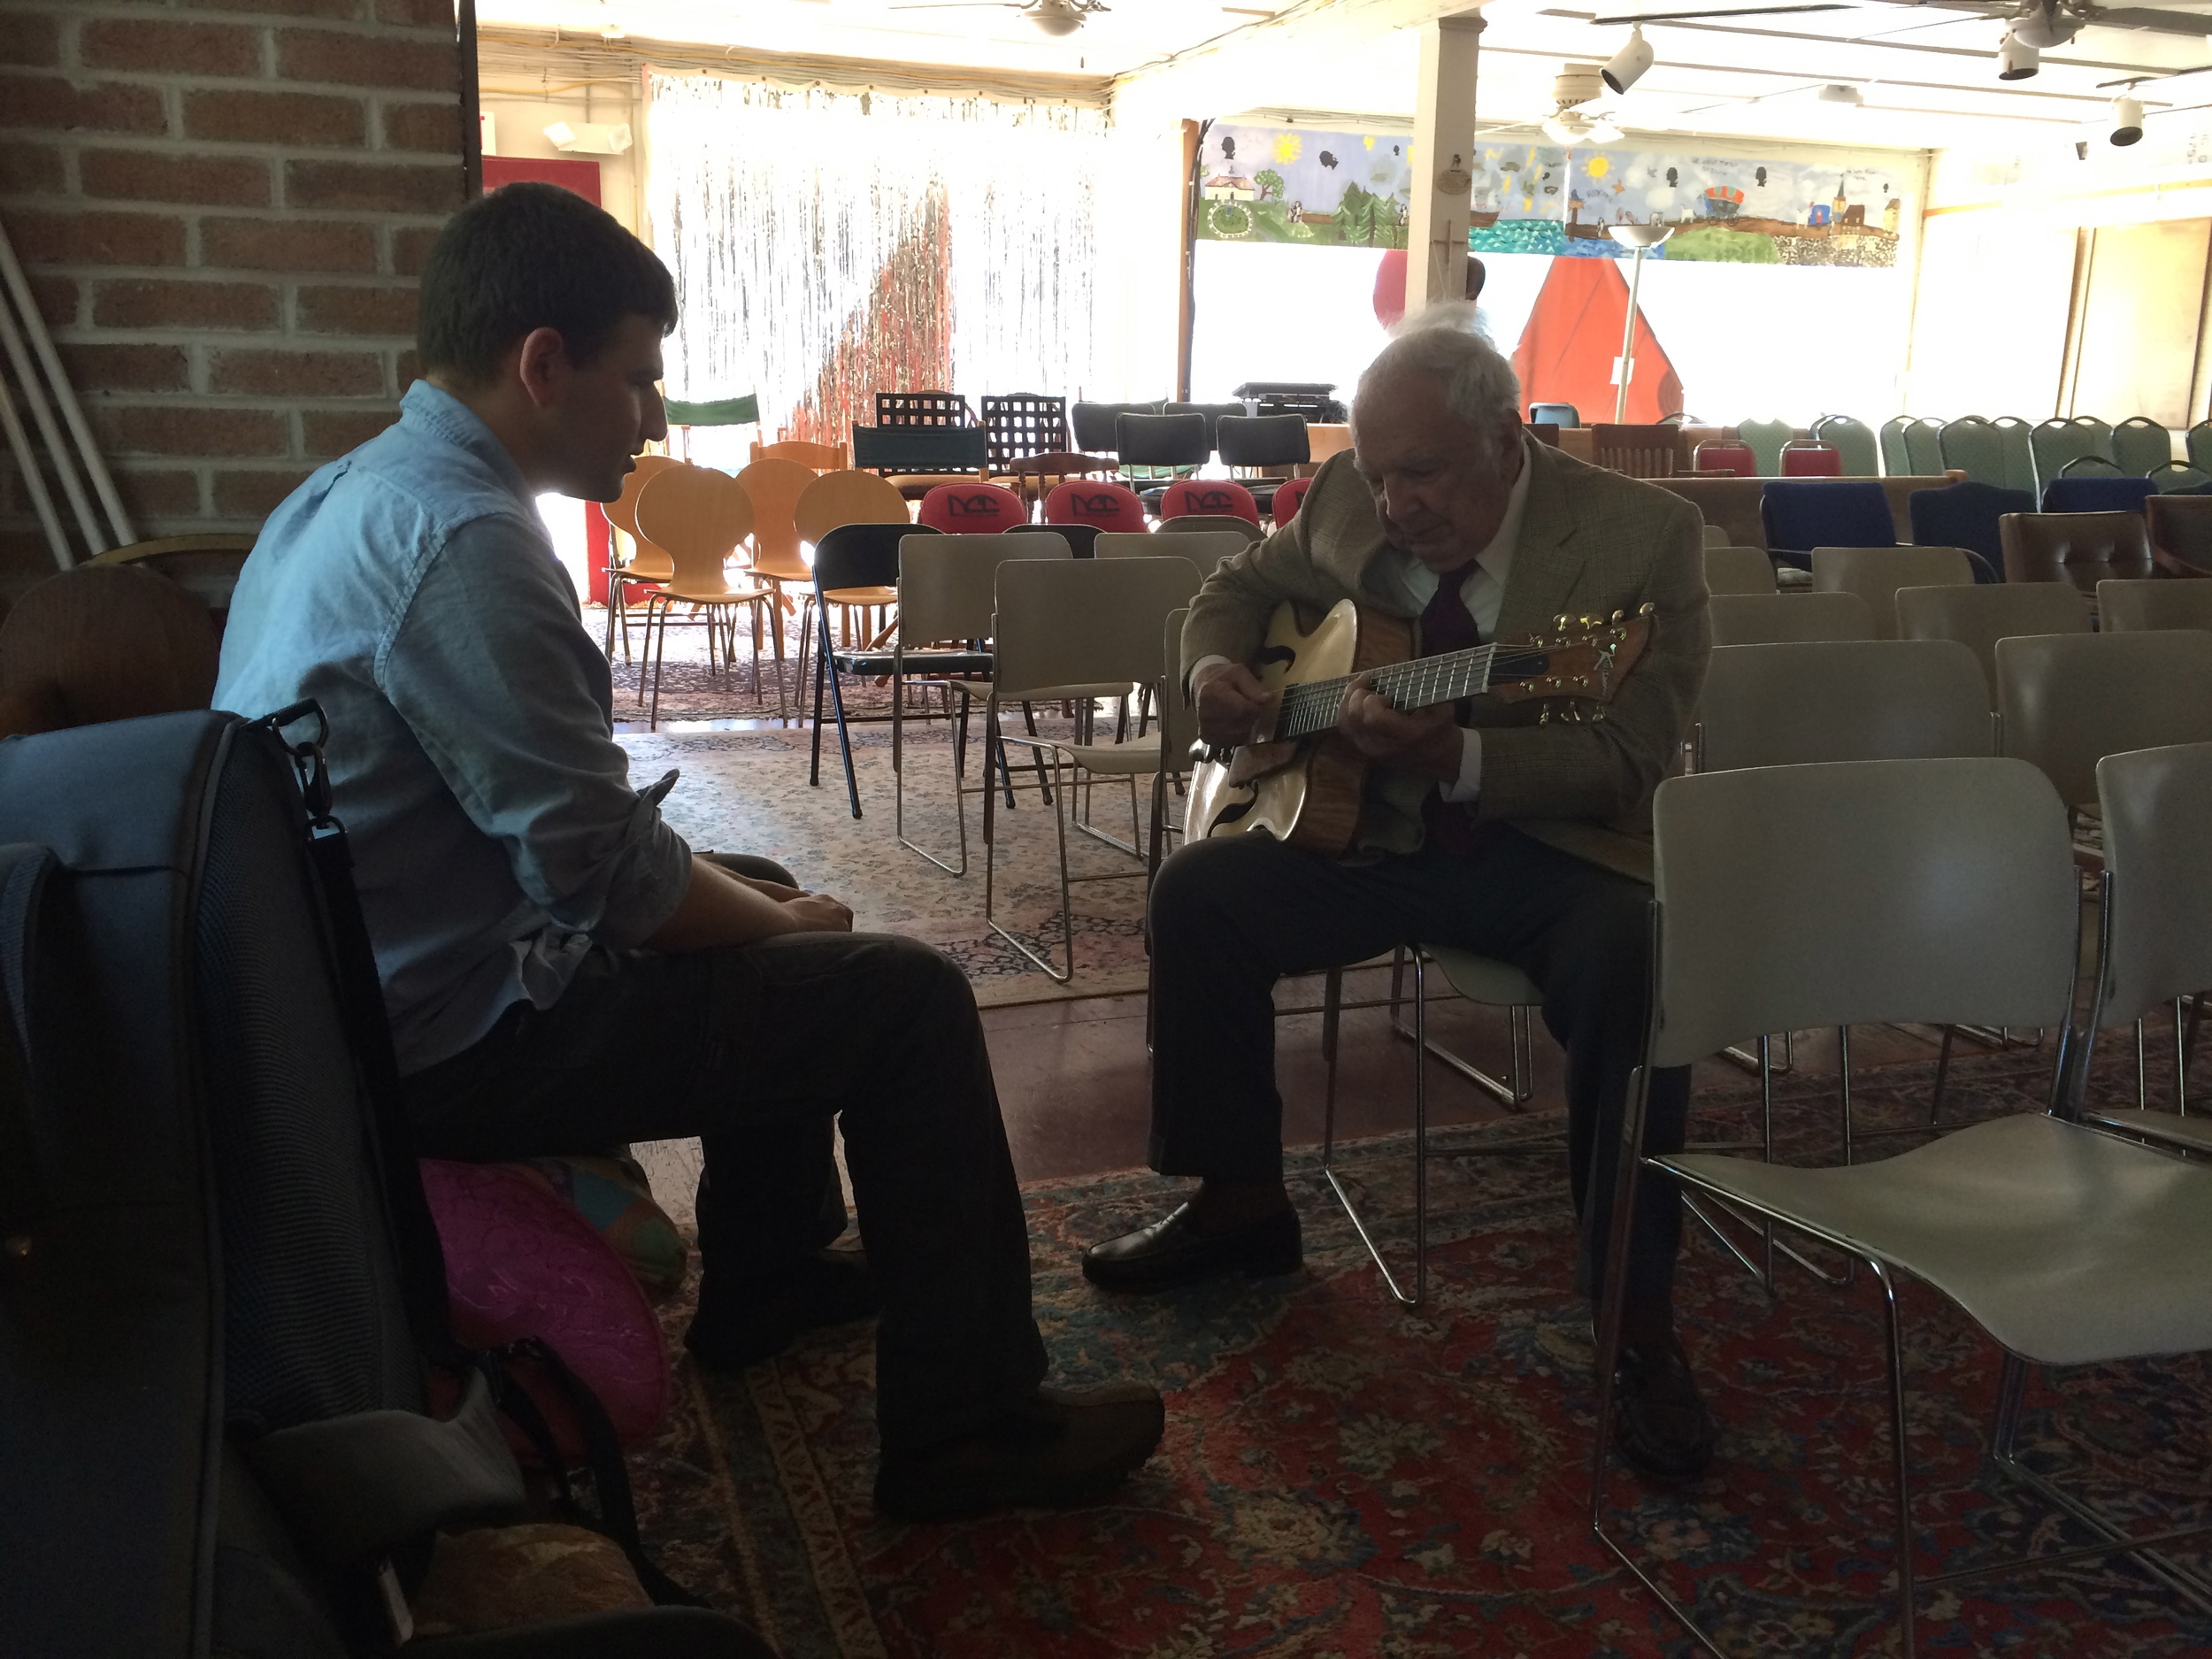
Bucky Pizzarelli trying out the new guitar

Please visit the Gear Page for more images. Photo by Michael Stewart.