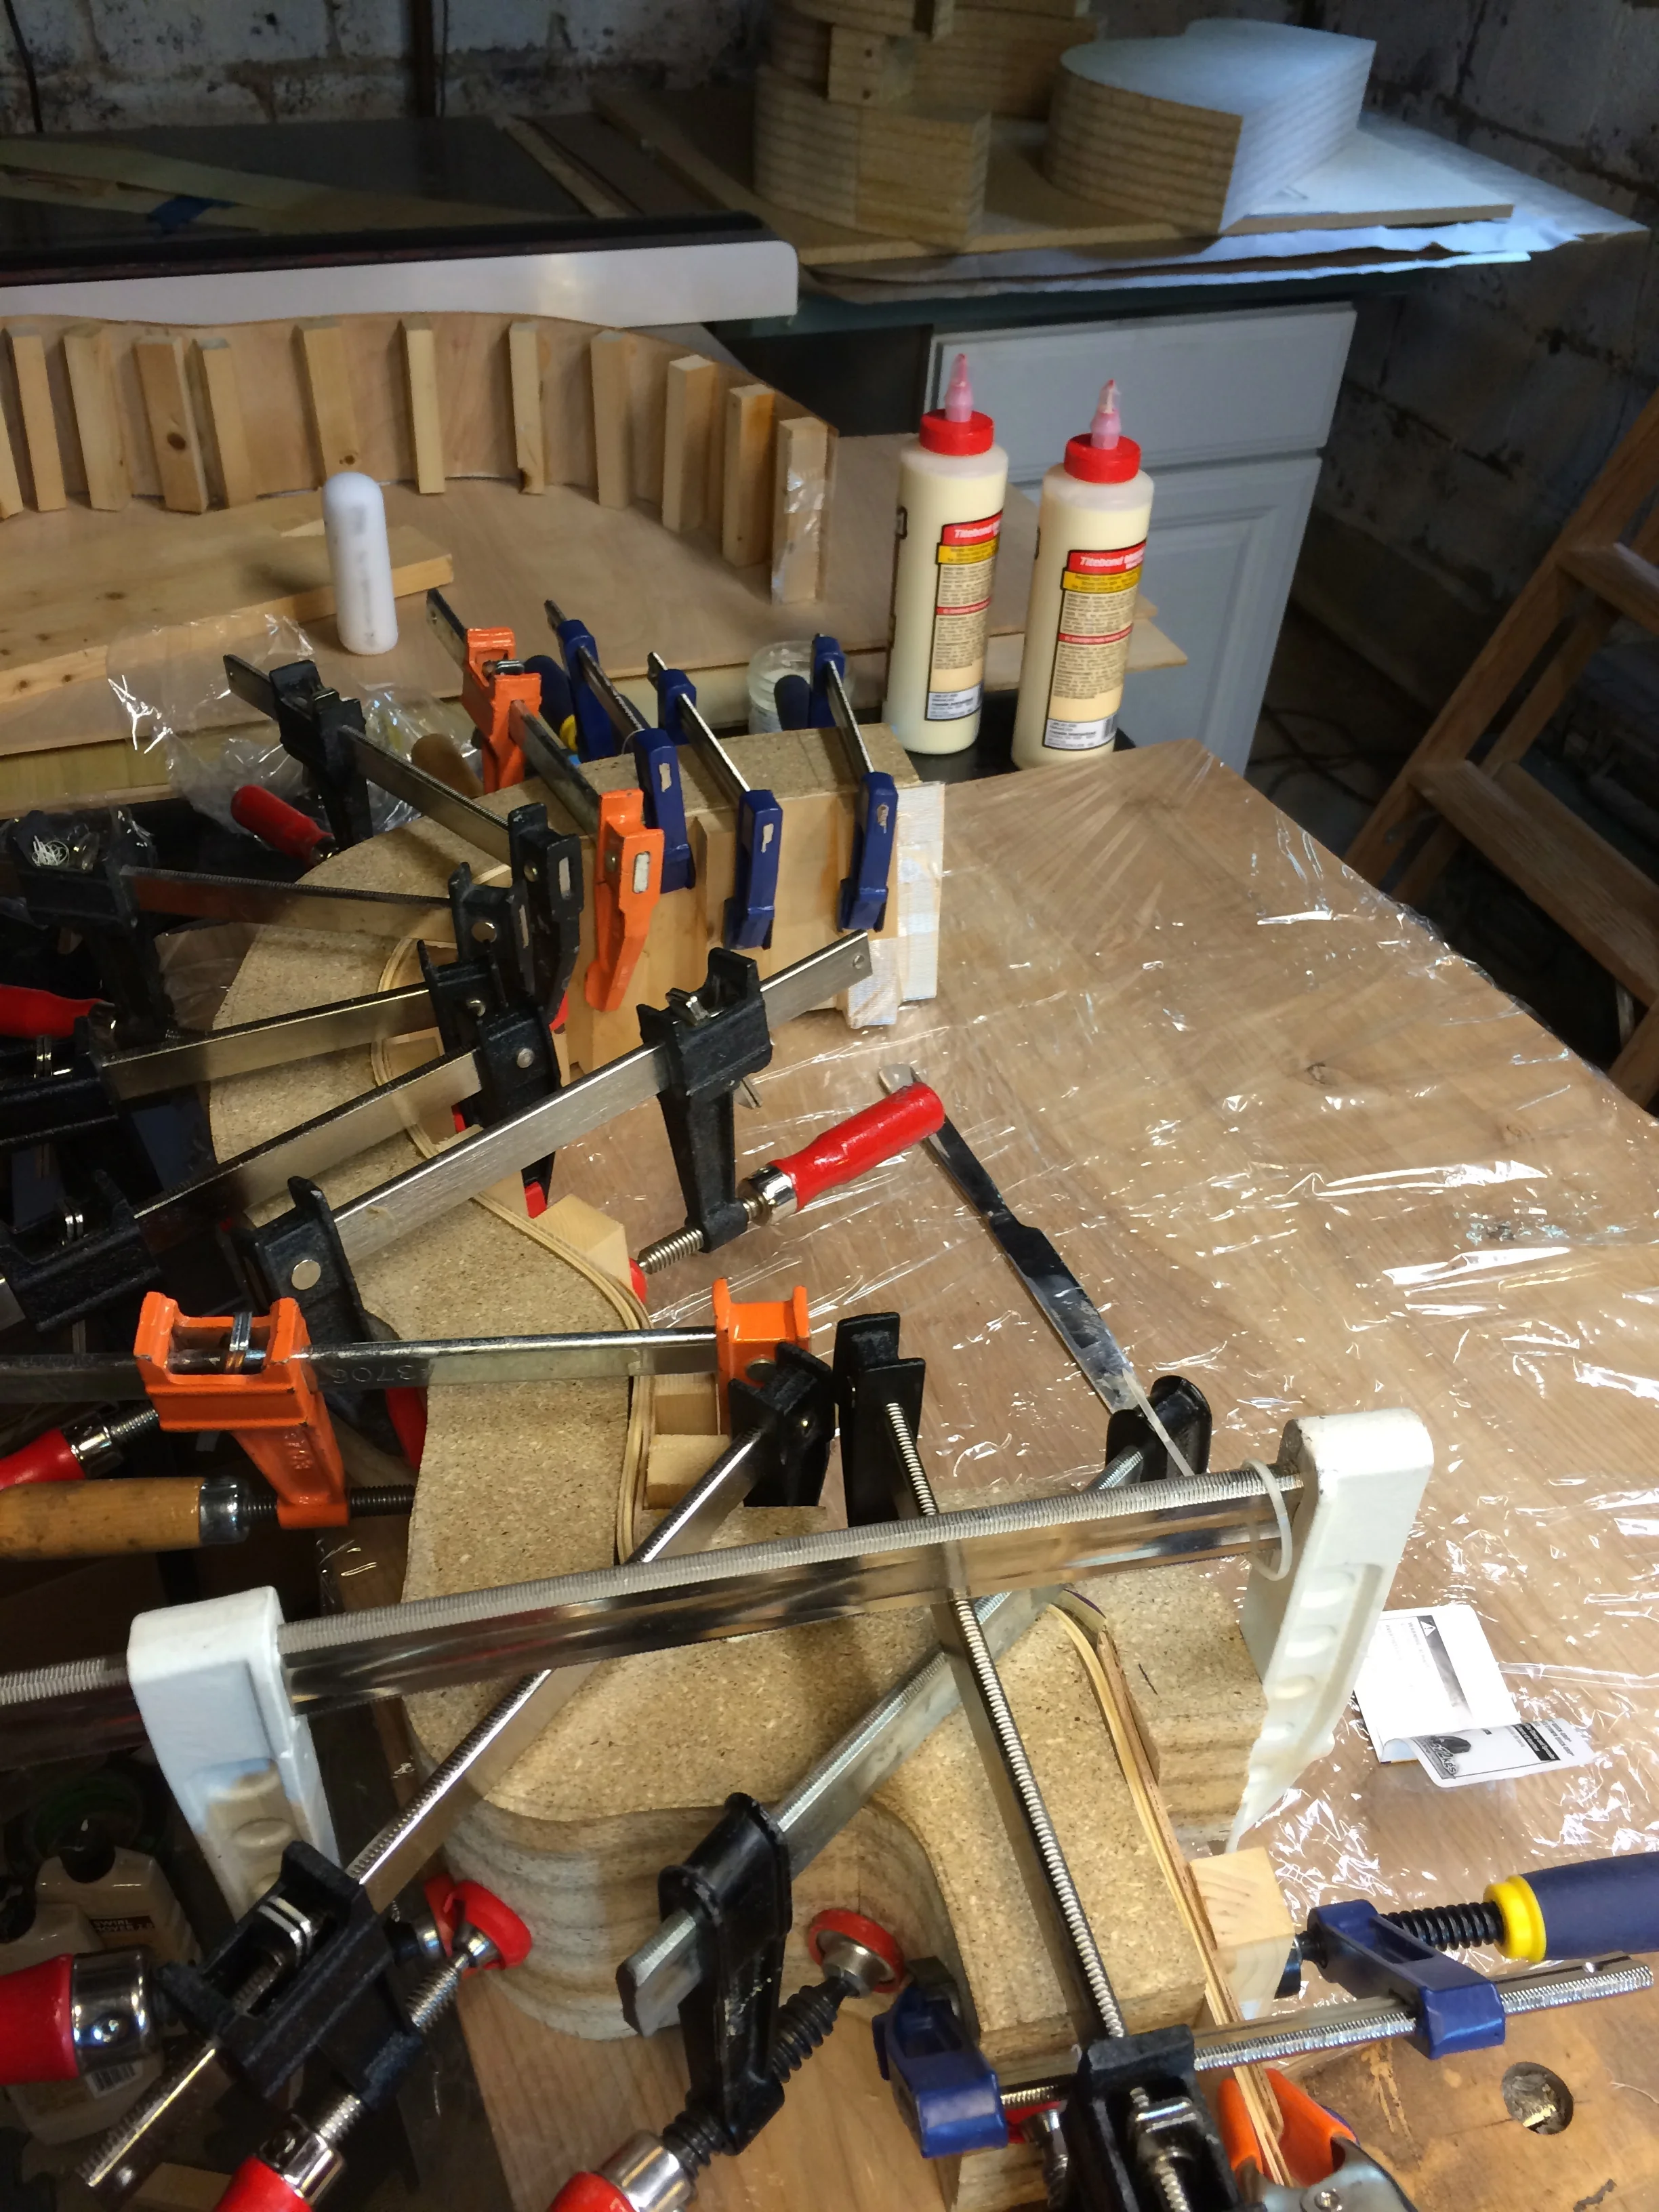
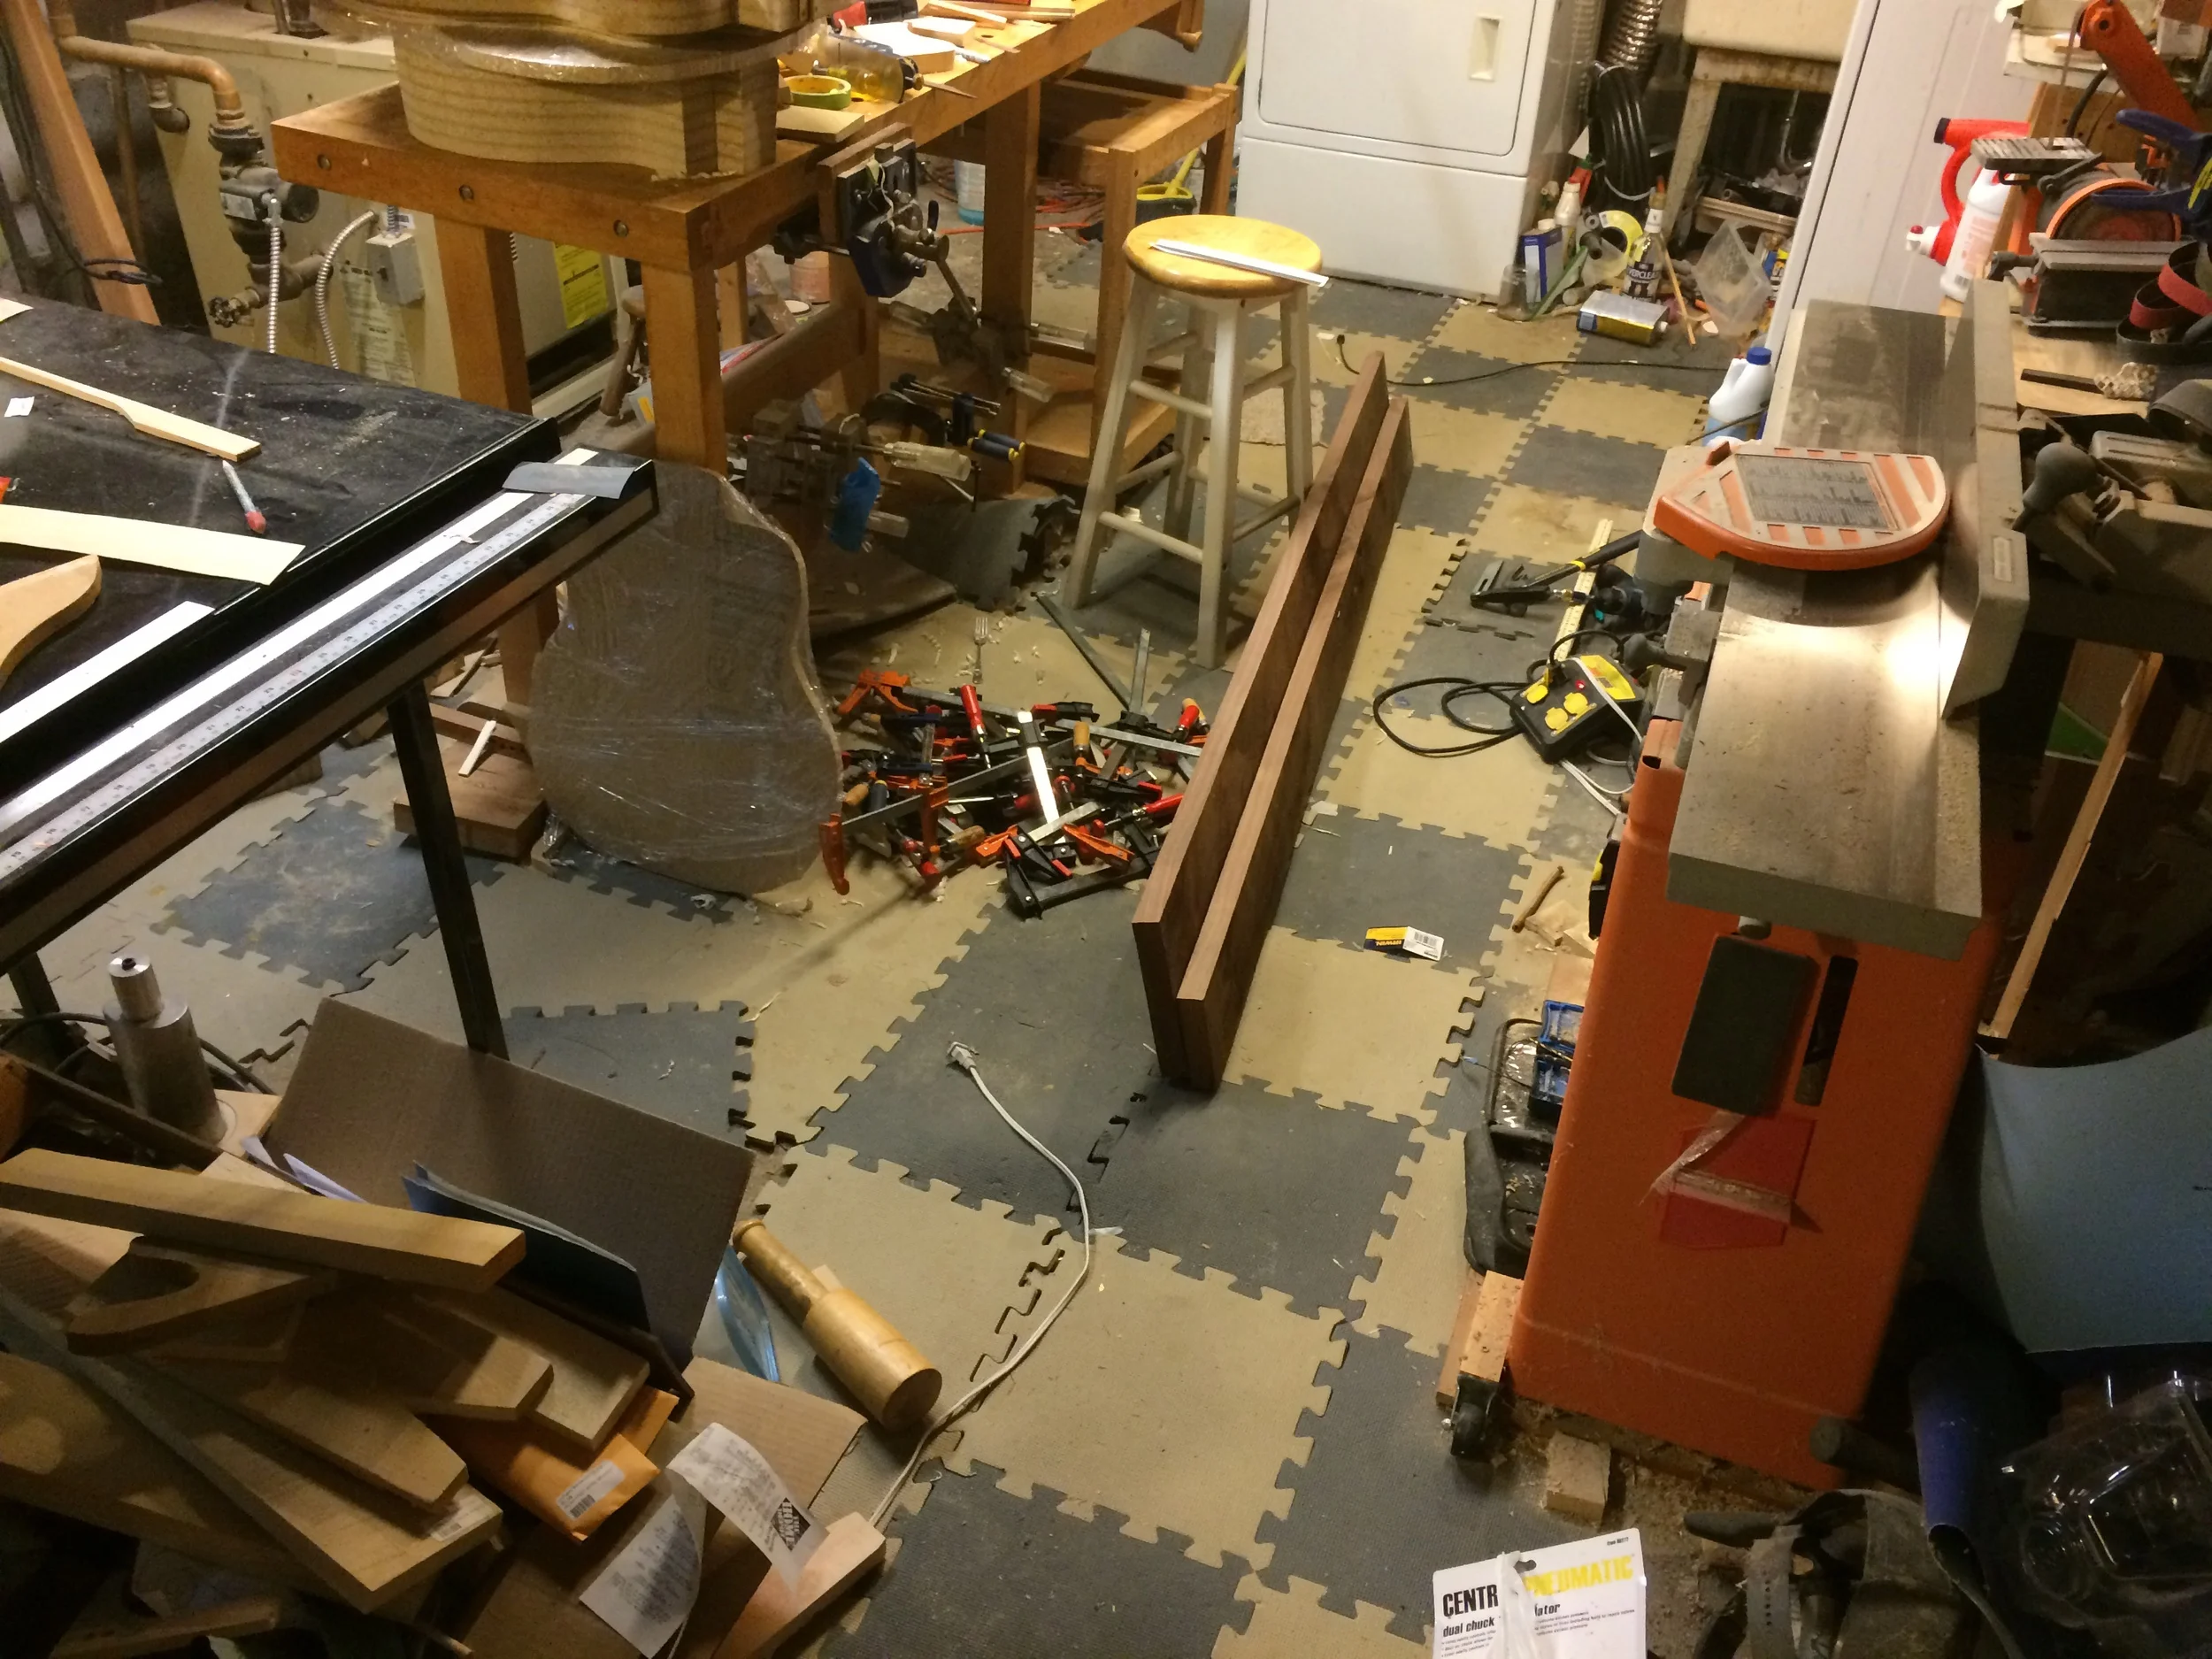
Here is a photo of the side forms made from MDF and cauls made of veneer laminate. This project forced me to get a lot more clamps….
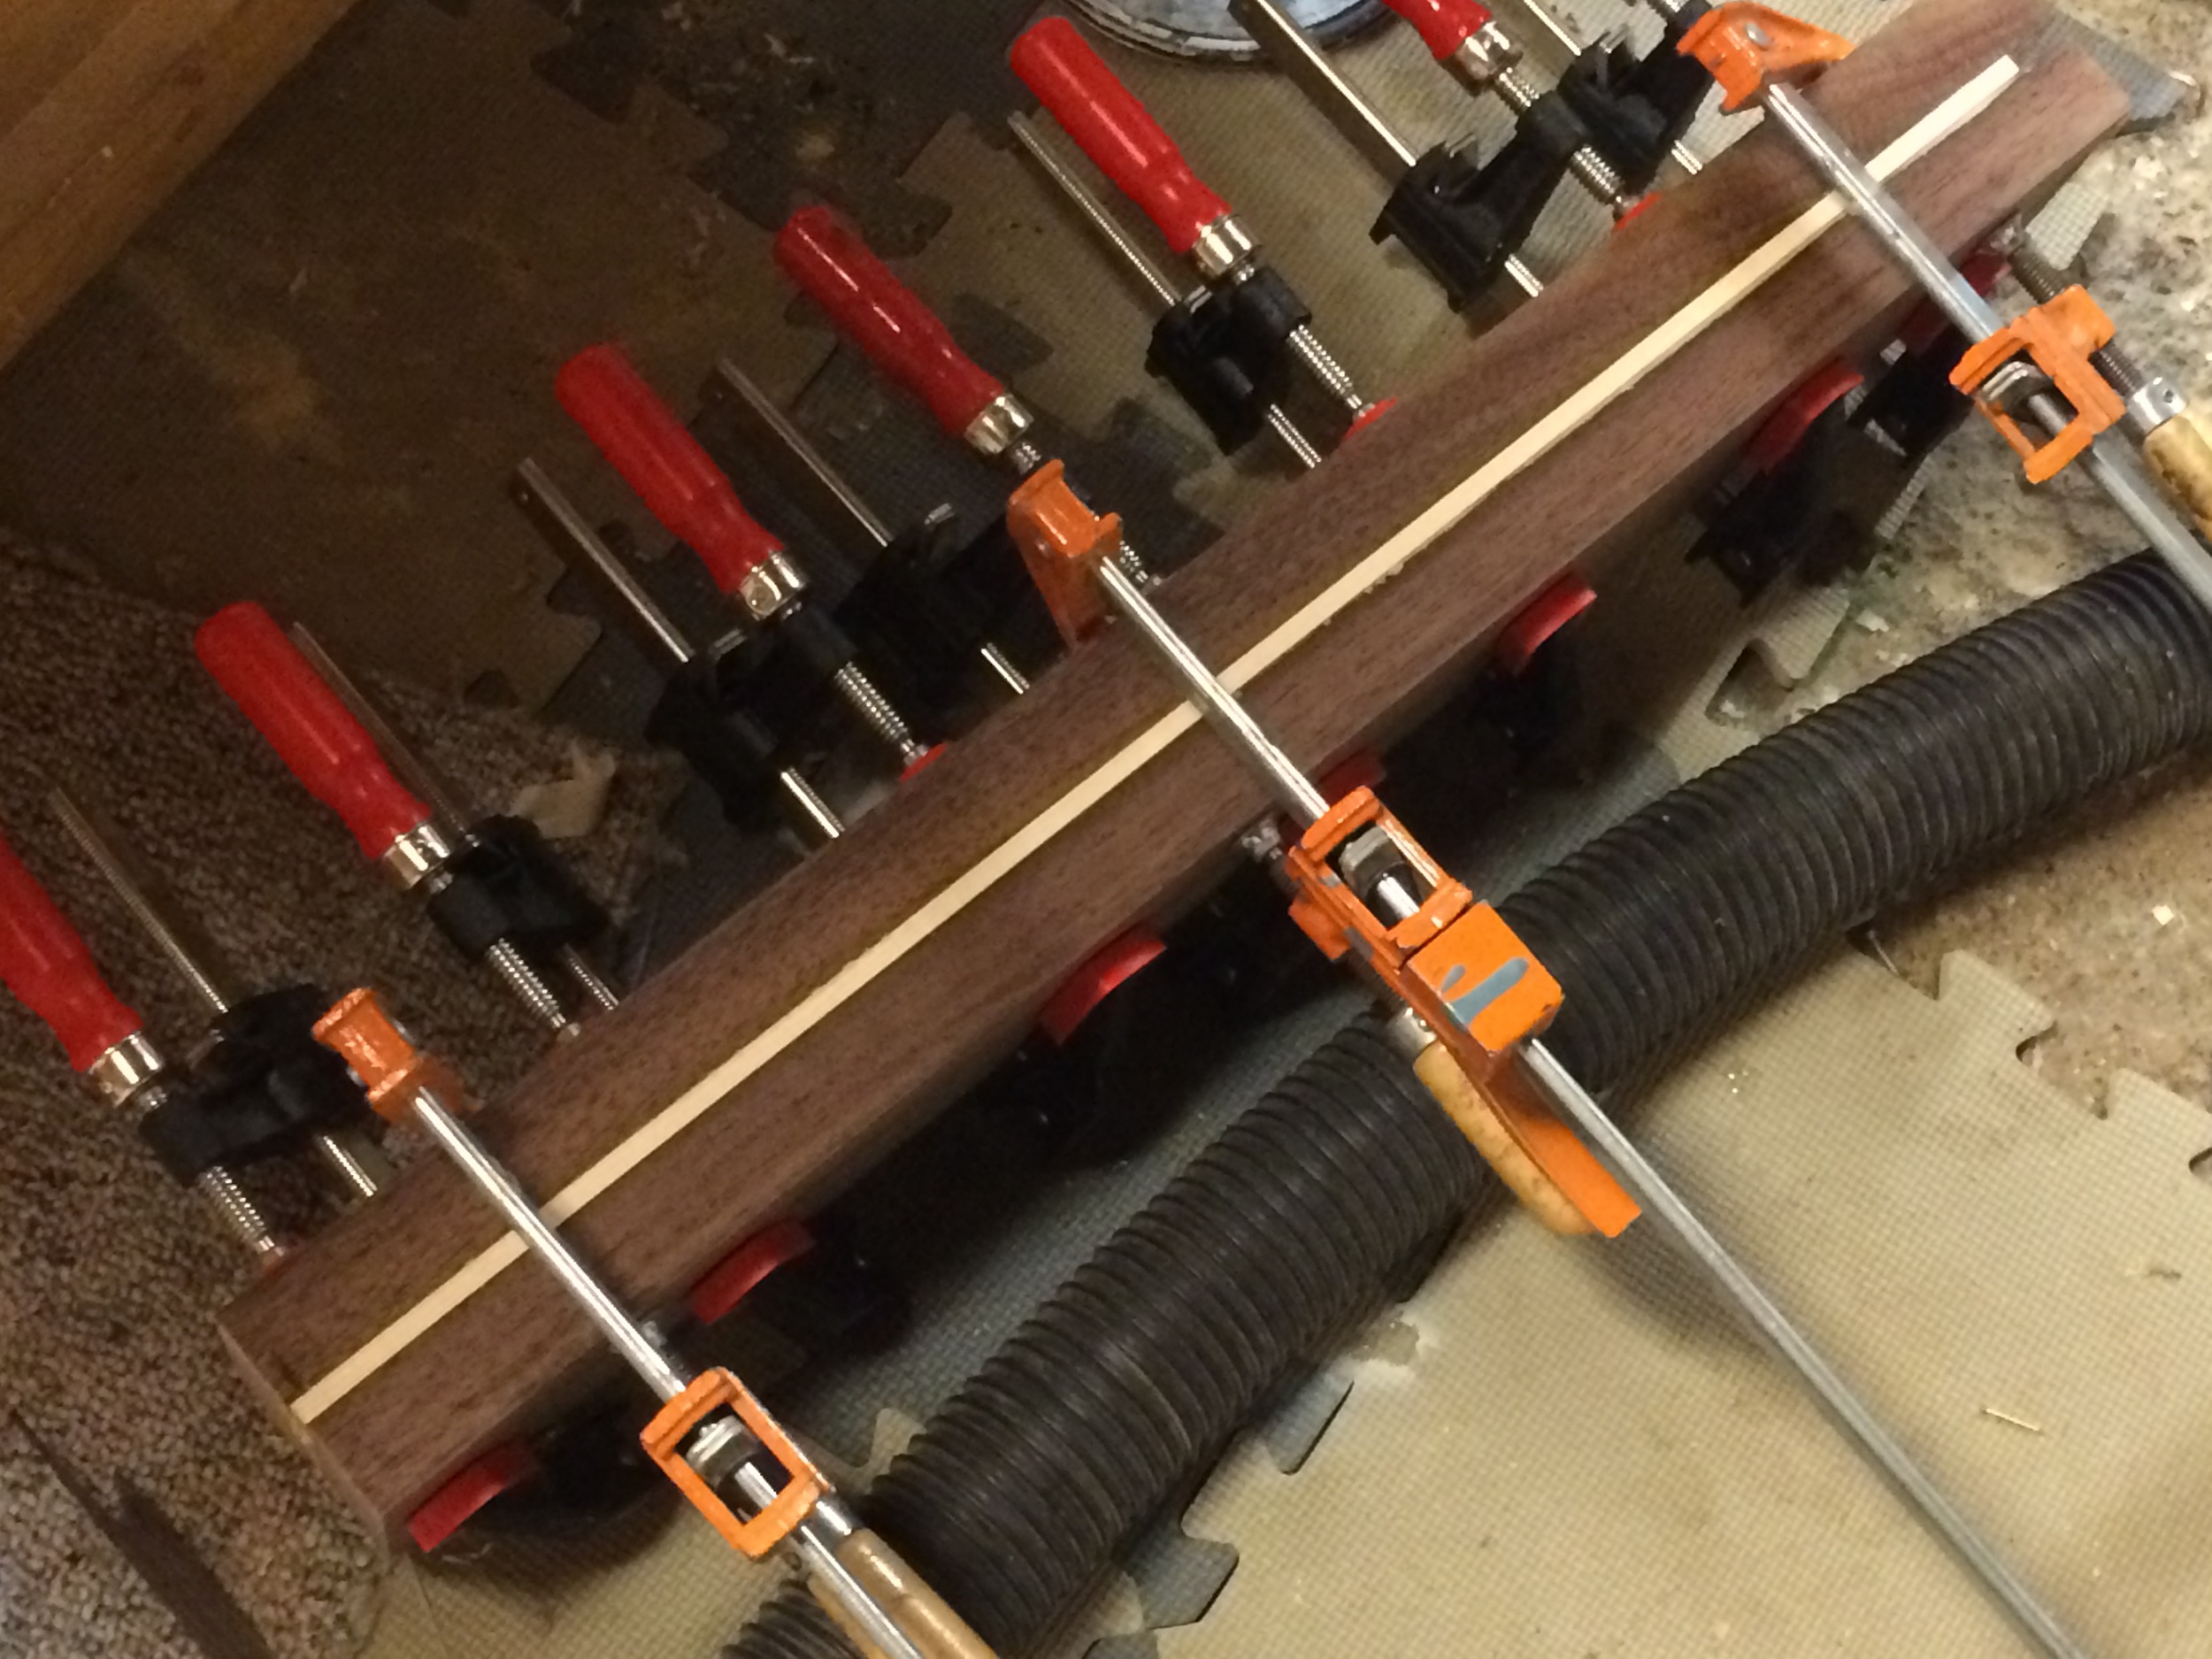
This picture shows the basswood liners being glued up. I started with those since the veneer was cheap and I wasn't sure how well the whole system was going to work.
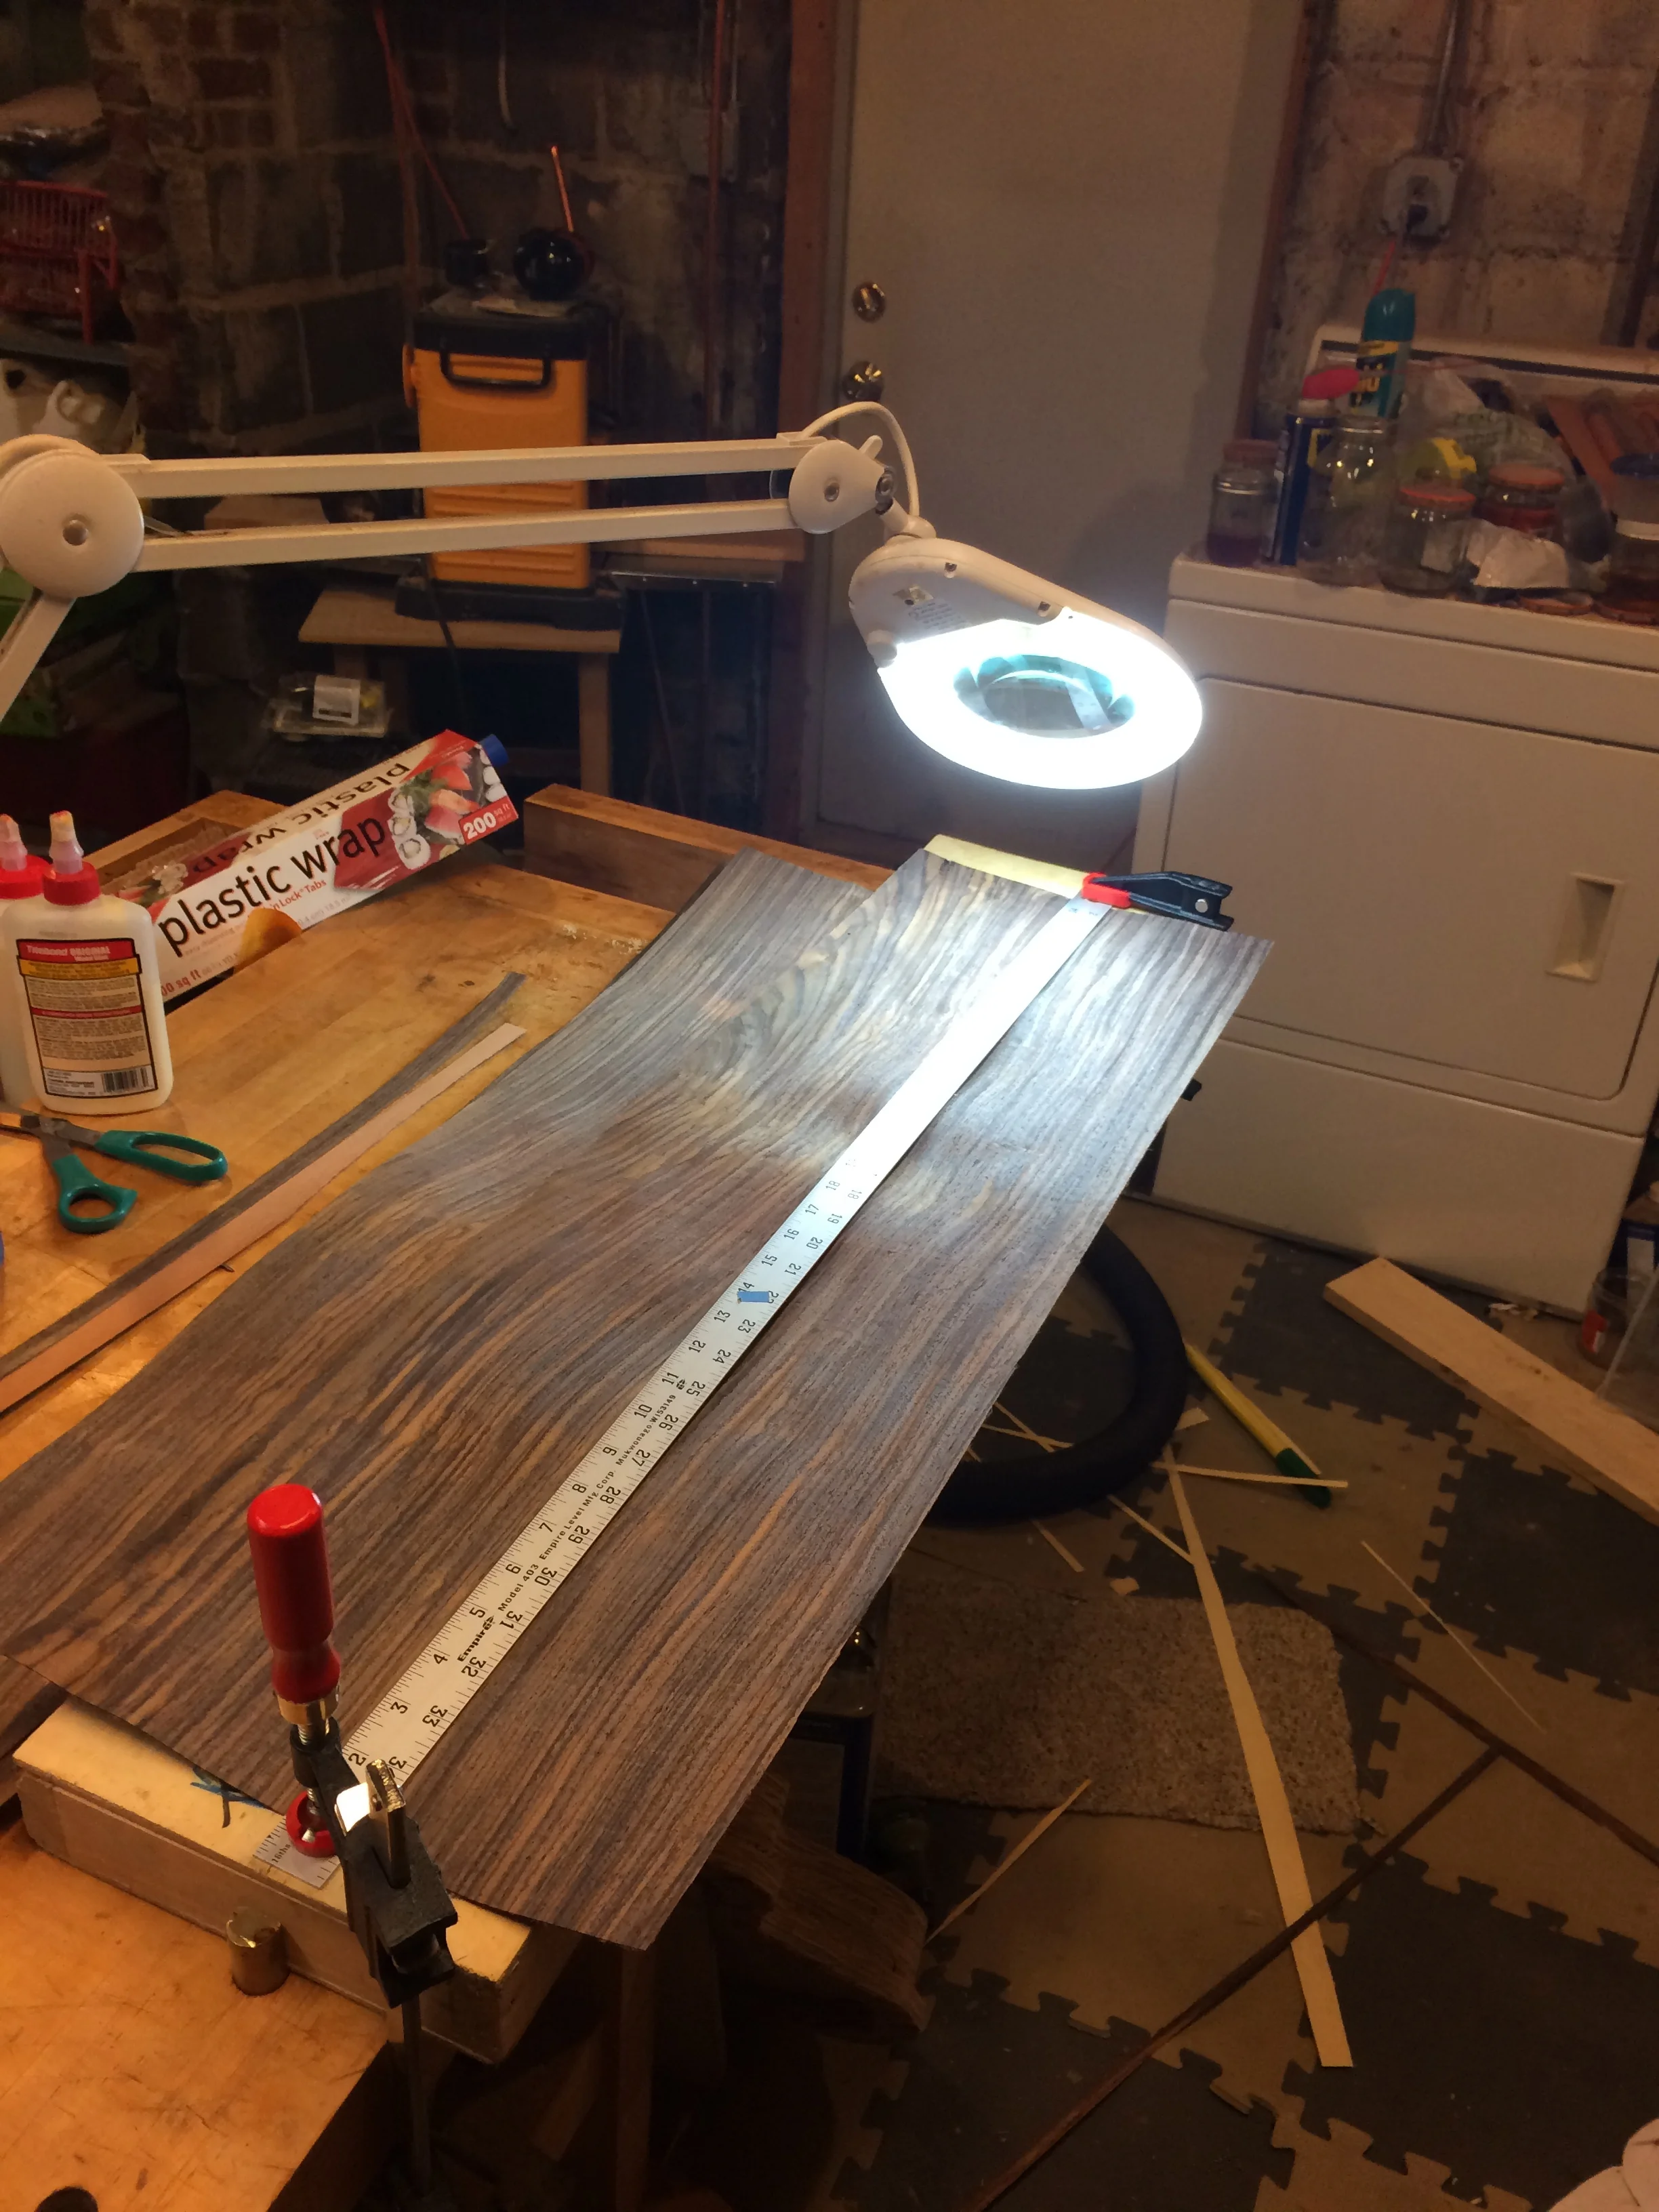
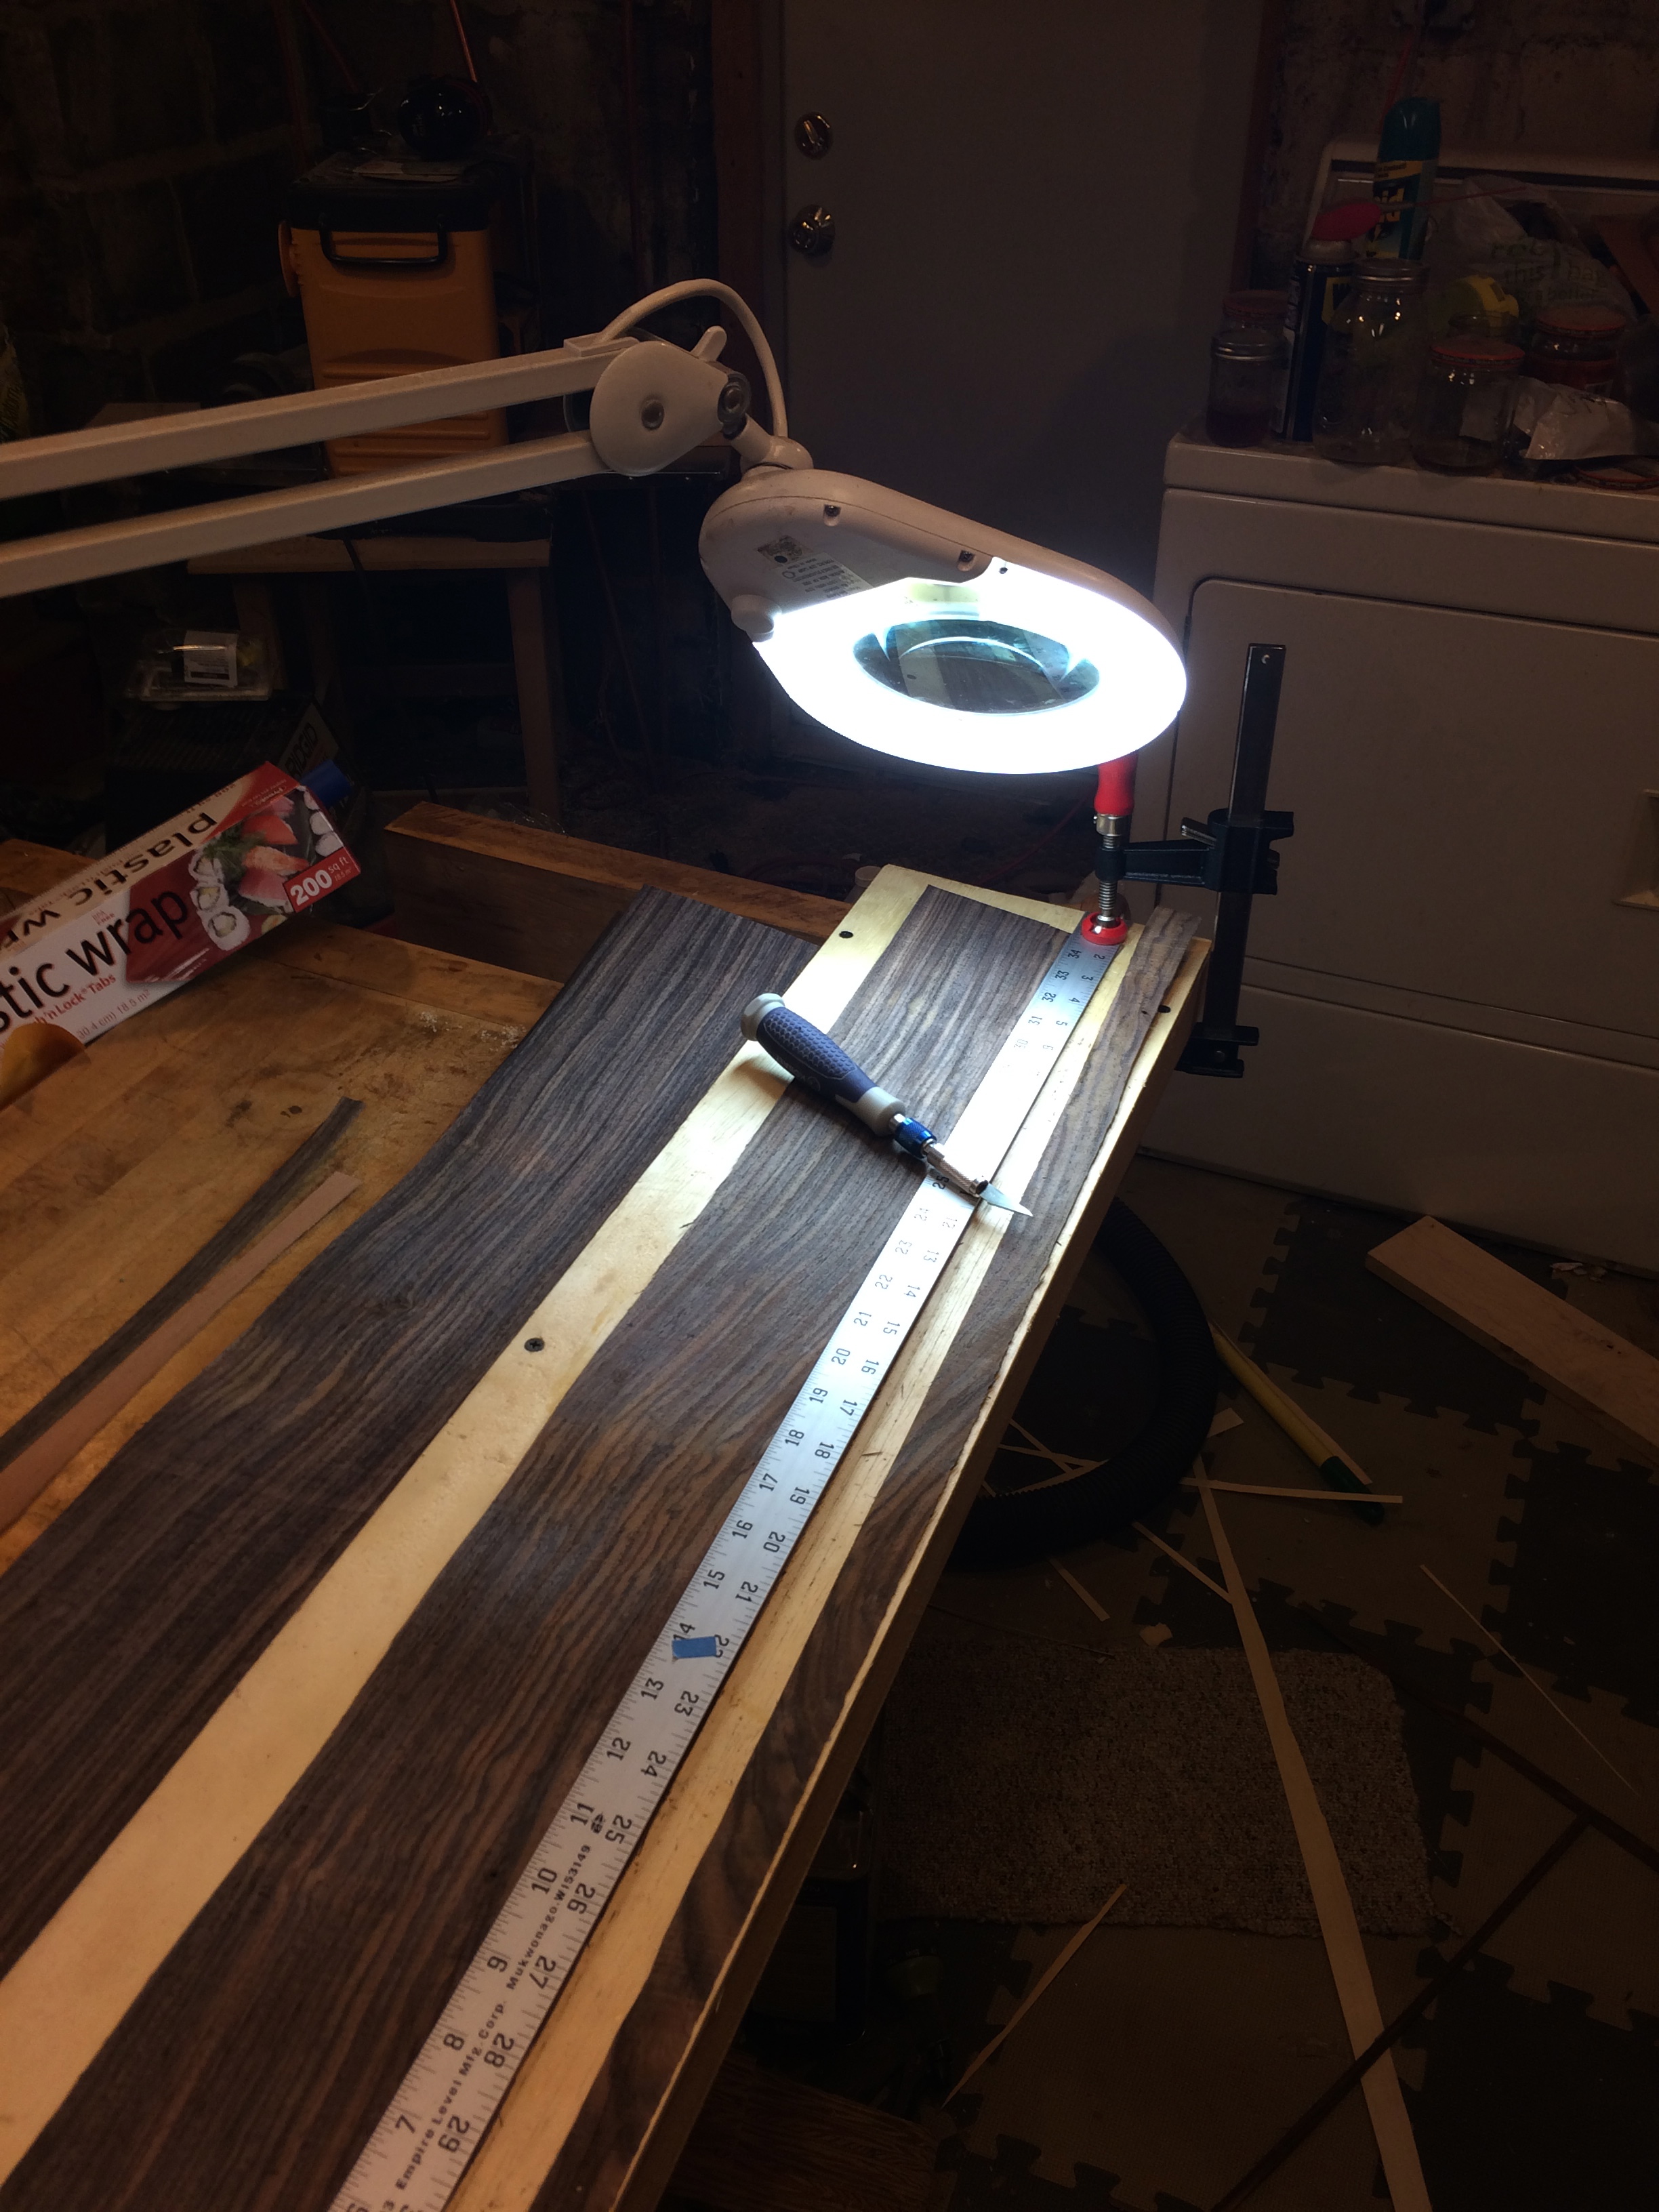
Here is a picture of the rosewood veneers being cut for the sides. I just used a straight edge and an exact knife. Cutting the poplar and mahogany was much more pleasant than cutting the rosewood. The rosewood veneer was VERY thin and sort of stringy. The sides of this instrument are constructed of 4 veneers, mahogany, popular, and doubled up rosewood. I used Tite-bond for the glue.
Beautiful walnut boards to be used for the laminated neck.
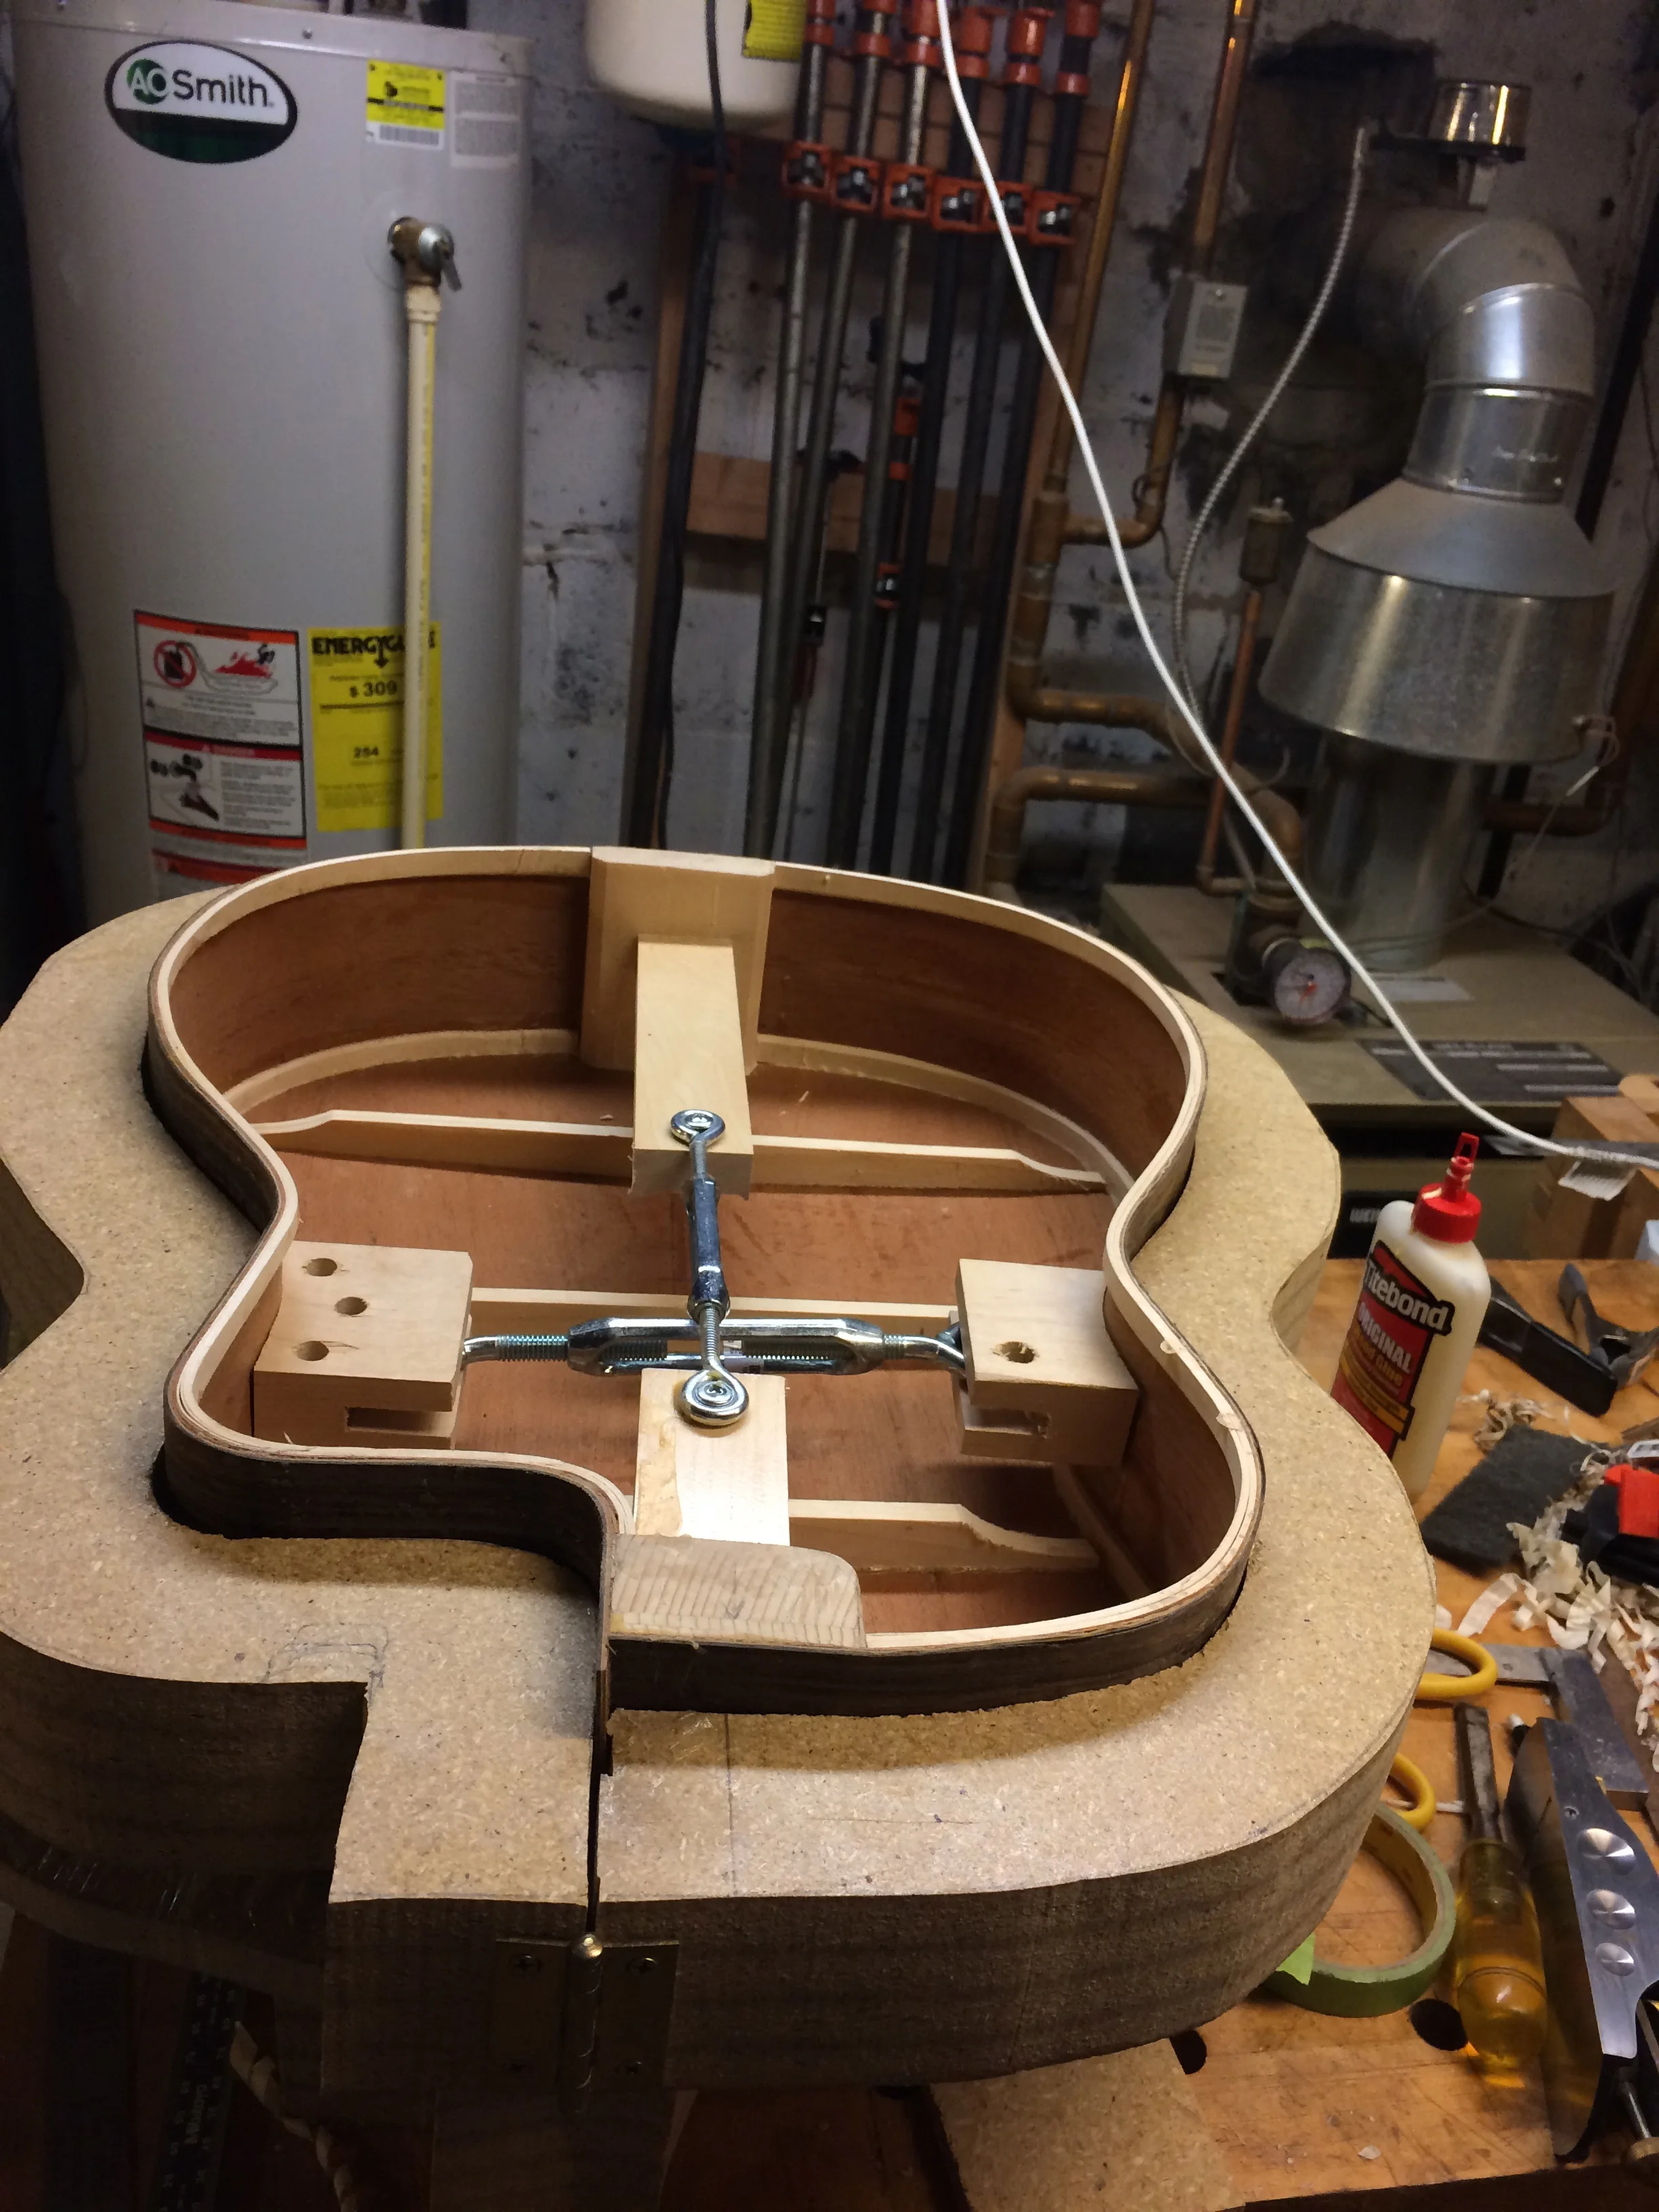
Here is the glued up back and sides in the form with the curved braces glued on the back. The linings are laminates as well.
Here is a neck blank glue up. Maple and walnut.
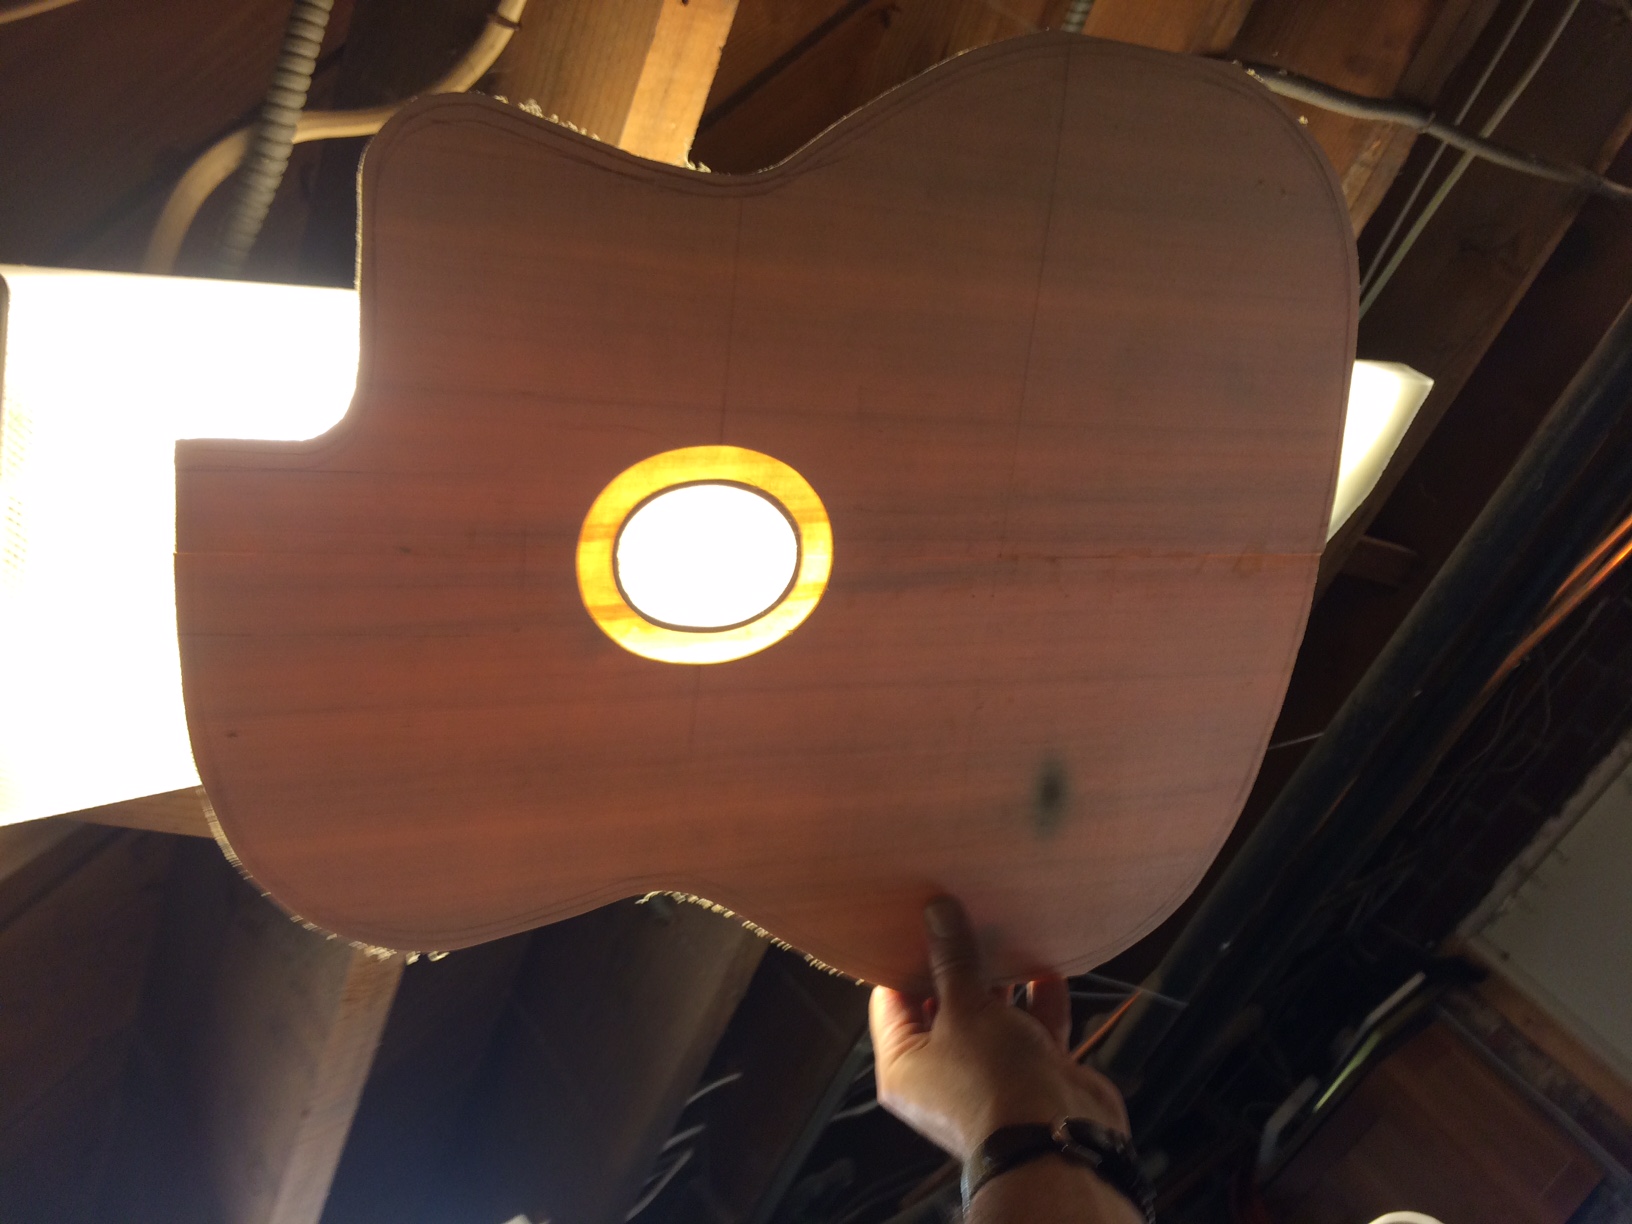
Here is a photo of the top. I used the bending box to bend the pliage but the heat lamp was a little too hot and actually charred the top. We are choosing to call that burn"character" and will blame it on a Gitanes cigarrette. The sound hole was routed out for the rosette. The remaining wood in the channel is extremely thin measuring about .75 mm thick. The seam joint down the center isn't perfect (as shown by the backlight) but I hope that the reinforcing veneer on the back together with the heel and neck block will keep it all together.

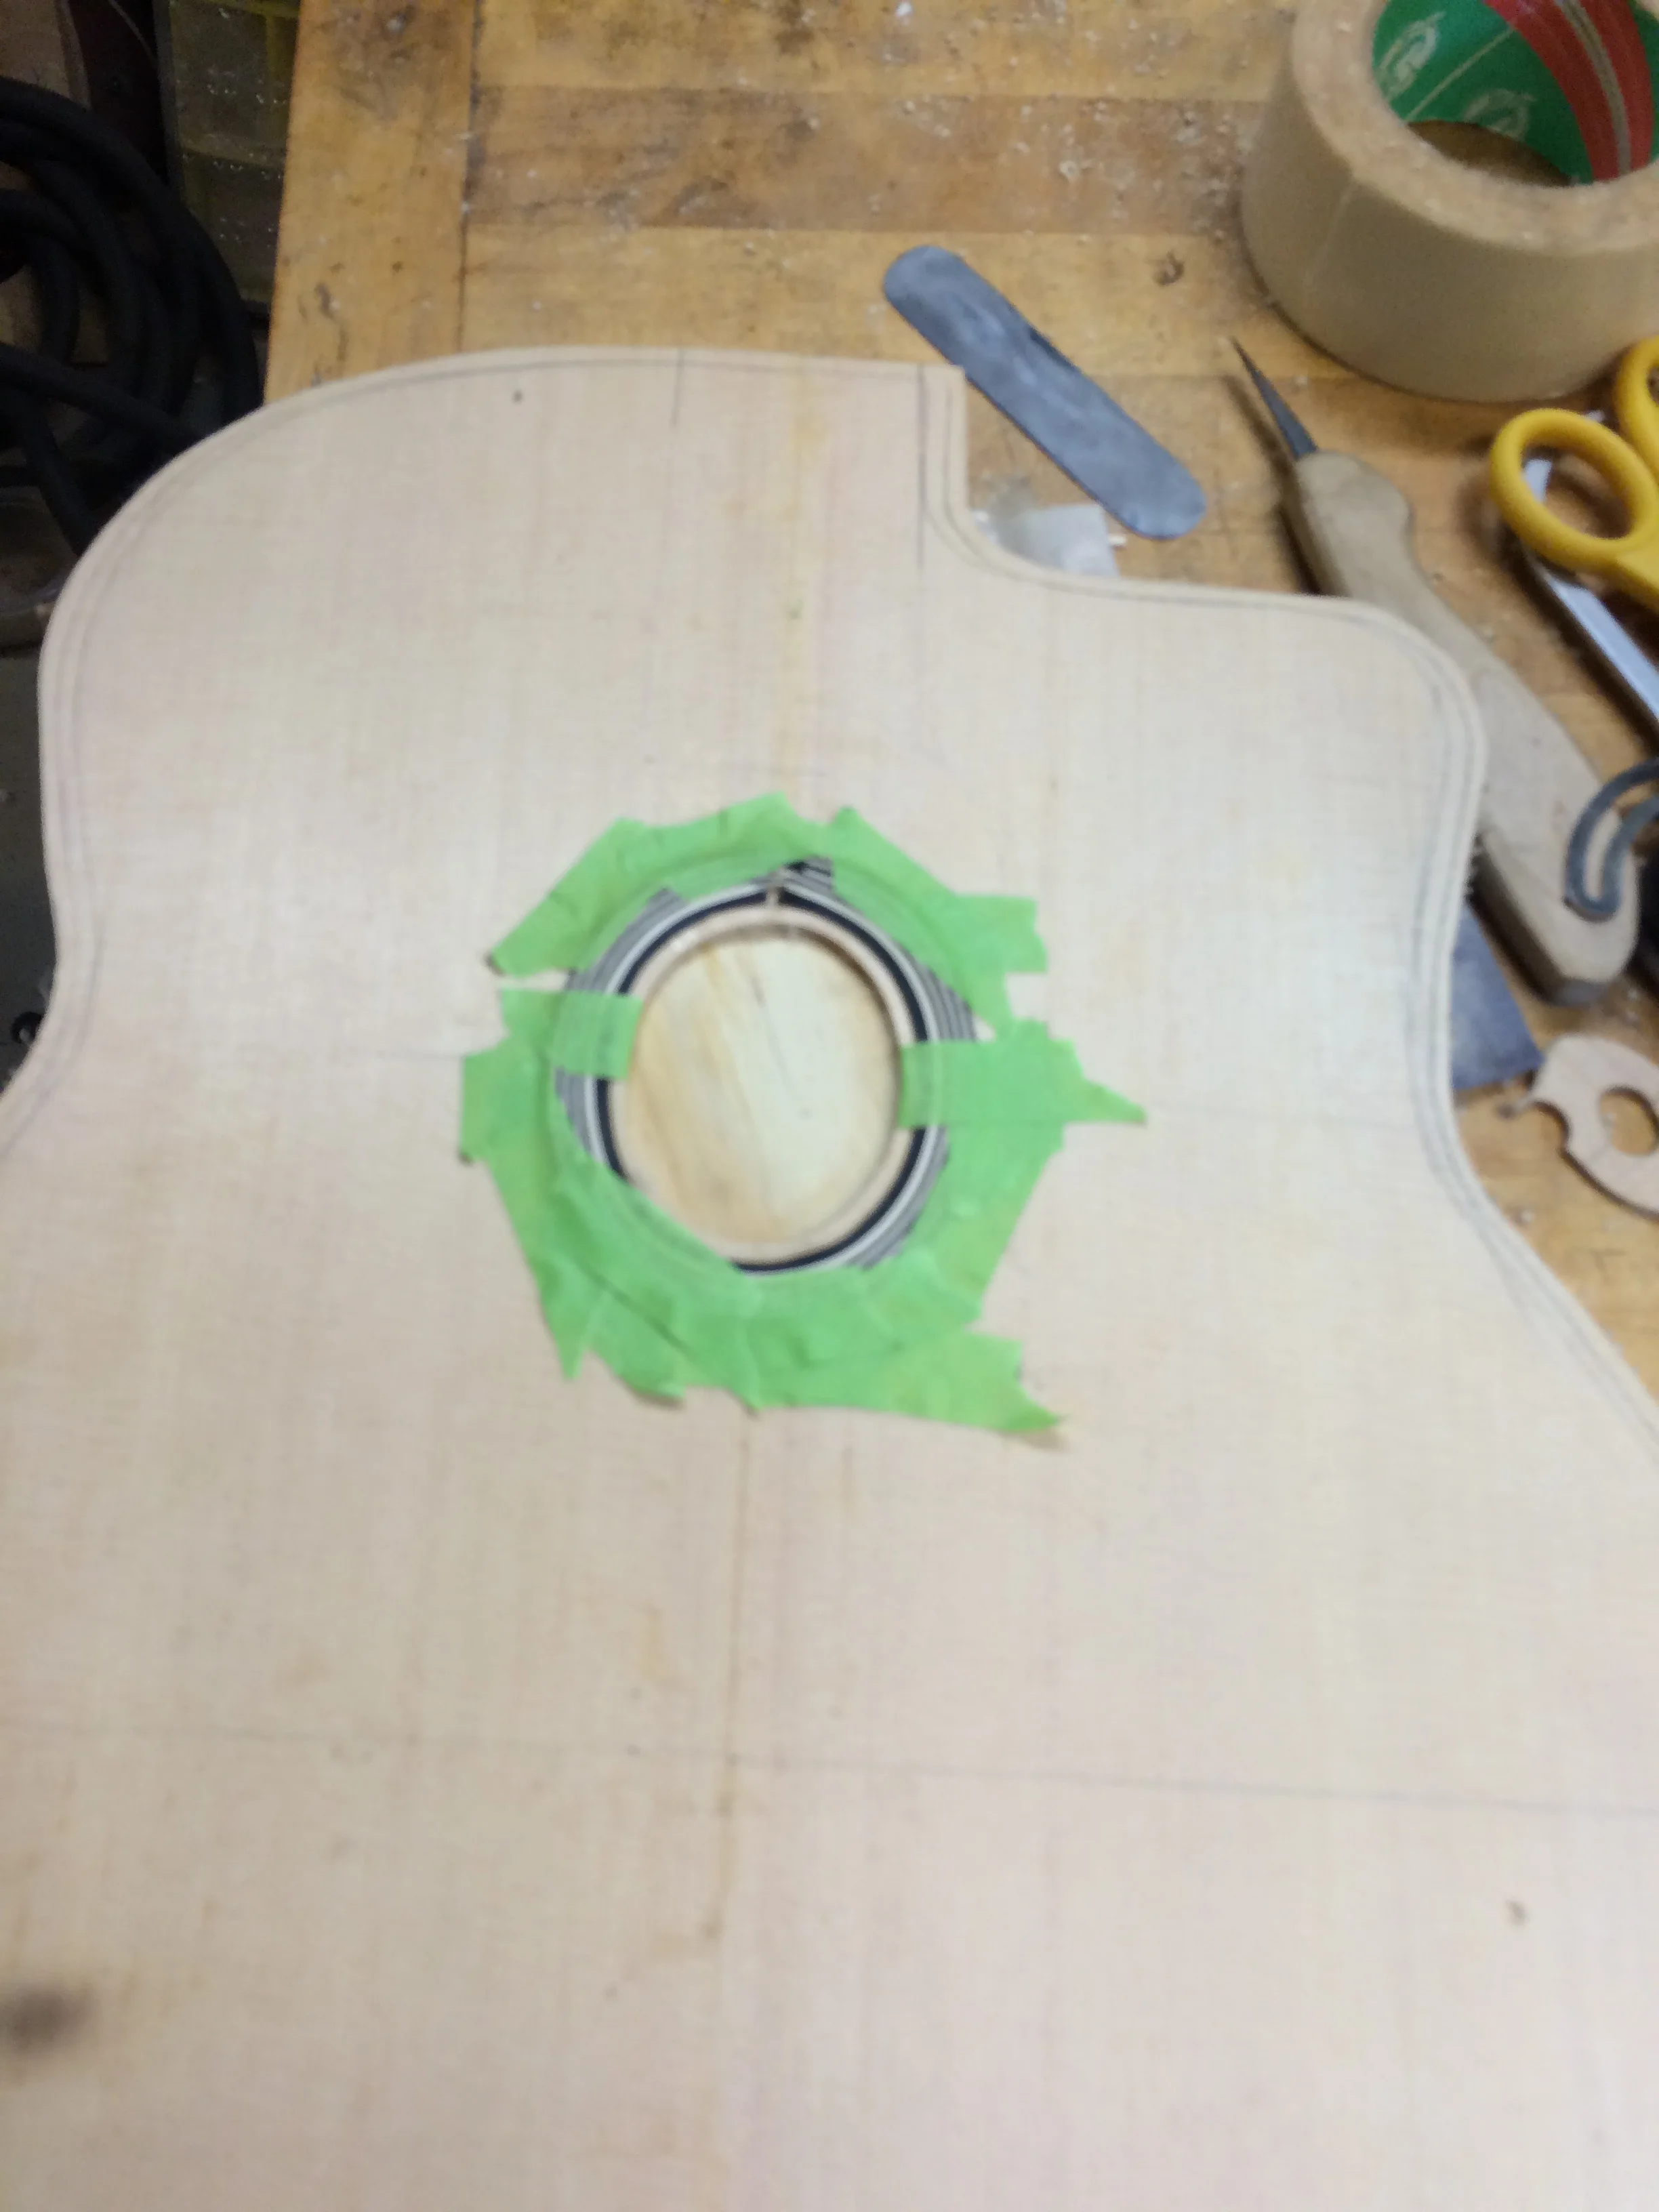
I put the purling in strip by strip and then flooded the inlay with thin super glue. Once it was dry I cut the tips where they met in a haphazard way and inlayed an ebony "key."
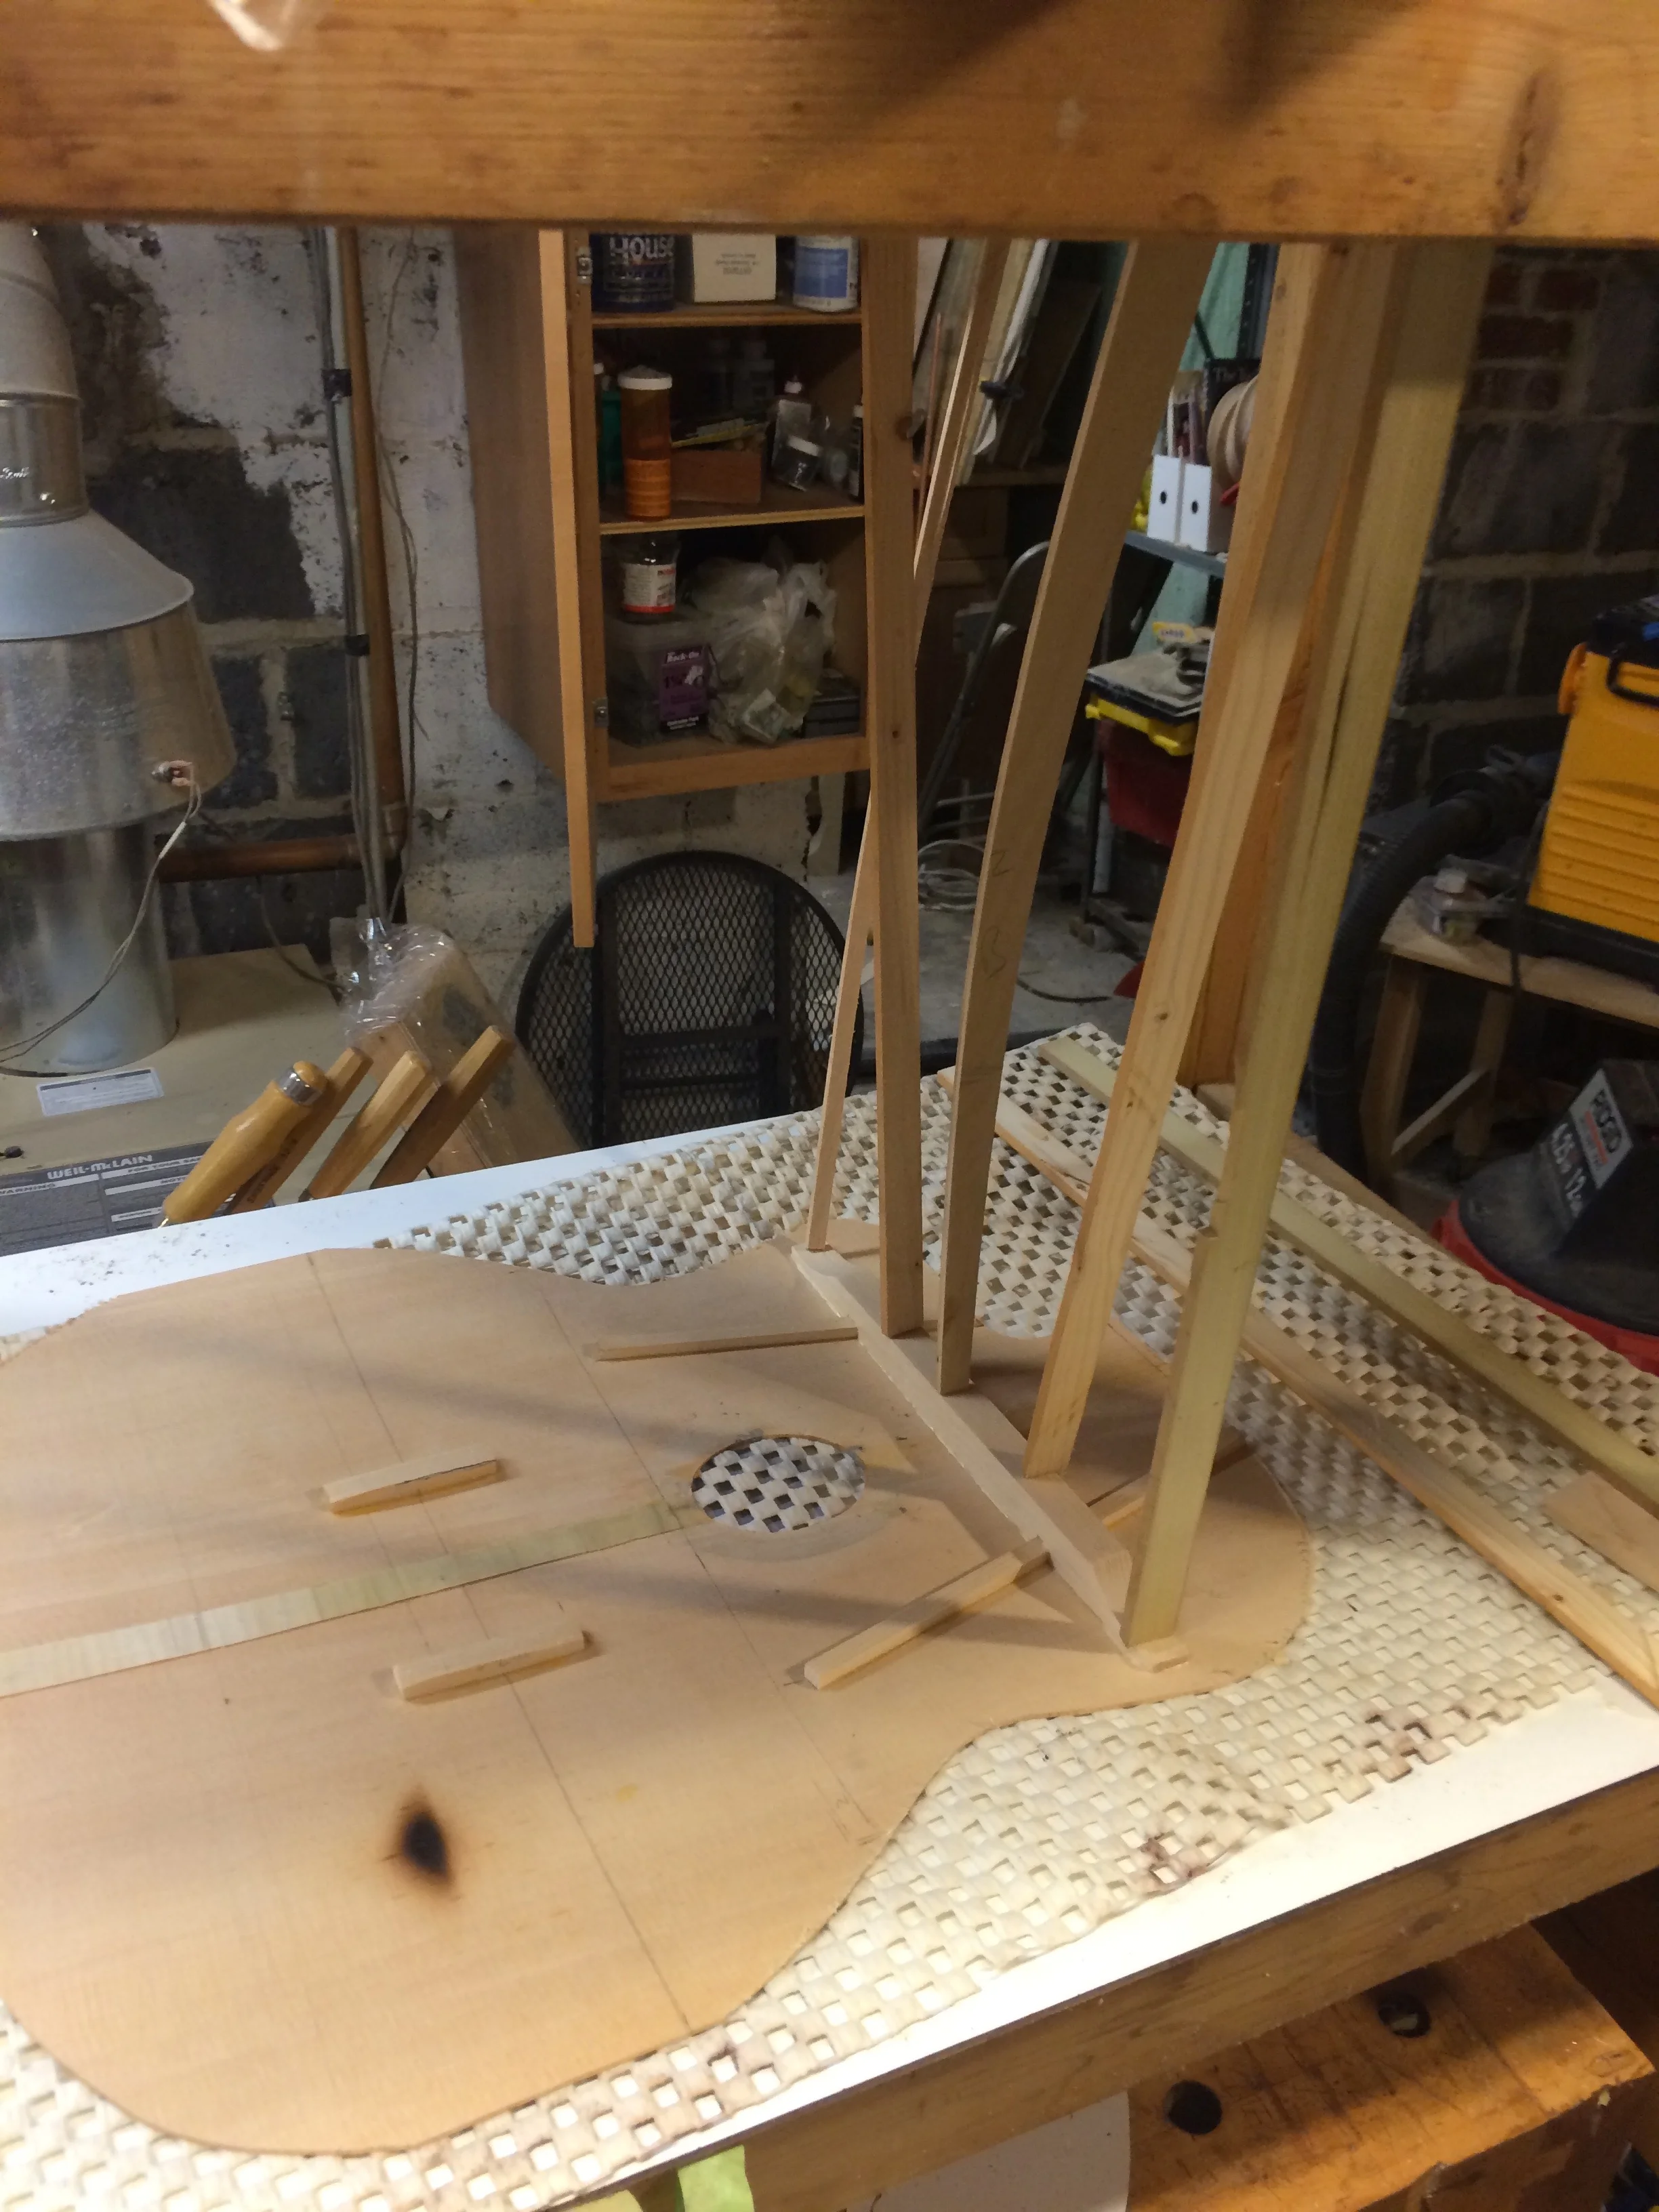
I glued the top braces on using an improvised go-bar deck built from an old Ikea kitchen cart. I wasn't sure how to get a proper radius dish for the bottom and being a cheapskate couldn't bear the idea of shelling out $80 on eBay for a CNC milled one. I took a sheet of masonite and drilled a hole in the center and then put a bolt and washer through the hole and tightened it down creating a dished surface. The gypsy top isn't really a dome anyway but the system seemed to work pretty well. I used ripped pine and maple sticks of various lengths as the go-bars. You get a really good view of the charred pliage in this photo. I flooded that with thin super glue hoping that that would help strengthen what must be somewhat compromised wood fiber.
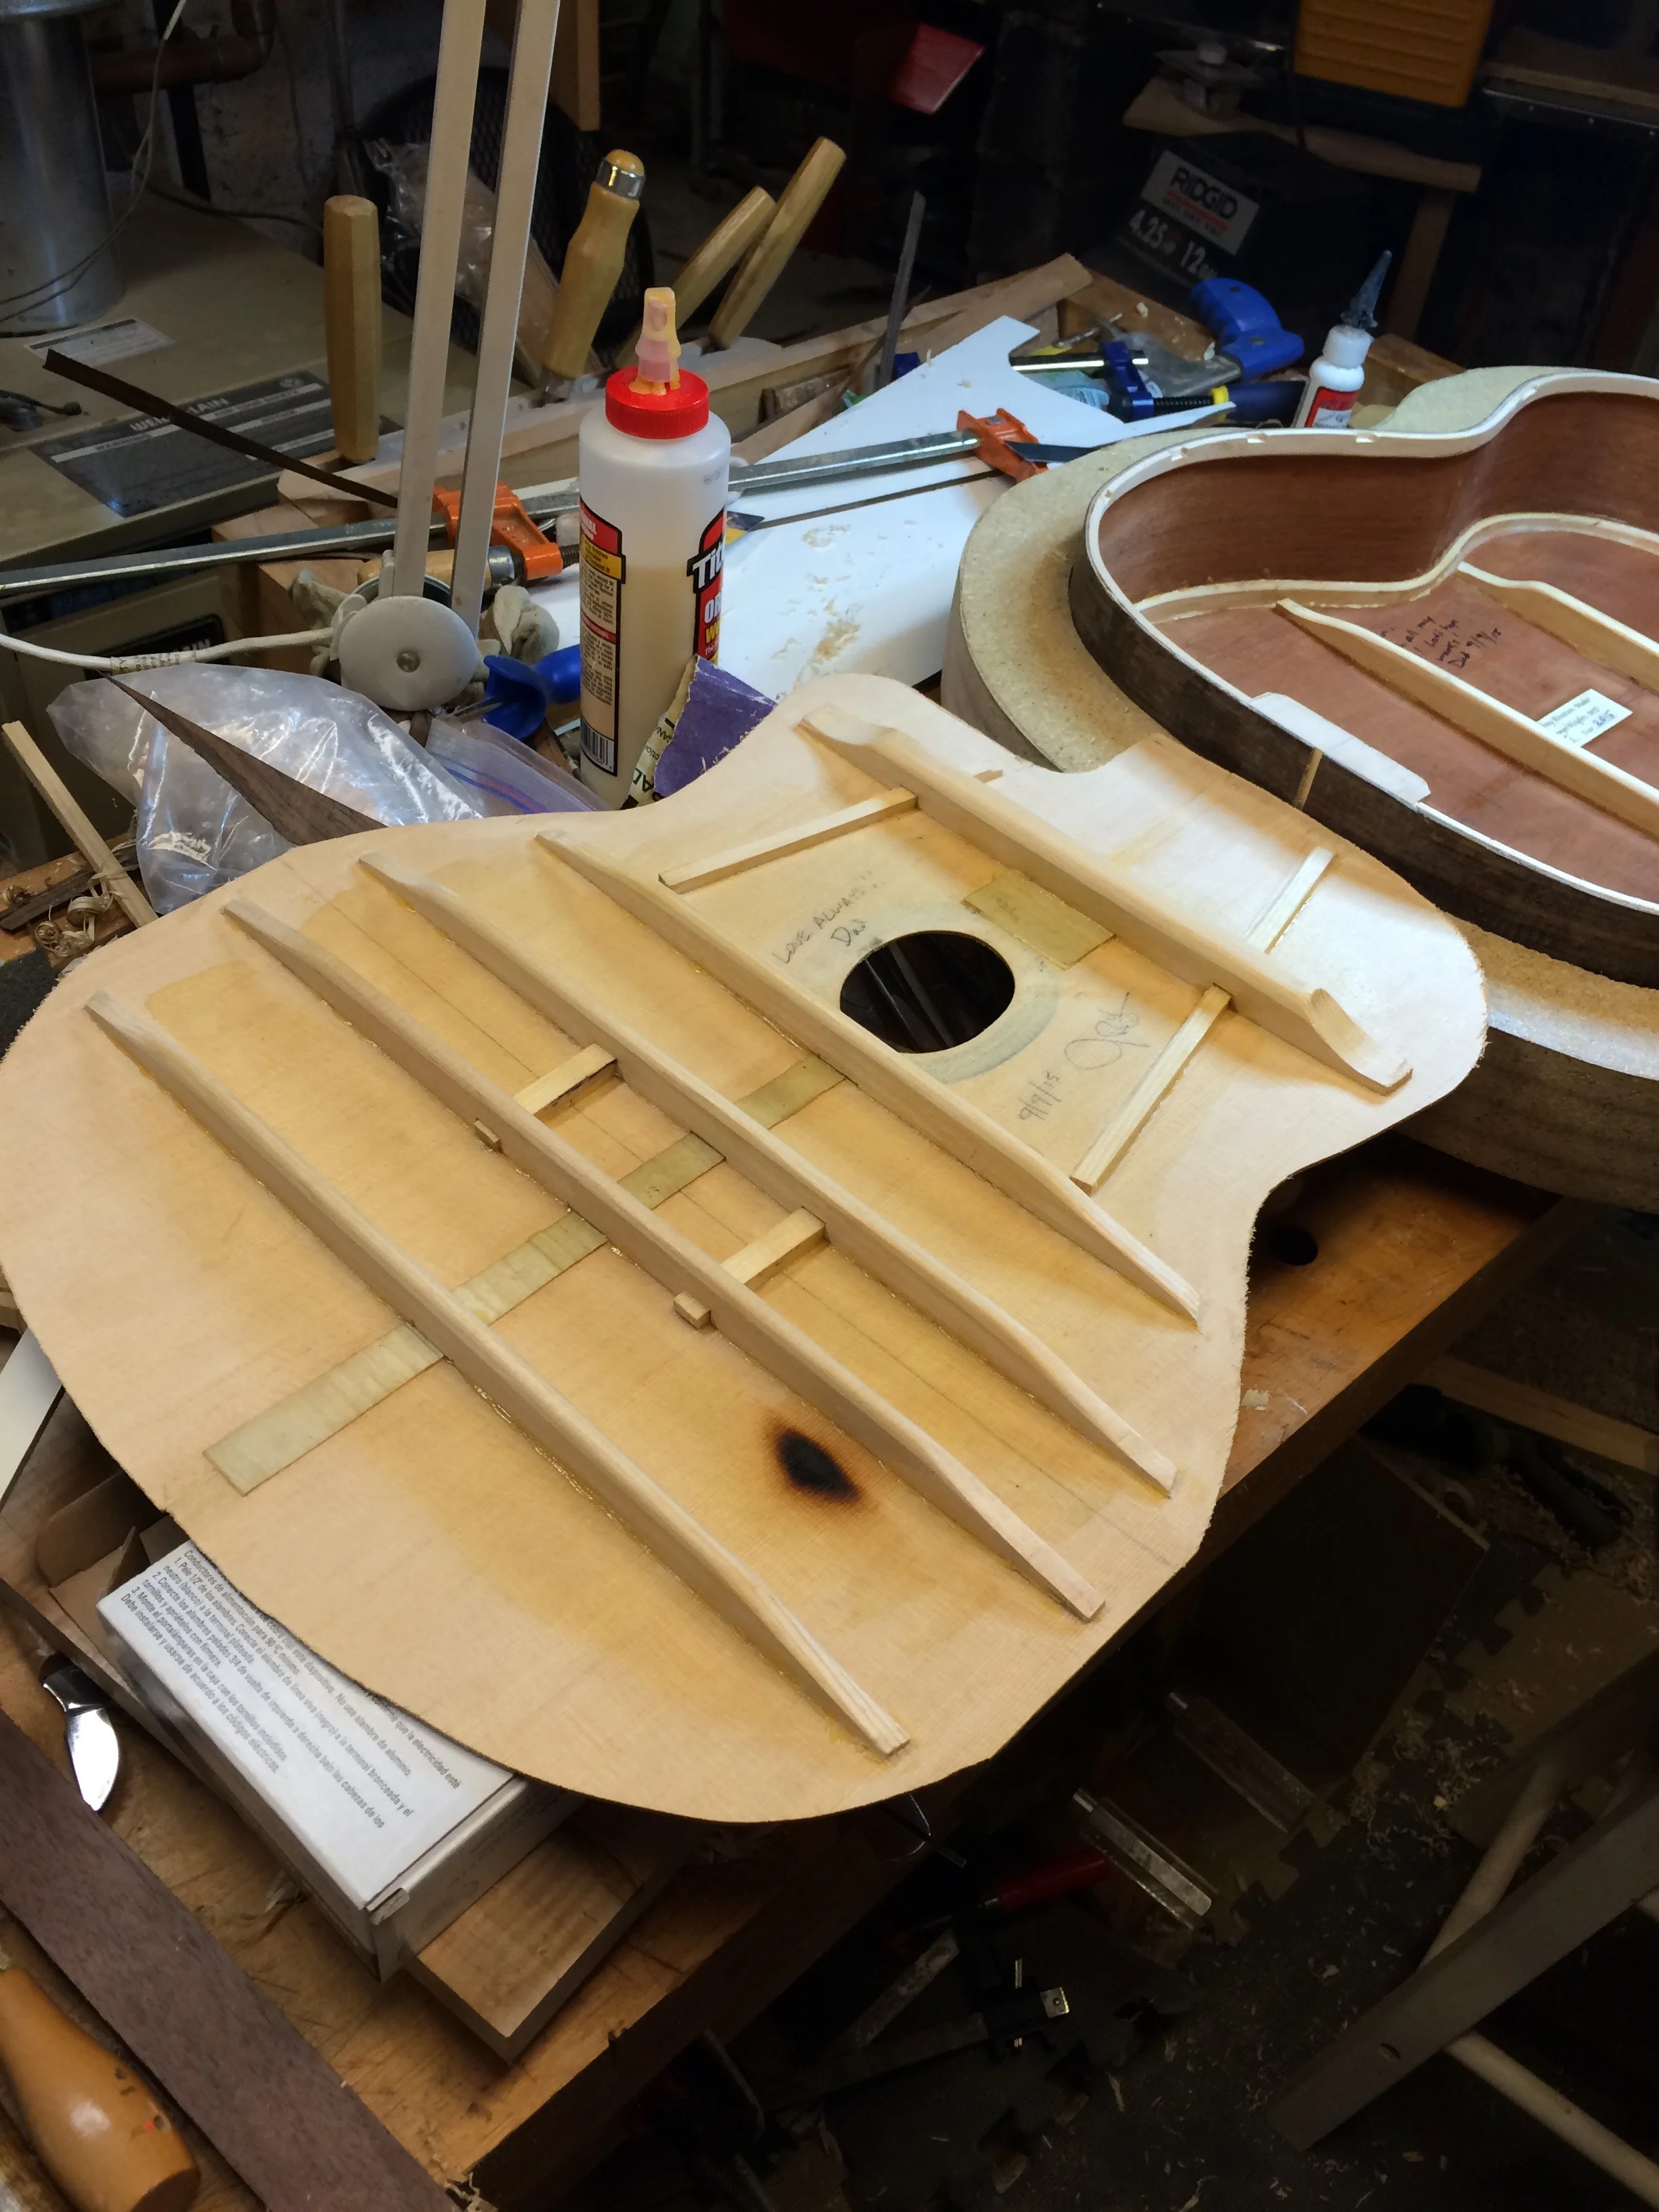
Here's the finished bracing on the top along with some dedication notes and signature that might someday be seen by somebody.
I'm gluing up the top here. The pliage as produced by the heat box did not produce a truly pronounced fold so I was a bit disappointed in how undramatic it looked. By the time the binding was on and things had been scraped and sanded, it looked more significant and most importantly yielded the measurements I needed for proper bridge height and string break angle. I used titebond for all of the joints on this guitar and it seemed to work just fine. I was a little worried about the bond with the rosewood but no problems so far.
Above and below is the binding in process. I cut the binding using the Stewmac binding jig that you mount on your Dremel or Foredom. It works pretty well but I am really considering shelling out the money for a less touchy, more consistent system. I bent the wood linings on a bending iron and really tried to get a perfect match unlike some of my previous guitars where "good enough" turned out to not be good enough especially in the tight curves. The frustrating part about this time was that despite my efforts to get a perfect match, when I glued the binding on I had inadvertently shifted the position of the cut away bends a little bit off which again resulted in a few gaps that only revealed themselves once I took the green tape off. Despite the binding problems, I LOVE the 3M binding tape! It is some good stuff.
Note all the splotches on the rosewood veneer back below. That is glue squeeze through from the lamination process.
Here is the neck blank with carbon fiber rods glued in place instead of the traditional aluminum bar stock. I chose to dovetail the neck into the body using the method Bob Benedetto uses in his book because I had already jigged up for that for my previous arch tops and I was reluctant to buy a router template or cut the thing by hand.
Here is the neck joint after being cut on the router jig that is displayed on the "7-String Archtop Project" blog. This joint worked just about perfectly except that I had set the angle too steep. The neck angle off the router was producing a neck projection height at the bridge of about 1 inch which was a quarter inch too high according to the book. Ultimately I lowered the angle with shims to the proper 2 degree range. My joint also ended up angling very very slightly off center which caused a minor tailpiece issue later on. Next time I will be more careful.